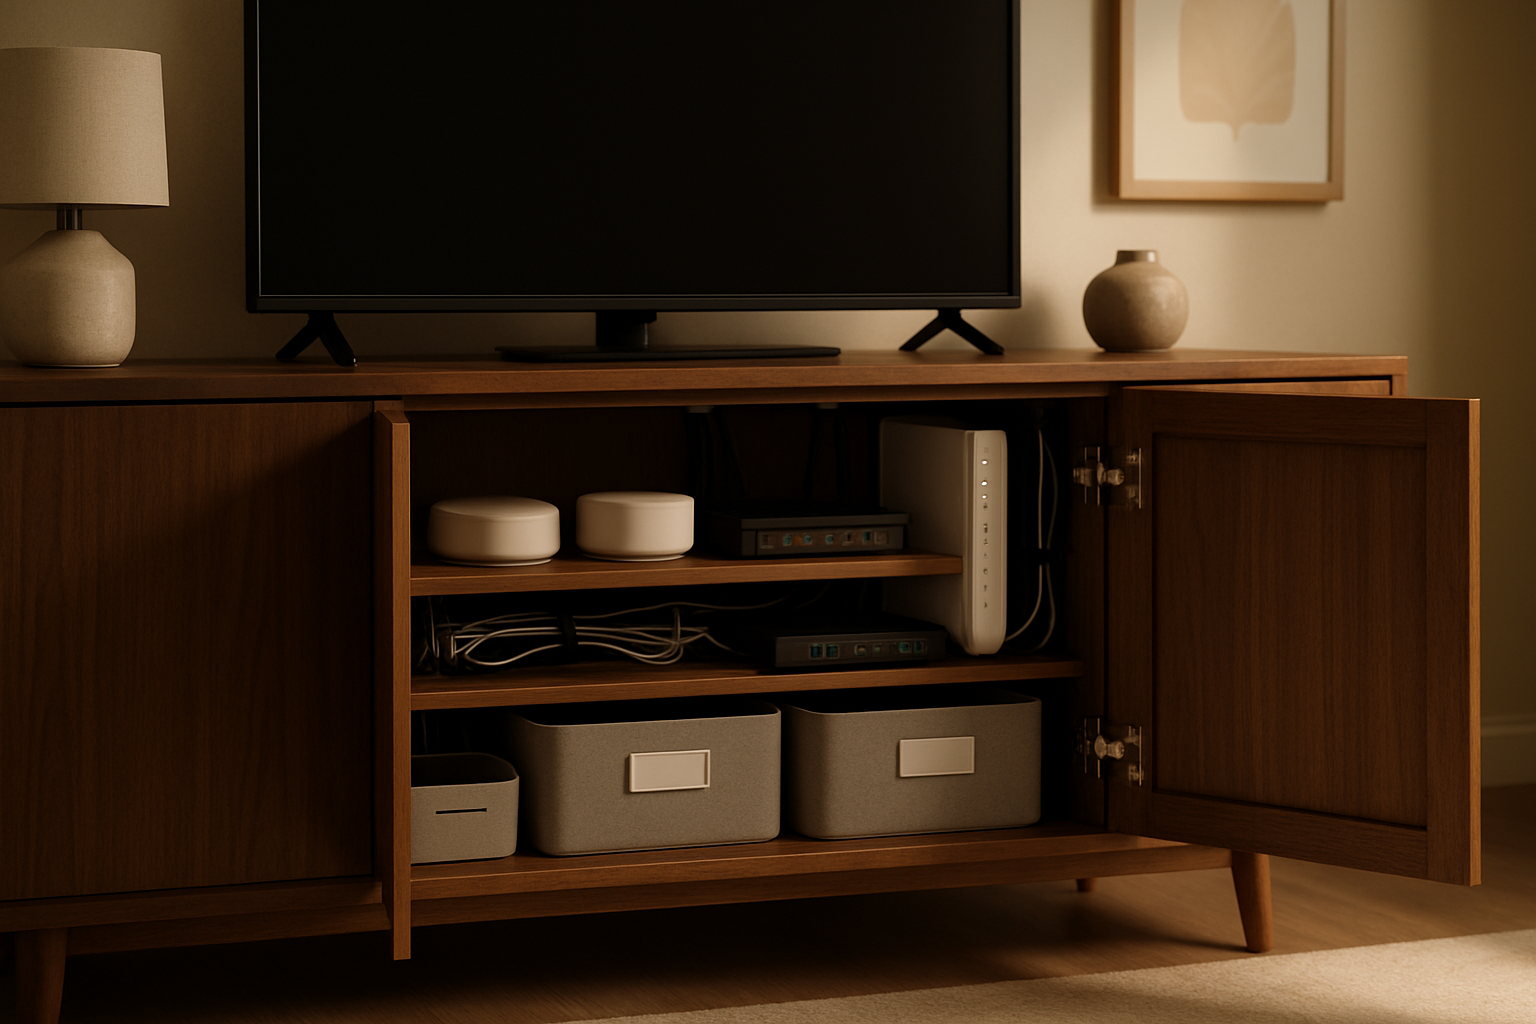
For a long time, my living room media cabinet looked organized only if you never opened the doors. From the couch, everything seemed fine. Inside, it was a rat’s nest of smart home hubs, a power strip, extra Ethernet slack, and the kind of cable tangles that make troubleshooting way harder than it should be. I wanted a setup that still handled my smart home gear and network equipment properly, but without the visible cable mess that makes a living room feel like an IT closet.
This got more annoying as I added more gear. A hub here, a streaming box there, a switch tucked behind something else, and suddenly I was pulling the whole cabinet apart any time one device lost power. If you’re trying to organize a living room media cabinet for smart home hubs and network gear, the trick isn’t buying random cable accessories. It’s figuring out how the cabinet needs to function before you start sticking things down.
What Was Actually Broken About My Setup
Before I bought anything, I had to admit I’d made a pretty classic mistake: I treated the media cabinet like hidden space instead of usable space. Hidden is not the same thing as organized. I had gear stacked in ways that blocked airflow, power cords crossing Ethernet lines for no reason, and no clear separation between “stuff I need to touch” and “stuff that should stay put.”
What I really needed was a system with three rules. First, every device needed a predictable home. Second, every cable needed a path and a reason to exist. Third, I had to make it easy to service later, because I know myself. If a setup is annoying to maintain, even a tidy one will slowly drift back into chaos.
That same thinking helped me when I was building quieter infrastructure in other parts of the house, especially in my home office network closet. The living room version just had a different challenge: it had to work technically and also not look like I gave up halfway through.
So my goal became simple. Keep the smart home hubs and network gear stable, keep the cabinet doors able to close cleanly, and make the visible areas look intentional. Not fancy. Just clean and easy to live with.
The Stuff I Used and Why It Earned a Spot
VEVOR Media Storage Cabinet
I started with the cabinet itself because no amount of cable management fixes a bad furniture layout. I ended up using the VEVOR media storage cabinet because I needed adjustable shelving more than I needed something trendy. That flexibility matters when one shelf holds a chunky power strip and another has lower-profile hubs and streaming gear. I also liked that it gave me a way to separate “display stuff” from “infrastructure stuff,” which is important when your living room has to function as a living room first.
What I Appreciate
- ✅ Adjustable shelves made it much easier to fit mixed-size gear
- ✅ Doors help hide the visual clutter that naturally comes with tech
- ✅ Feels more stable than the flimsy flat-pack pieces I’ve dealt with before
What Frustrates Me
- ❌ You still need to think through airflow and cable entry points yourself
- ❌ Assembly takes some patience if you’re picky about alignment
- ❌ It’s storage-friendly, but not purpose-built as an AV rack
Kasa Smart Plug Power Strip KP303
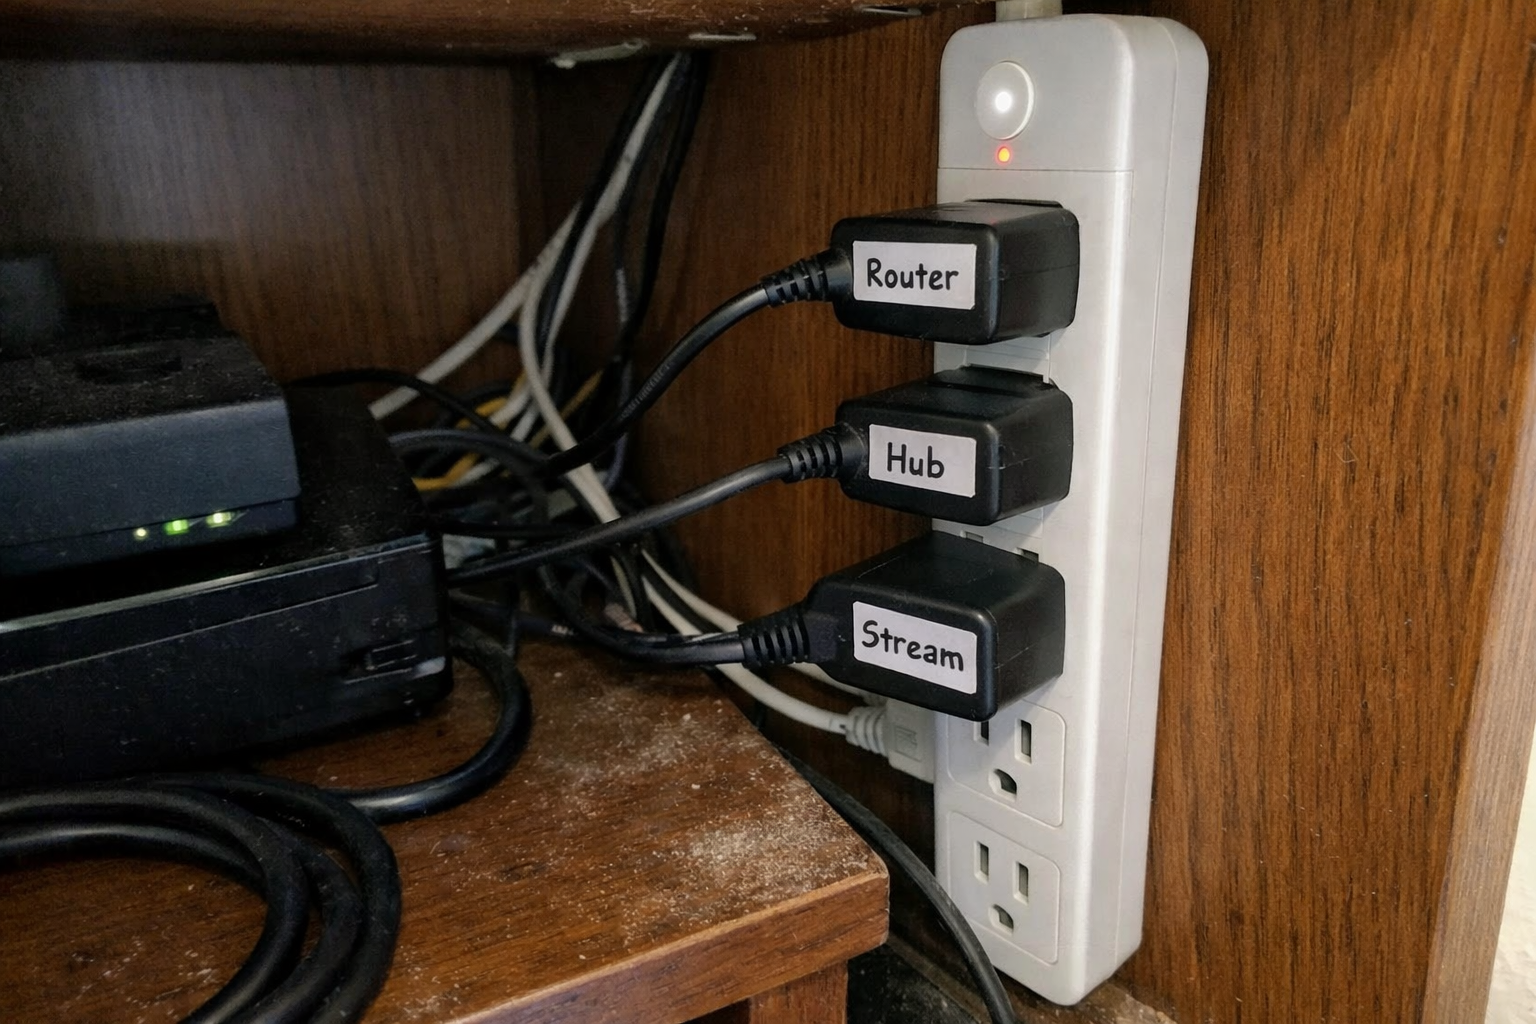
Power was the next thing I fixed, because messy power usually creates messy everything else. I used the Kasa Smart Plug Power Strip KP303 to give individual control to the gear that occasionally needs a reboot. That sounds minor until you’ve had to crawl behind a cabinet just to power-cycle one stubborn device. I don’t use the smart features for everything, but having separate outlet control for a couple of problem devices has genuinely saved me time.
What I Appreciate
- ✅ Individual outlet control makes troubleshooting much less annoying
- ✅ Built-in USB ports reduce the need for extra charging bricks
- ✅ Cleaner than stuffing multiple adapters into one basic strip
What Frustrates Me
- ❌ It still takes planning to avoid bulky plugs blocking nearby outlets
- ❌ Wi-Fi smart features are handy, but not every device needs them
- ❌ It’s bigger than a bare-bones surge strip
UGREEN Flat Cat 8 Ethernet Cable
I’m a big believer in using cable length on purpose. Too long, and you get loops everywhere. Too short, and maintenance becomes a headache. For short cabinet runs, I switched to the UGREEN flat Ethernet cable because the low-profile shape is easier to route along cabinet edges without bulging out or fighting the door. I’m not using it because I need some dramatic speed upgrade in a 3-foot run. I’m using it because flat cable is easier to hide cleanly in a media cabinet.
What I Appreciate
- ✅ Flat design is genuinely easier to route in tight furniture spaces
- ✅ Short run helps eliminate the giant cable loops I hate seeing
- ✅ Braided exterior feels more durable than the cheapest patch cables
What Frustrates Me
- ❌ You need to measure carefully or you’ll end up reordering lengths
- ❌ Flat cable is great for hiding, but it won’t fix bad layout decisions
- ❌ Premium-looking patch cords can cost more than generic ones
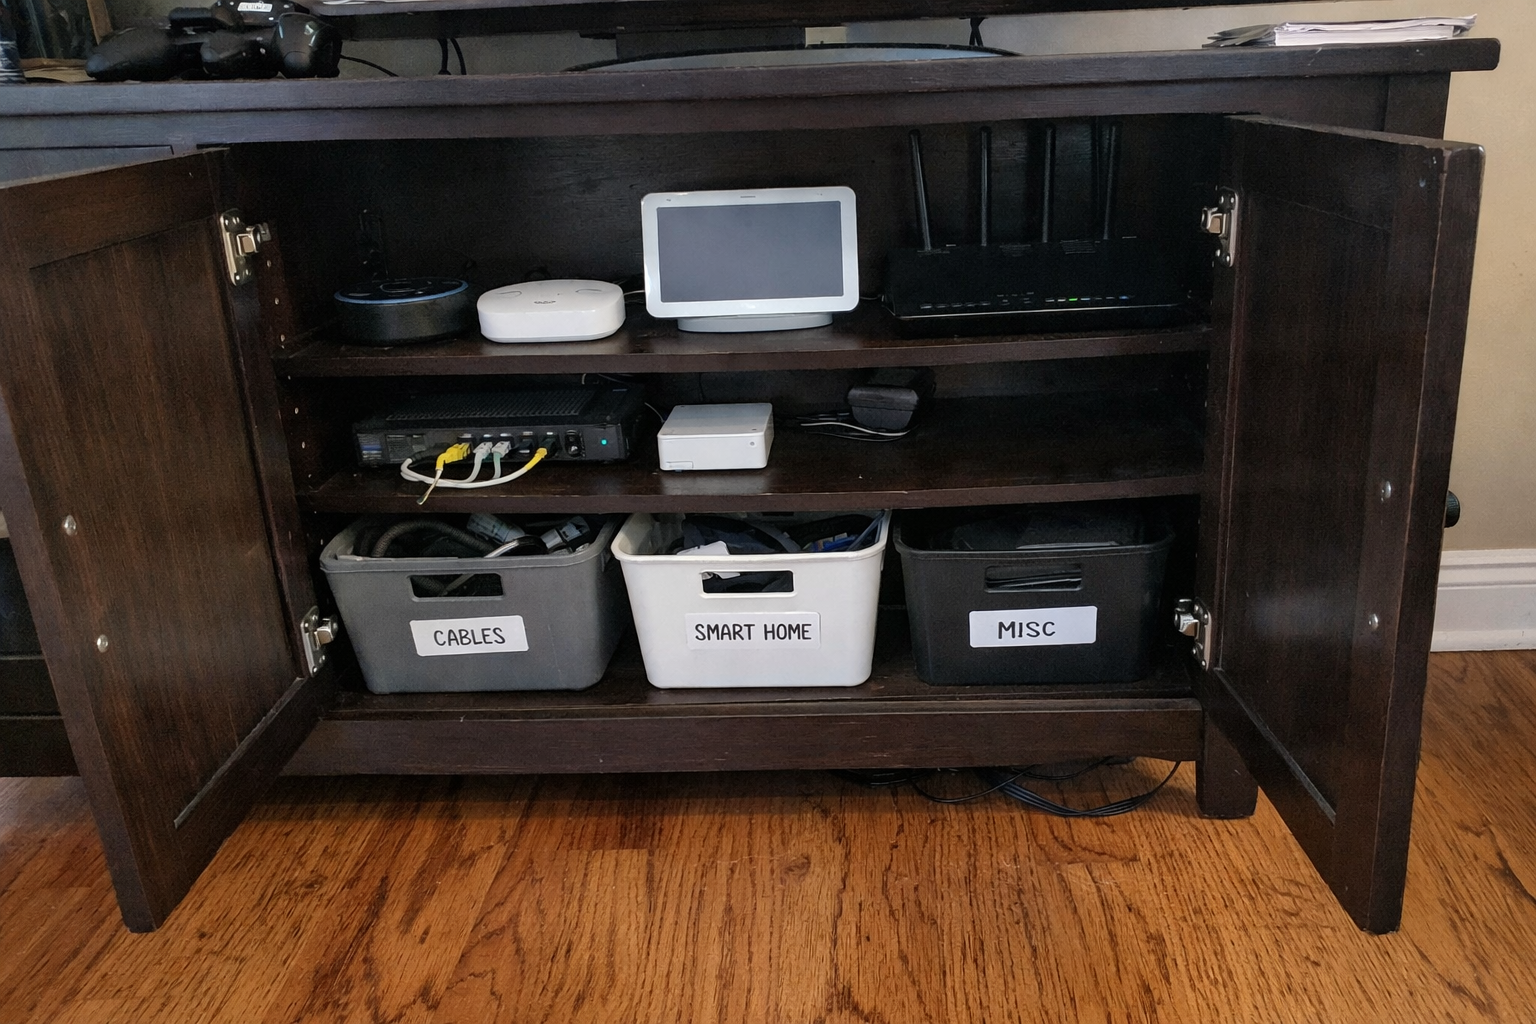
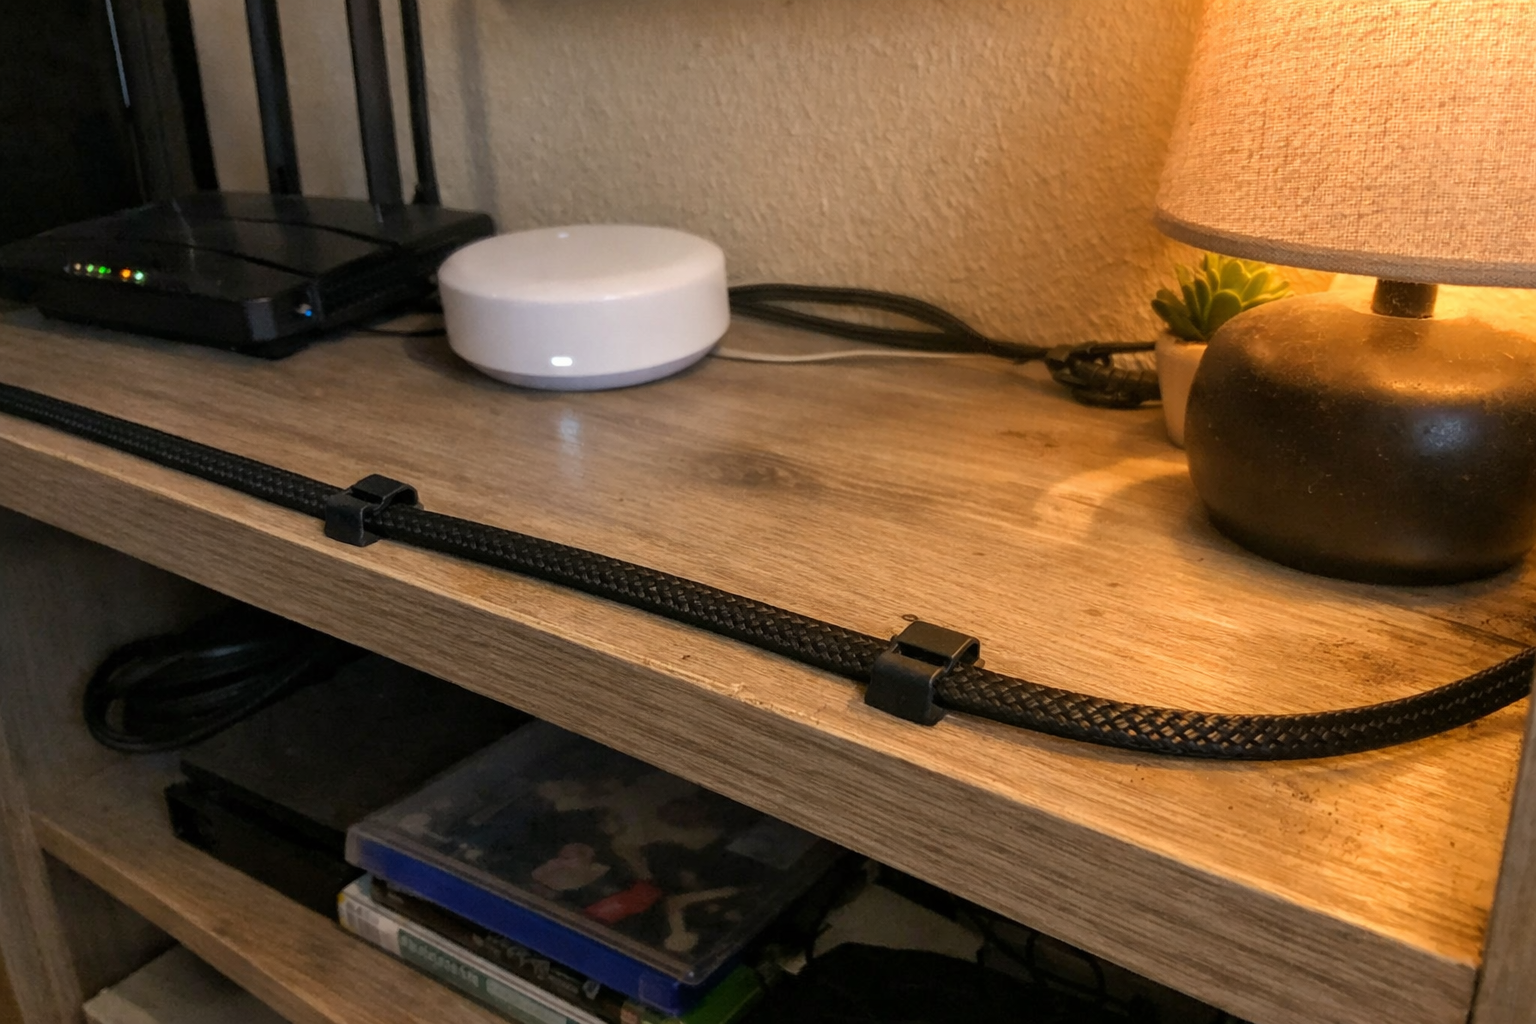
Hook and Loop Cable Ties with Adhesive Clips
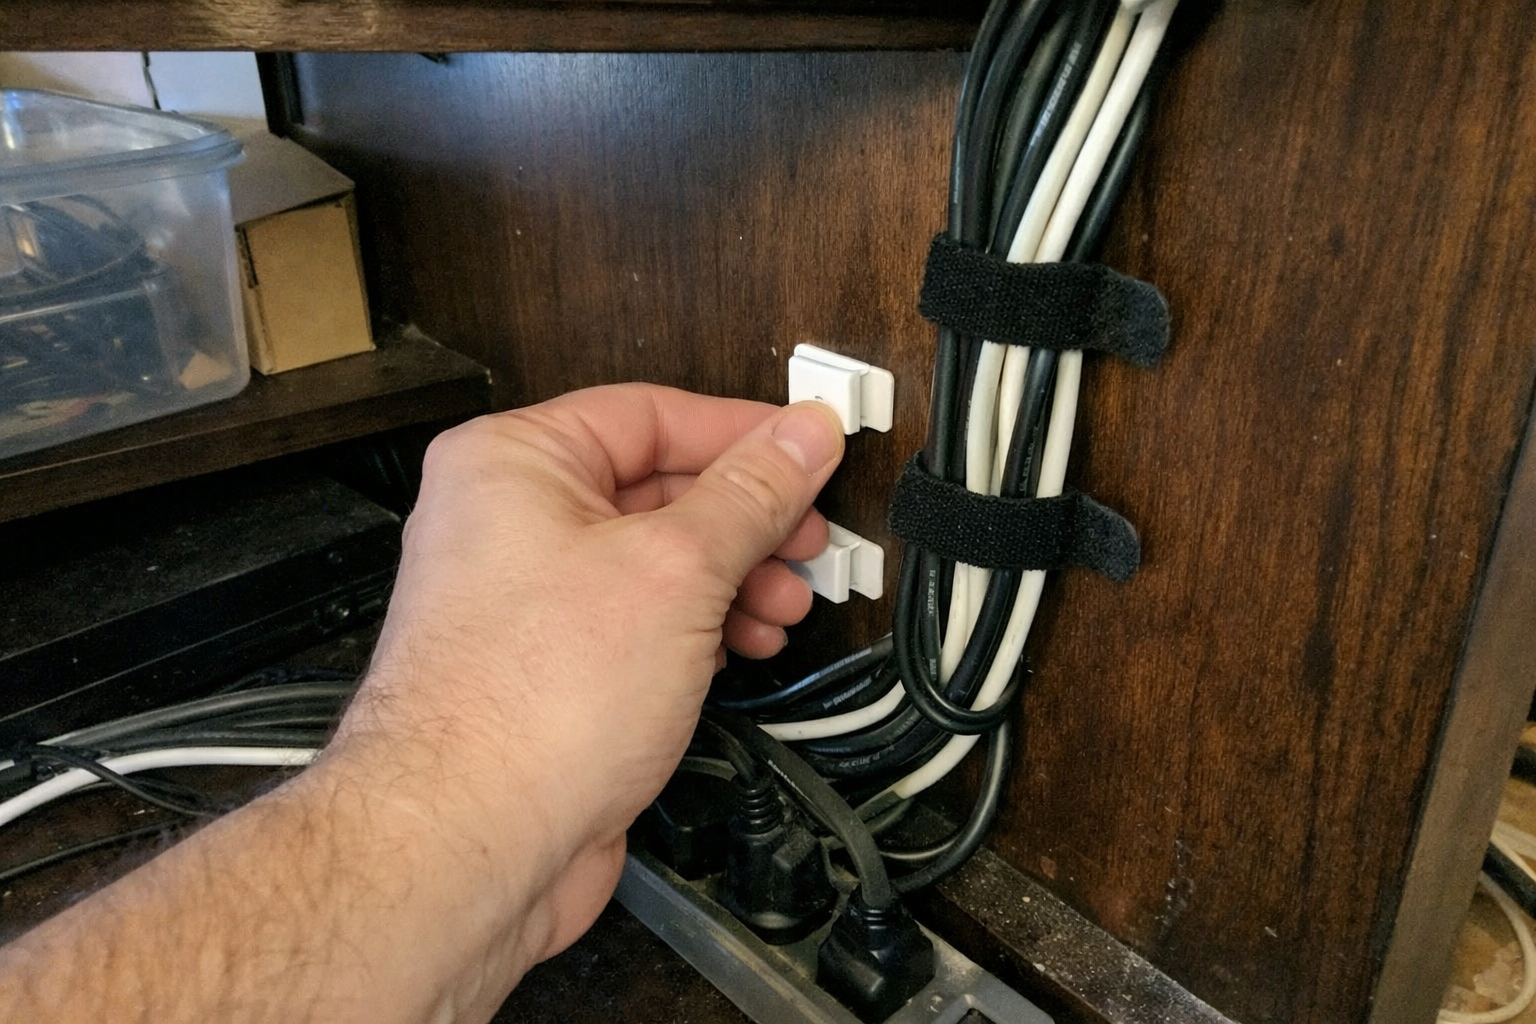
This was probably the least glamorous part of the project, but maybe the most important. I used the hook and loop cable ties with adhesive clips to create actual cable paths inside the cabinet instead of letting cords drape wherever gravity felt like taking them. What I like about hook and loop over zip ties is simple: I change things. A lot. If you add or remove hubs over time, reusable ties are a whole lot less irritating than cutting and replacing everything.
What I Appreciate
- ✅ Reusable ties are much better for an evolving smart home setup
- ✅ Adhesive clips help keep bundles attached to cabinet walls instead of hanging loose
- ✅ Cheap, simple fix that makes the whole cabinet easier to service
What Frustrates Me
- ❌ Adhesive strength depends heavily on surface prep
- ❌ Some clips may need replacing if the cabinet interior is dusty or textured
- ❌ They organize cables well, but they don’t hide them from open sightlines by themselves
315-Inch Cable Hider Raceway Kit
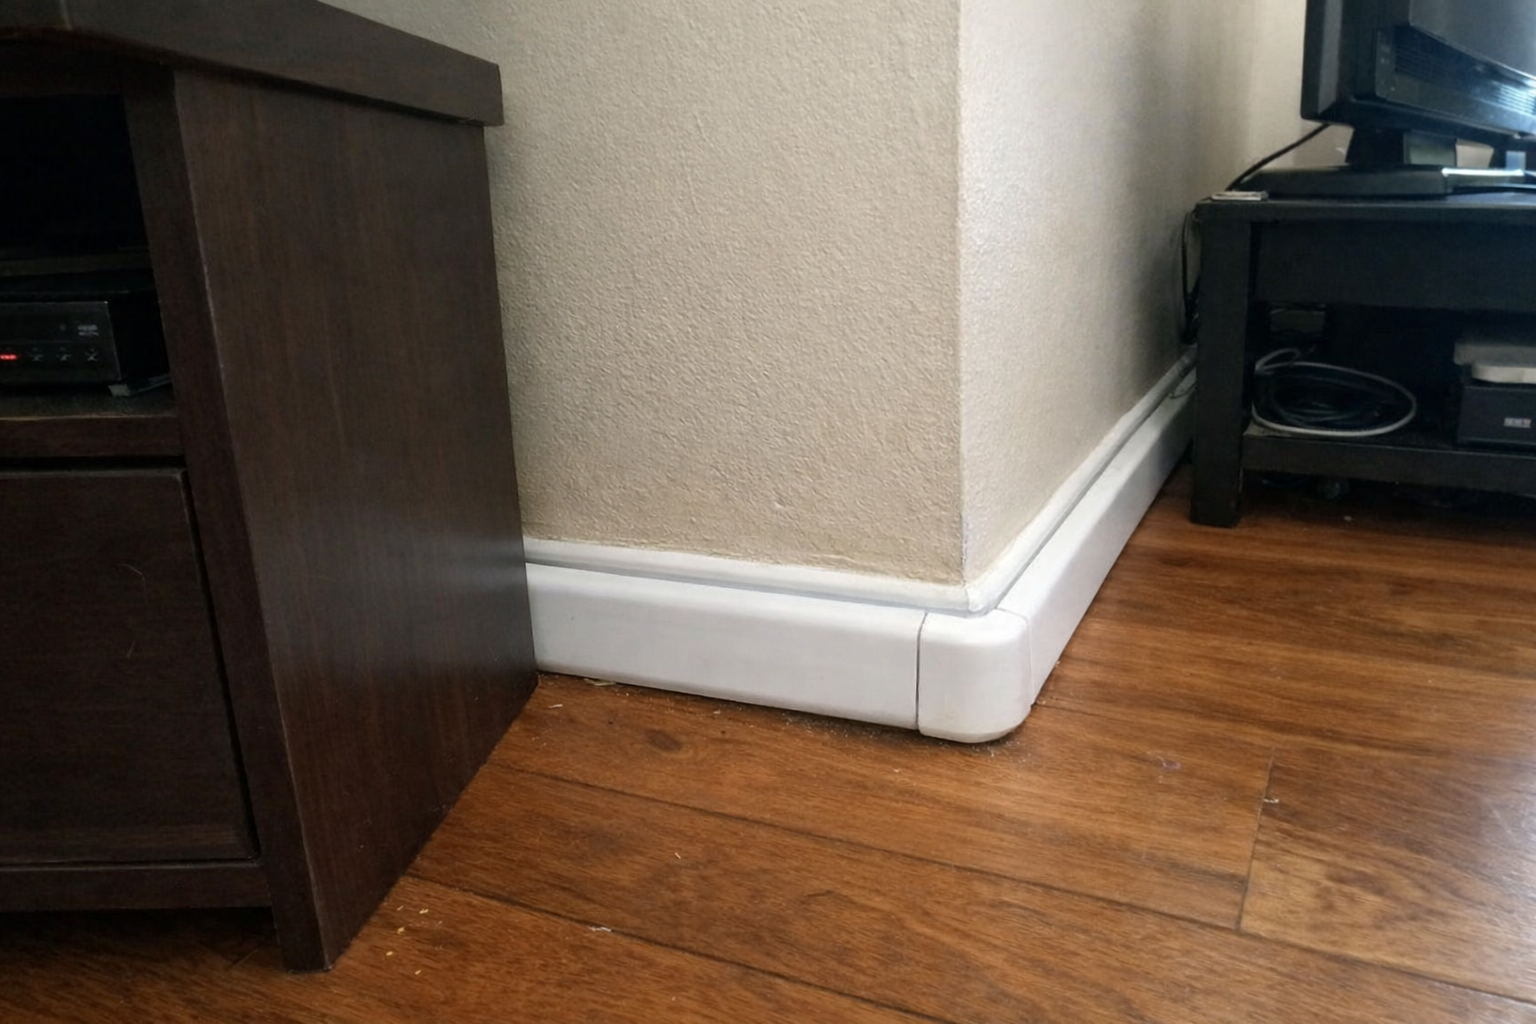
Inside-cabinet cleanup only solves half the problem. The cable that enters or exits the cabinet is usually what gives the whole thing away. I used the cable hider raceway kit for the visible wall and baseboard sections so the setup looked intentional from normal sitting height. This is one of those products where prep matters more than the product itself. If you take ten extra minutes to map the route and clean the surface, the result looks much better.
What I Appreciate
- ✅ Makes the visible cable path disappear into the room much better
- ✅ Included connectors make corner routing easier than piecing it together yourself
- ✅ Paintable surface is useful if your wall color isn’t bright white
What Frustrates Me
- ❌ Measuring and cutting takes more patience than the listing makes it sound like
- ❌ Adhesive install works best only on clean, flat surfaces
- ❌ Large bundles can outgrow the channel if you keep adding more cables
| Problem I Needed to Solve | What Helped Most | Why It Worked |
|---|---|---|
| Too many loose cables inside the cabinet | Hook and loop ties with adhesive clips | They created fixed routes and made later changes easier |
| Messy power management | Kasa smart power strip | Let me separate devices and reboot specific gear without unplugging everything |
| Visible cable run outside the cabinet | Cable hider raceway kit | It cleaned up the wall and baseboard path that people actually notice |
| Bulky extra Ethernet slack | Short flat Ethernet cable | Reduced loops and tucked neatly along shelf edges |
| No real structure for gear placement | VEVOR media cabinet | Adjustable shelves gave each device a proper home |
What I’d Still Improve From Here
The cabinet is in a much better place now, but I’m not pretending it’s perfect. I still want to add better labeling on a couple of power and network lines so future troubleshooting goes faster. I’m also considering a small ventilation tweak, because once you start stacking hubs, streaming gear, and networking hardware behind doors, heat management matters more than people think.
Long term, I’d like the living room cabinet to act more like a clean endpoint and less like a mini equipment dump. That probably means moving one or two non-essential devices elsewhere and keeping only the gear that truly needs to live near the TV and central smart home controls.
💡 The Final Verdict: A Clean Media Cabinet Is Absolutely Worth the Effort
If your living room media cabinet is doing double duty for smart home hubs, network gear, and entertainment devices, organizing it properly is worth both the time and the money. Not because it looks impressive, but because it makes your whole setup easier to live with. The people who should bother are the ones tired of random disconnects, ugly visible cords, and having to tear everything apart to make one small change. You do not need a fancy rack or a custom install. You just need a cabinet that fits the gear, a sane power plan, and cable management that assumes real life will keep changing.
Disclaimer: As an Amazon Associate, I earn from qualifying purchases.
Author
-

Hi, I’m Andrew — an IT support specialist, smart home consultant, and someone who has spent more time than I’d probably admit fixing, upgrading, and reorganizing tech around the house.
I’m based in Seattle, and this blog grew out of years of hands-on trial and error with smart home gear, home lab setups, repair tools, and all the little accessories that make a system easier to live with. I’ve always liked understanding how things work, taking them apart when necessary, and finding better ways to set them up the second time around.
Here, I write about smart home products, DIY tech tools, server rack accessories, cable management solutions, and display gear for collectibles. Most of what I cover is practical, everyday equipment — the kind of stuff that sounds simple until you actually have to install it, troubleshoot it, or live with it for a few months.
My approach is straightforward and honest. I like step-by-step setup, real-world testing, and explaining what a product is actually like to use, not just what the box promises. That includes calling out flimsy materials, bad instructions, confusing installation, or design choices that make no sense once you start working with the product. If something is well made and easy to use, I’ll say that too.
A lot of my reviews come from real projects at home — building out servers, improving smart home automation, cleaning up cable messes, repairing devices, and figuring out better ways to store and display the things I care about.
If you like practical gear, clear explanations, and honest feedback from someone who actually installs the stuff himself, you’ll probably feel at home here.
Leave a Reply