For a long time, my “network closet” was really just a shame corner of the house with a modem, router, switch, UPS, and a spaghetti pile of cables doing their best to collect dust and hum at me all day. It worked, technically. But in a home office, “technically works” is not the same thing as “pleasant to live next to.” I wanted something quieter, cleaner, and a little more power-conscious without turning it into a full enterprise rack project.
What finally pushed me over the edge was heat and noise. Small networking gear doesn’t seem like a big deal until you stack it together in one tight spot, leave it running 24/7, and then try to work ten feet away on calls. I didn’t need a datacenter. I needed a tidy, sensible home office network closet that stayed cool, didn’t buzz like an old refrigerator, and didn’t waste electricity just because I was too lazy to organize it properly.
What Actually Matters Before You Start Buying Stuff
Before pulling out my credit card, I had to be honest about what was broken. My problem was not that I lacked “pro gear.” My problem was that I had bad airflow, no labeling, visible cable runs, and no clean way to control accessory devices. That combination creates the exact kind of home office setup that gets annoying in slow motion.
For me, a good network closet came down to four things: keeping equipment off the floor, giving heat somewhere to go, labeling everything so I’m not tracing cables like a detective, and making sure I’m only powering what I actually need. That last part matters more than people think. Power-efficient doesn’t always mean replacing everything with exotic low-watt gear. Sometimes it just means stopping the dumb little inefficiencies that add clutter, extra heat, and always-on accessories you forgot were plugged in.
I also learned pretty quickly that “quiet” is not just about buying a fan with a low noise rating. It’s about reducing the reasons your gear gets hot in the first place. Better cable routing helps airflow. A proper cabinet helps contain the mess. Smarter power control helps you shut off the nonessential extras. And labels save you from unplugging the wrong thing and then spending your lunch break fixing it.
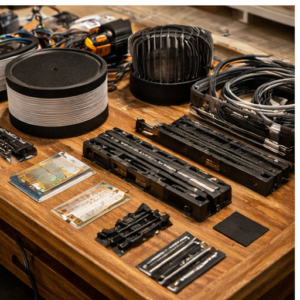
The Gear That Made My Setup Actually Work
Tecmojo 6U Wall Mount Server Cabinet
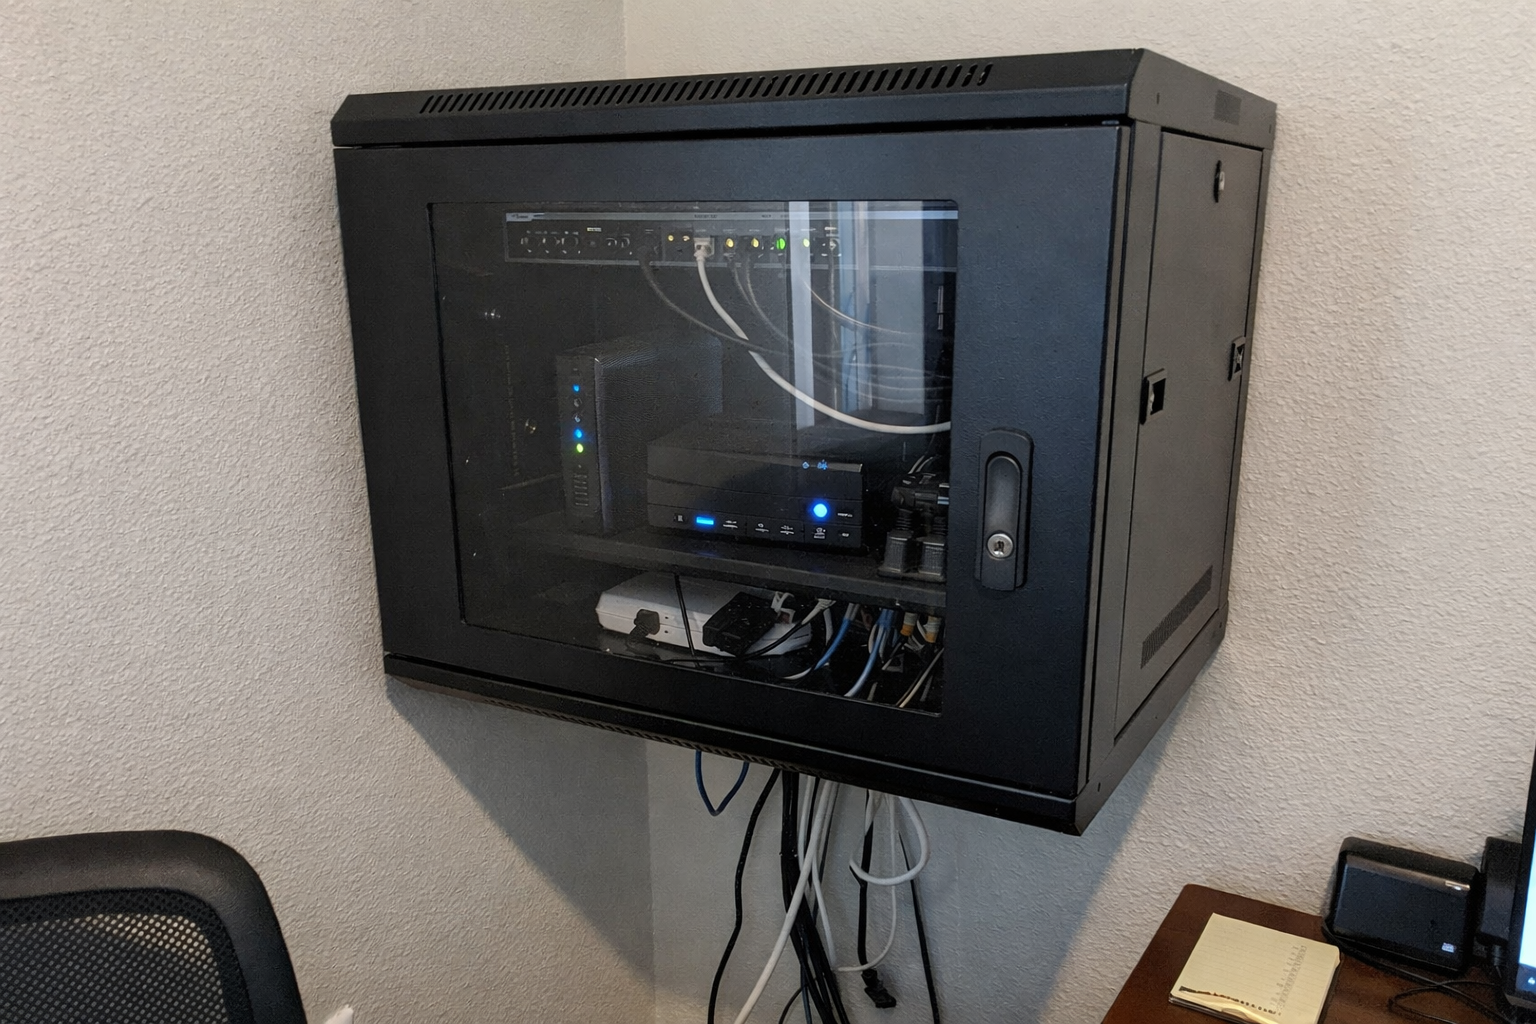
The biggest improvement came from finally moving everything into a proper enclosure. I went with the Tecmojo 6U wall mount server cabinet because I wanted networking gear off the floor and out of the dust zone. For a home office setup, 6U is enough if you’re realistic about what’s going inside. Mine handles the core equipment without tempting me to turn this into a full homelab expansion project. The lockable panels are nice, but honestly the real win is that it gives everything a home and makes airflow planning much easier.
What I Appreciate
- ✅ Gets gear off the floor and into one controlled space
- ✅ Adjustable rails made fitting small network gear easier than I expected
- ✅ Glass door lets me do a quick visual check without opening it
- ✅ Keeps the whole setup looking more intentional and less like a garage shelf
What Frustrates Me
- ❌ Assembly takes a little patience, and the included instructions are not winning any awards
- ❌ You still need to think carefully about depth before buying larger gear
- ❌ Wall mounting is absolutely a “measure twice” job
AC Infinity MULTIFAN S7-P
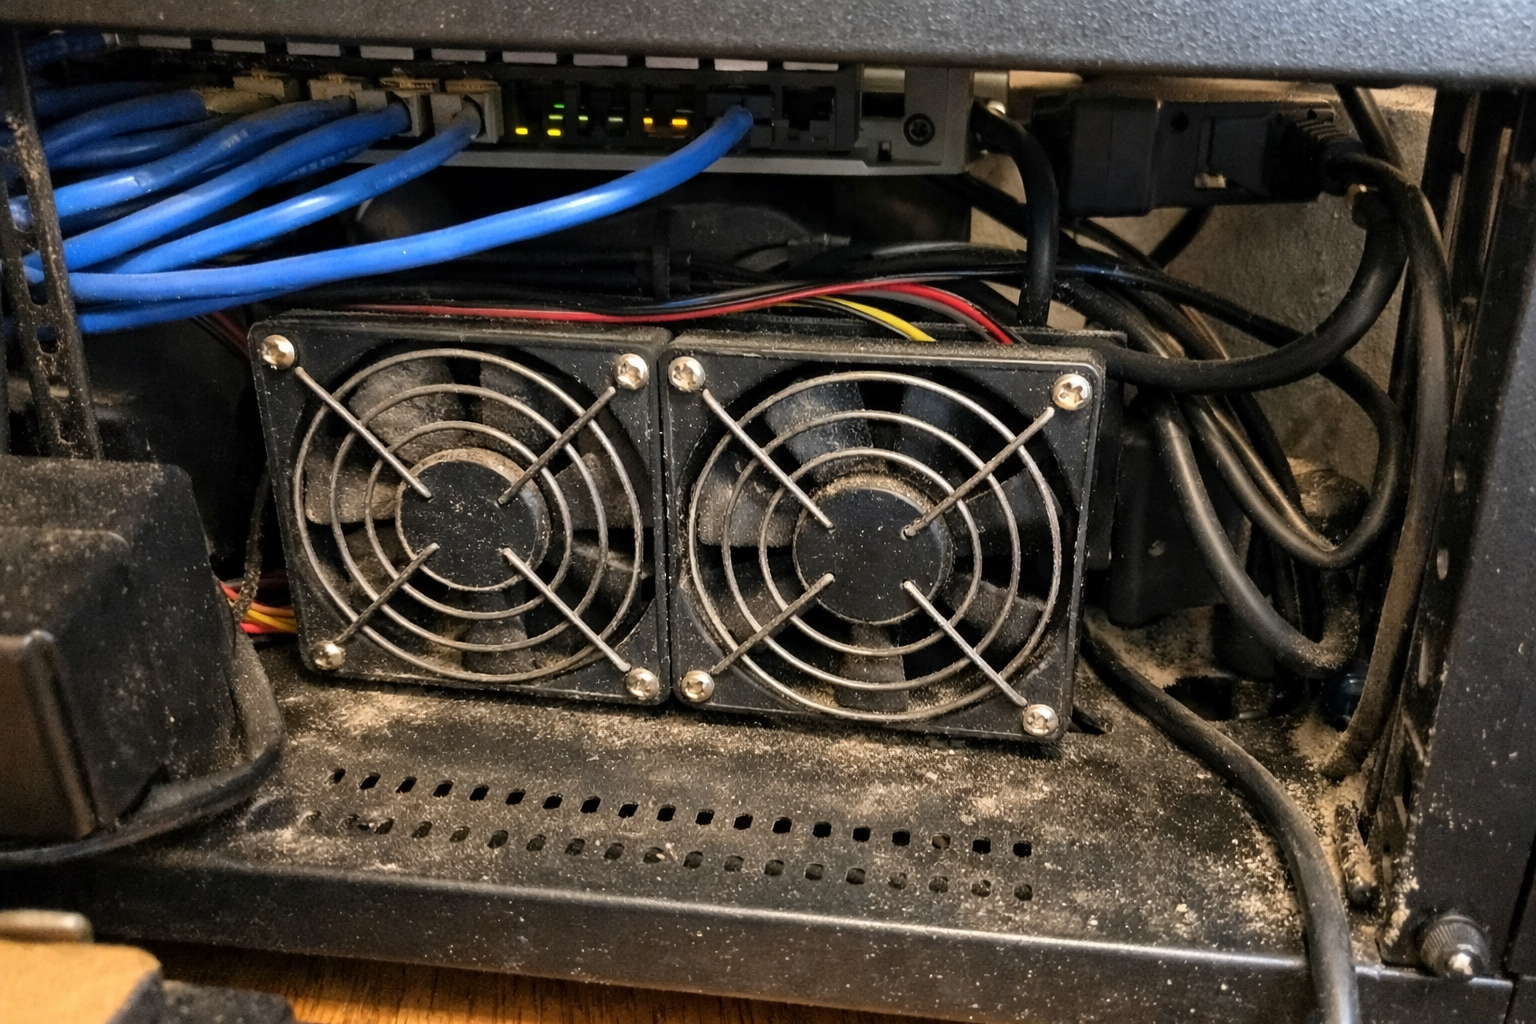
Once I had the cabinet mounted, the next issue was heat. I added the AC Infinity MULTIFAN S7-P, and this is one of those practical upgrades that doesn’t feel exciting until you live with it for a week. It moves enough air to keep warm gear from baking itself, and more importantly, it does it without turning the closet into a noise source. I run it at a lower speed most of the time because I’d rather have steady quiet airflow than maximum cooling for no reason.
What I Appreciate
- ✅ Actually quiet enough for a nearby office
- ✅ Speed control makes it easy to balance airflow and noise
- ✅ Helps reduce heat buildup from stacked equipment
- ✅ Simple install without a bunch of extra nonsense
What Frustrates Me
- ❌ It’s still another powered device, so cable planning matters
- ❌ Doesn’t magically fix bad cabinet layout or blocked vents
- ❌ You may need to experiment with fan placement to get the best results
GHome Smart Power Strip
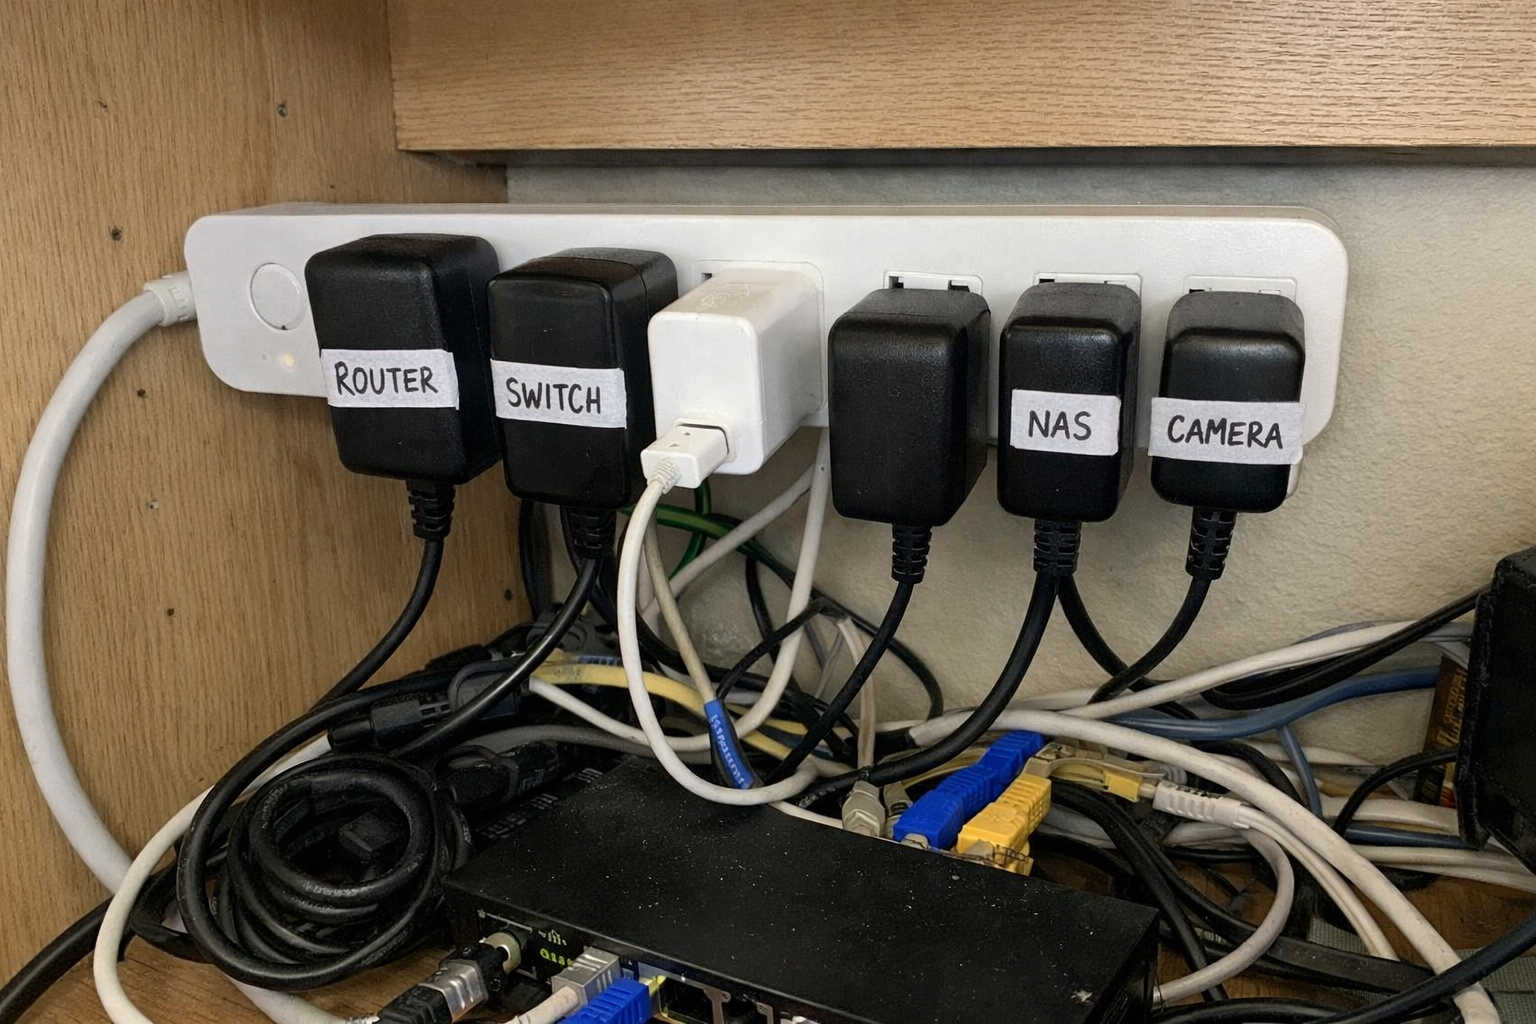
For power efficiency, I didn’t chase perfection. I just looked for easy wins. The GHome smart power strip helped me separate always-on gear from “only sometimes” gear. My modem, router, and main switch stay on dedicated power, but accessory stuff like a temporary charger, extra light, or test device can be scheduled or shut down remotely. That keeps phantom loads and unnecessary heat down a bit, and it’s especially useful if you tinker with your setup the way I do.
What I Appreciate
- ✅ Lets me control nonessential devices without crawling around on the floor
- ✅ Scheduling is useful for side equipment that doesn’t need to run 24/7
- ✅ Helps keep the closet a little more intentional from a power-use standpoint
- ✅ Individual outlet control is more useful than I expected
What Frustrates Me
- ❌ Only supports 2.4GHz WiFi, which is still annoying in 2026
- ❌ I would not use it as the main power path for mission-critical core gear
- ❌ Setup depends on the app, which is never my favorite thing
Delamu Cord Hider
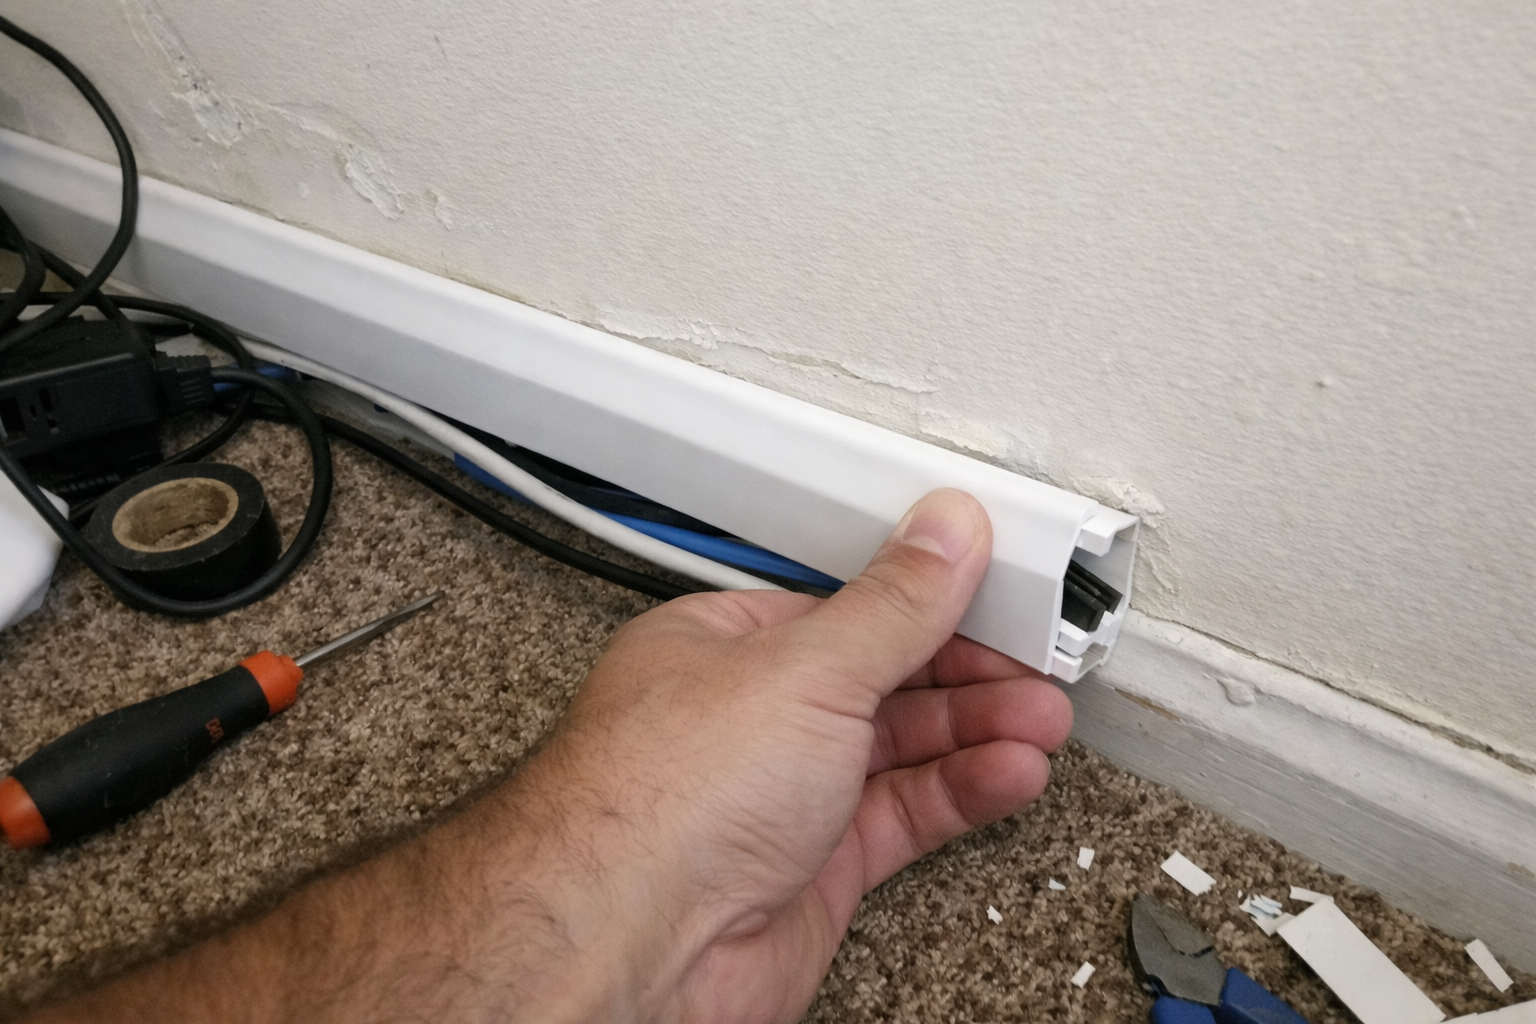
One thing that made the whole project feel finished was cleaning up the cable path going to and from the closet. I used the Delamu cord hider for the visible wall run, and this is exactly the kind of boring product I appreciate more after installation than before. It keeps things looking clean, but more importantly it stops loose cables from snagging, sagging, and collecting every dust bunny in the room. If your home office shares space with normal life, this matters.
What I Appreciate
- ✅ Makes exposed cable runs look much cleaner
- ✅ Snap-together design is genuinely easy to work with
- ✅ Can be cut and painted if you want it to blend in better
- ✅ Adds a little protection for cables in high-traffic spots
What Frustrates Me
- ❌ Surface raceways are never as invisible as people hope
- ❌ You need to plan corners and entry points before sticking it up
- ❌ Adhesive installs can be fussy on some wall textures
COLORWING TZe-231 Label Tape
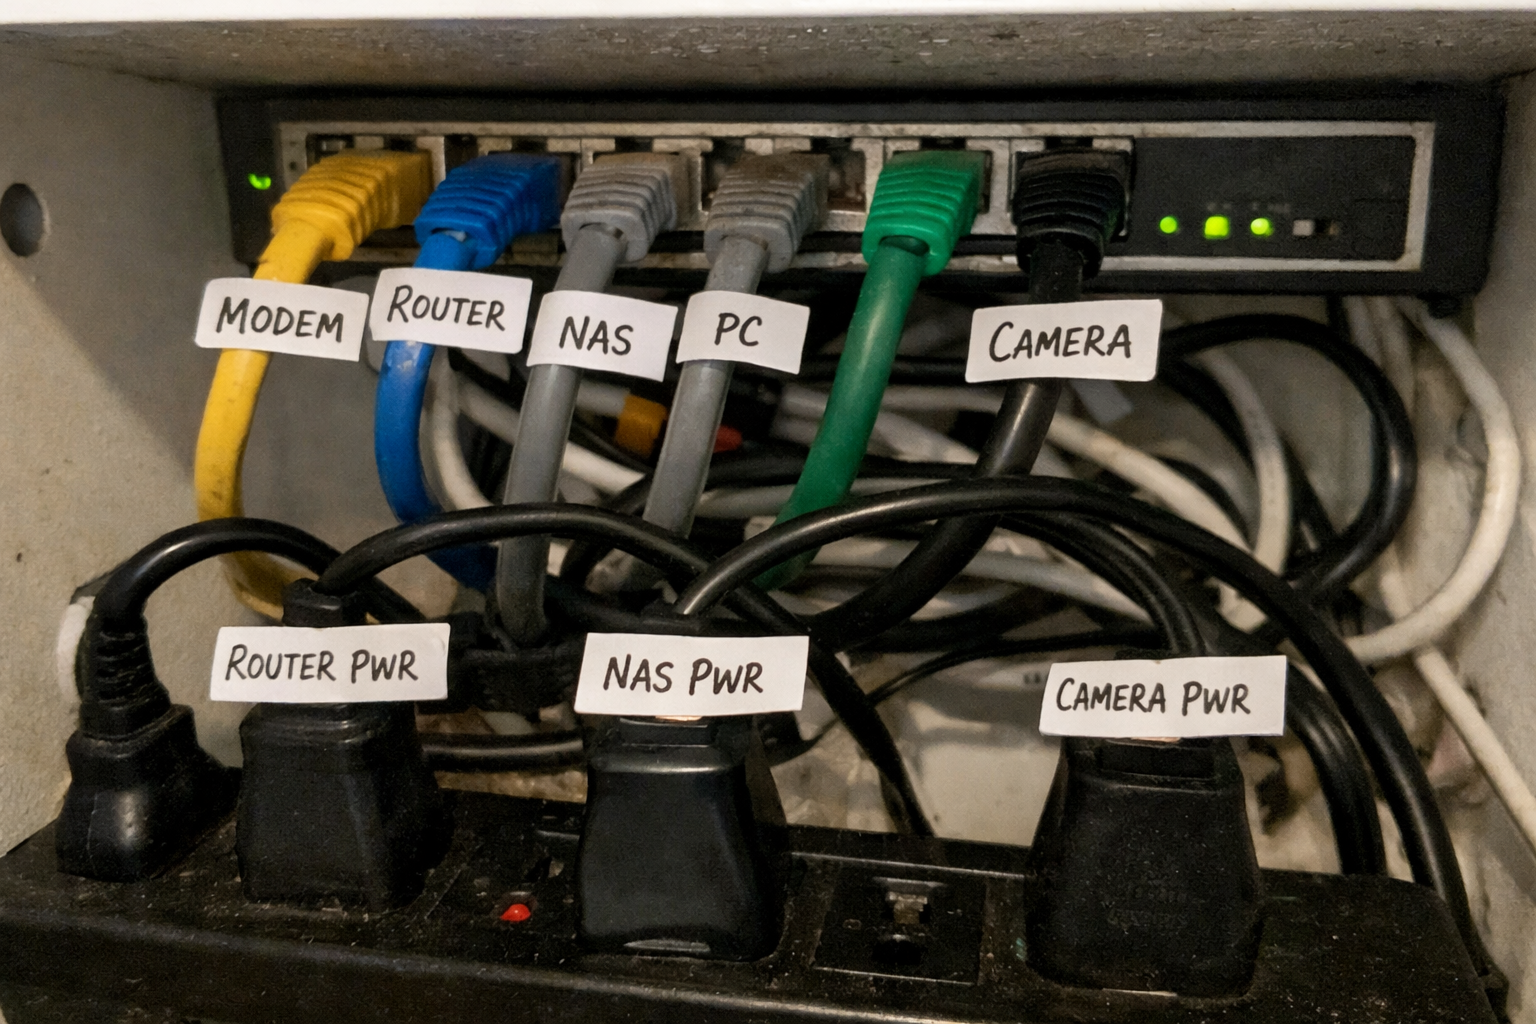
I know label tape is not glamorous, but if you skip labeling in a network closet, you’re basically scheduling future frustration. I’ve been using the COLORWING TZe-231 label tape in my Brother-compatible label maker for patch cables, power bricks, and cabinet notes. For this kind of setup, laminated tape is worth it. It holds up better when you’re moving cables around, and it keeps the whole thing serviceable six months later when you no longer remember what “temporary” meant.
What I Appreciate
- ✅ Makes troubleshooting dramatically faster
- ✅ Laminated labels hold up well in a warm equipment area
- ✅ Split backing is easier to work with than some cheap tapes I’ve used
- ✅ A 5-pack goes a long way if you label everything properly
What Frustrates Me
- ❌ Only useful if you already have a compatible label maker
- ❌ Labeling takes time when you’re impatient and just want it done
- ❌ Off-brand tape can vary a bit from batch to batch
What Each Upgrade Solved in Real Life
| Problem | What Helped Most | Why It Mattered |
|---|---|---|
| Gear running warm in a tight space | AC Infinity MULTIFAN S7-P | Added quiet airflow without turning the office into a fan test bench |
| Equipment piled on shelves and floor | Tecmojo 6U cabinet | Centralized everything and made cable routing easier to manage |
| Visible wall cable mess | Delamu cord hider | Cleaned up the office and reduced snag-prone loose runs |
| Accessory devices wasting power | GHome smart power strip | Made it easier to shut off or schedule nonessential devices |
| Forgetting what cable does what | COLORWING label tape | Saved me from dumb mistakes during troubleshooting and upgrades |
What I’d Still Improve Next
This setup is a lot better than where I started, but I’m not pretending it’s finished. My next step is trimming standby power even further by auditing every wall wart and deciding what truly needs to stay live all the time. I also want to add better battery-backup discipline so only the essential network path rides on backup power, not every random accessory I’ve plugged in over the years.
I’m also keeping an eye on noise creep. Fans stay quiet when dust is under control and airflow isn’t blocked, so this is one of those setups that rewards basic maintenance. The nice thing is that once the closet is organized, maintaining it stops being a whole Saturday project and turns into a ten-minute checkup.
💡 The Final Verdict: Worth It If Your Office Shares Space With Real Life
Building a quiet, power-efficient home office network closet is absolutely worth the effort if your current setup runs warm, looks messy, or makes your workspace feel more chaotic than it needs to. You do not need enterprise gear or a giant rack. You just need a cabinet that fits your equipment, a quiet cooling plan, smarter cable management, and labels so future-you doesn’t hate present-you. If you work near your networking gear every day, this kind of upgrade pays off in comfort and sanity more than bragging rights.
Disclaimer: As an Amazon Associate, I earn from qualifying purchases.
Author
-

Hi, I’m Andrew — an IT support specialist, smart home consultant, and someone who has spent more time than I’d probably admit fixing, upgrading, and reorganizing tech around the house.
I’m based in Seattle, and this blog grew out of years of hands-on trial and error with smart home gear, home lab setups, repair tools, and all the little accessories that make a system easier to live with. I’ve always liked understanding how things work, taking them apart when necessary, and finding better ways to set them up the second time around.
Here, I write about smart home products, DIY tech tools, server rack accessories, cable management solutions, and display gear for collectibles. Most of what I cover is practical, everyday equipment — the kind of stuff that sounds simple until you actually have to install it, troubleshoot it, or live with it for a few months.
My approach is straightforward and honest. I like step-by-step setup, real-world testing, and explaining what a product is actually like to use, not just what the box promises. That includes calling out flimsy materials, bad instructions, confusing installation, or design choices that make no sense once you start working with the product. If something is well made and easy to use, I’ll say that too.
A lot of my reviews come from real projects at home — building out servers, improving smart home automation, cleaning up cable messes, repairing devices, and figuring out better ways to store and display the things I care about.
If you like practical gear, clear explanations, and honest feedback from someone who actually installs the stuff himself, you’ll probably feel at home here.

Leave a Reply