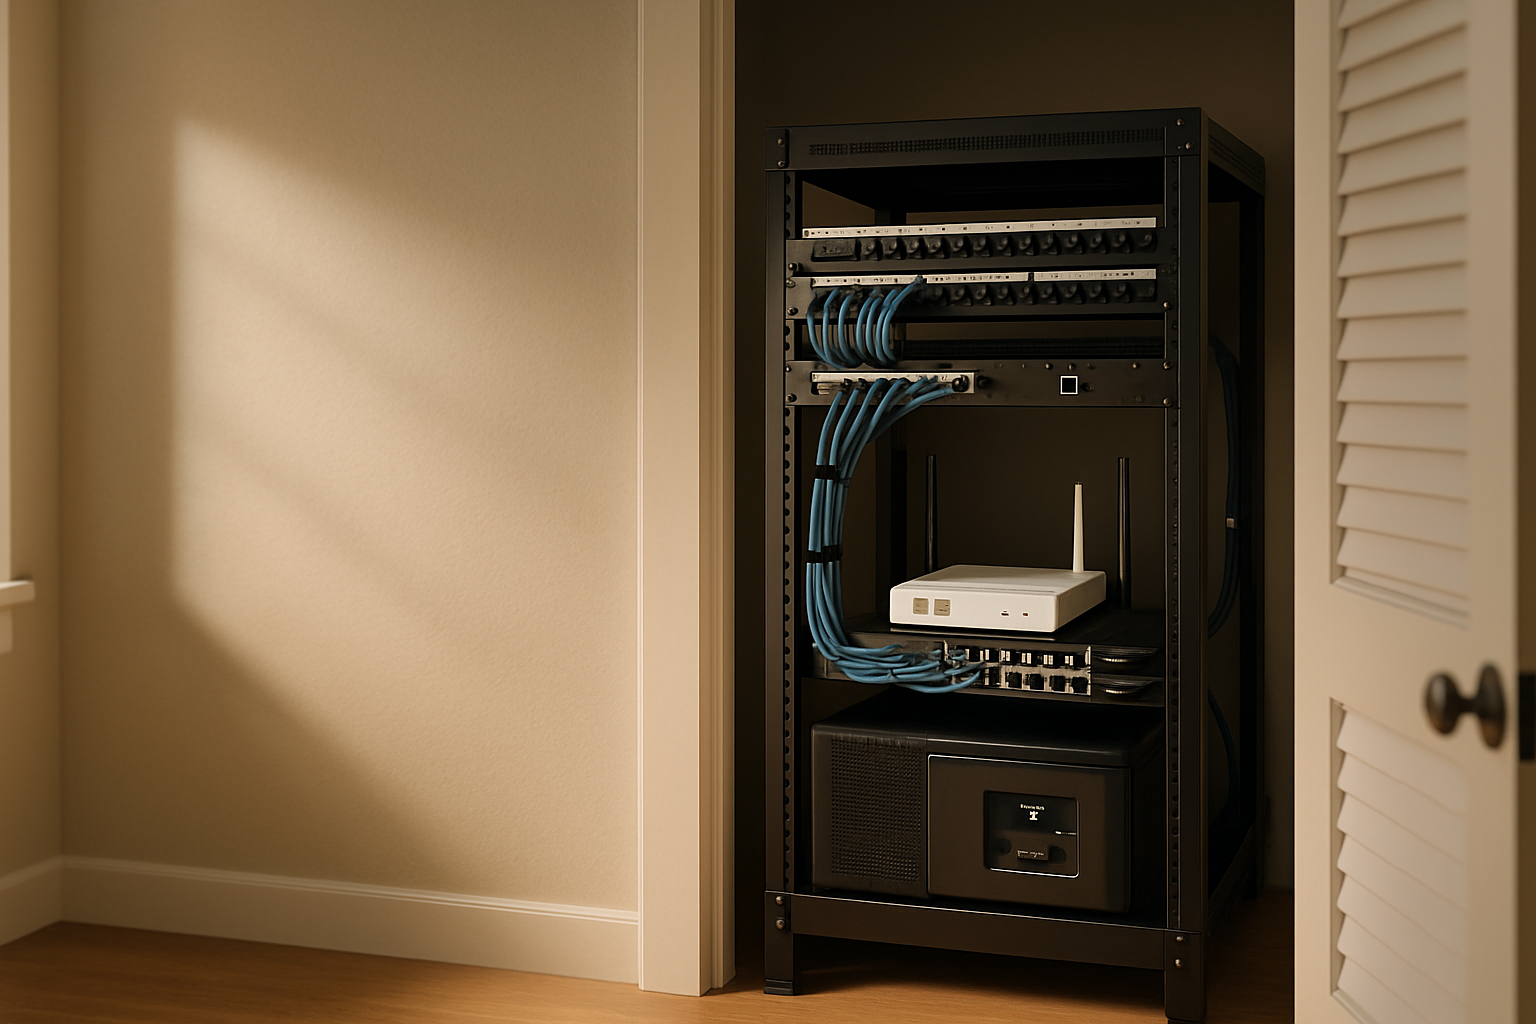
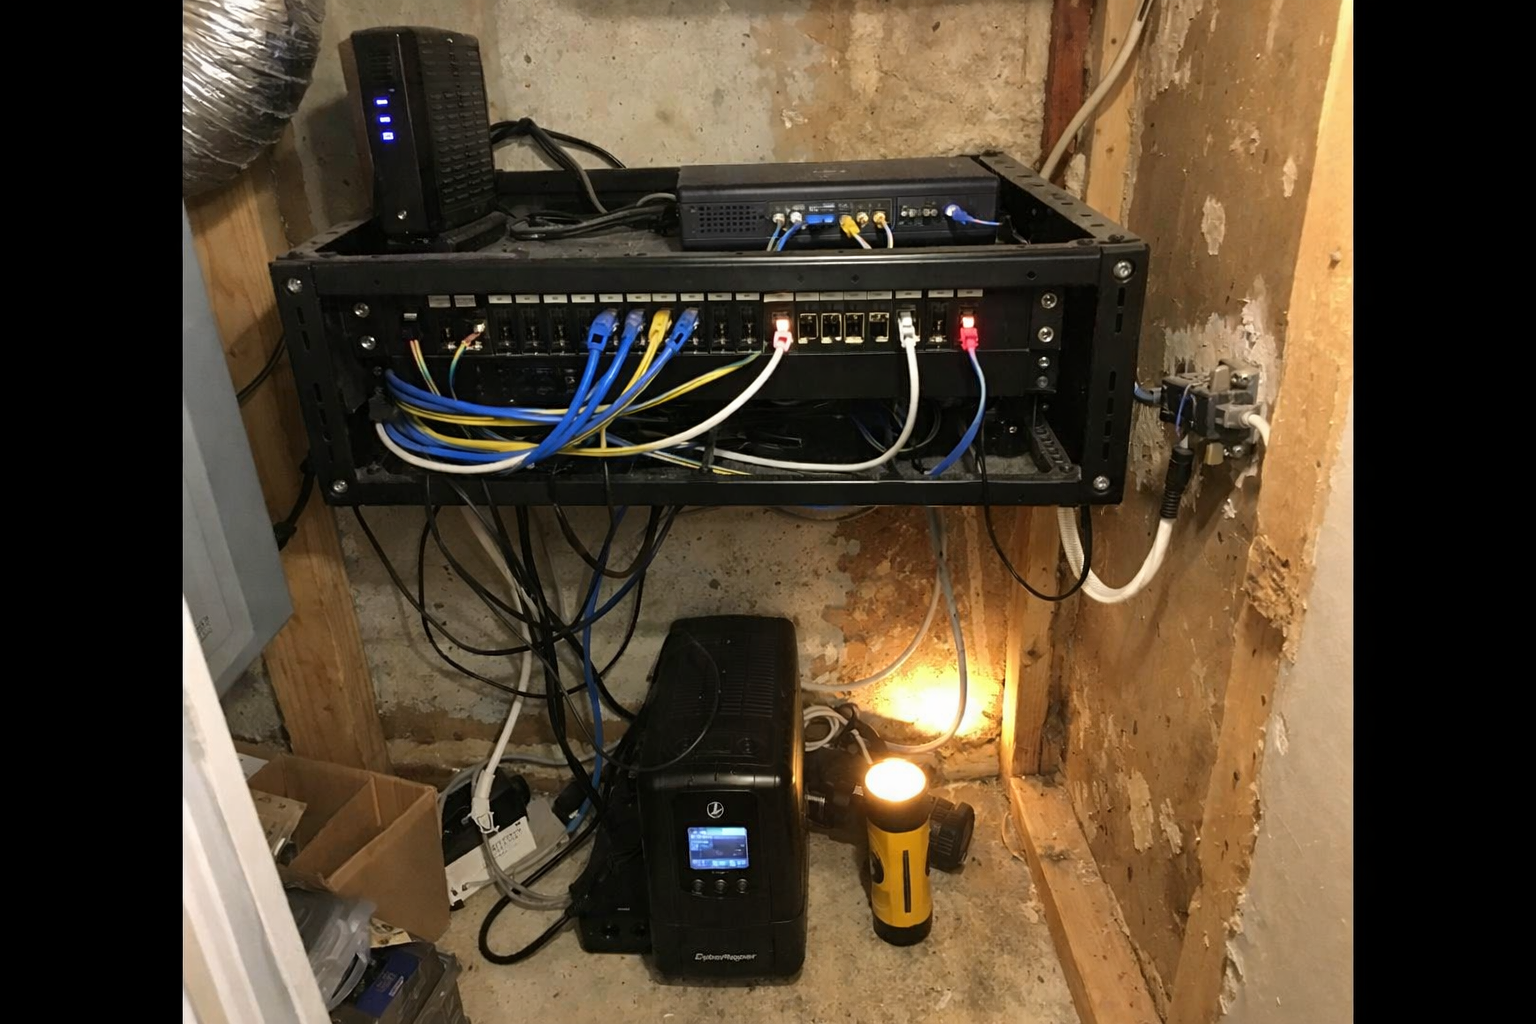
For a long time, my network gear lived in that awkward middle ground between “technically working” and “constantly annoying me.” It was tucked into a utility closet, which sounded smart at first, until I had to deal with trapped heat, UPS hum, spaghetti cable runs, and the special kind of frustration that comes from tracing one Ethernet line with a flashlight while kneeling on concrete. I wanted a utility-closet network rack that stayed quiet, ran cool, survived short outages, and didn’t make basic maintenance feel like punishment.
The big lesson for me was that a good home network rack setup is not just about buying a rack and throwing equipment into it. Closet ventilation matters. Service loops matter. Battery backup matters. And if the cable run is so tight that unplugging one thing yanks on three others, you did not build yourself a system. You built yourself a future headache.
What I Had to Fix Before I Bought Anything
Before pulling out my card, I had to be honest about what was actually broken. My problem was not “I need a cooler rack” in some vague sense. It was three separate issues working together.
First, the closet had poor airflow. Utility closets are great at hiding equipment and bad at letting heat escape. Mine was basically a warm little box with a door. Open-frame mounting helped, but passive airflow alone wasn’t enough once I added switching gear, modem, router, and backup power.
Second, I needed power continuity for the stuff that actually matters. I don’t care if every single device in the house stays on during a short outage, but I do care that my core network stays stable long enough to ride out a blip and shut down gracefully if needed. I’ve already gone deep on keeping infrastructure tidy in pieces like my quiet home office network closet build, and this utility-closet rack was basically the more serious version of that same goal.
Third, the cable management needed to be serviceable, not just pretty on day one. A lot of clean-looking racks are only clean because everything is pulled tight and hidden. That looks great until you swap hardware, add a patch cable, or need to move a power brick. I wanted cable runs I could reach, identify, and change without taking half the rack apart.
Once I narrowed it down to airflow, battery backup, and serviceability, the build decisions got a lot easier.
The Gear I Actually Ended Up Using
StarTech.com 2-Post 12U Heavy-Duty Wall Mount Network Rack
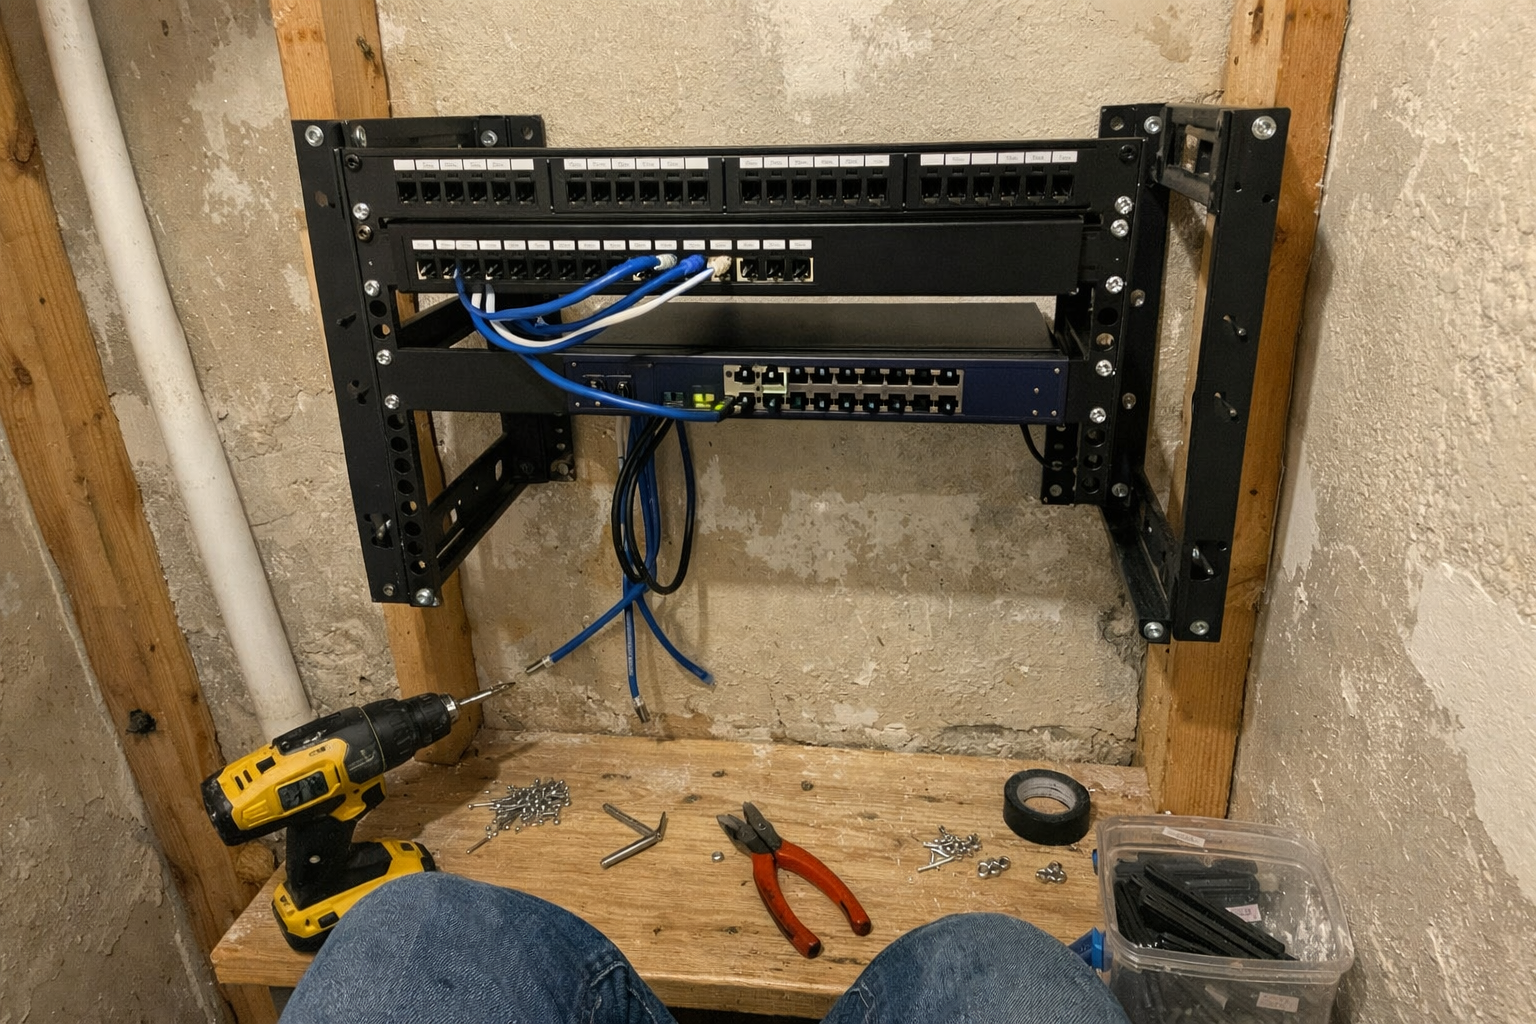
I started with the StarTech 12U wall-mount rack because I wanted side access, good airflow, and enough vertical space to avoid stacking gear in a way I’d regret later. For a utility closet network rack, open frame made more sense than a fully enclosed cabinet. It’s easier to work on, easier to cool, and much less fussy when you’re routing cables in a tight space. Assembly was straightforward, though like most rack projects, it went better once I ignored the urge to rush and actually laid out my planned device order first.
What I Appreciate
- ✅ Open-frame design makes installs and future changes much easier
- ✅ Adjustable depth gives you some breathing room for different gear sizes
- ✅ Feels sturdy once properly anchored into studs
What Frustrates Me
- ❌ Wall-mounting is not hard, but it definitely becomes a two-person job if you value your back
- ❌ Open frame means you need to be intentional about dust and cable neatness
AC Infinity CLOUDPLATE T1-N Rack Mount Fan Panel
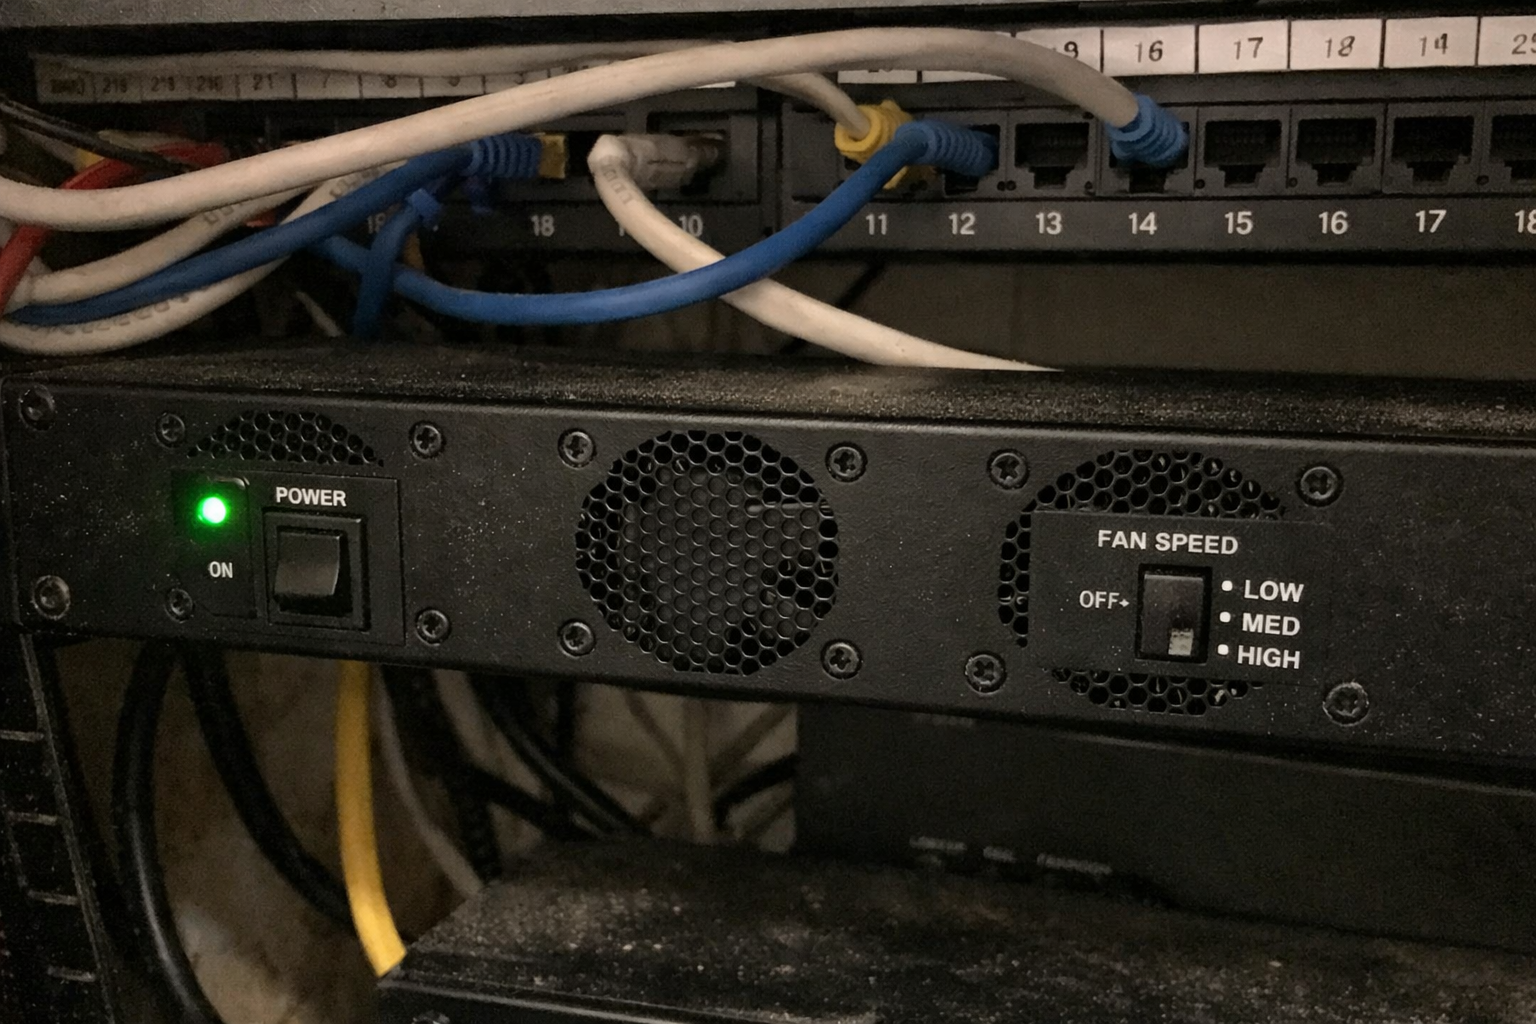
The most important cooling upgrade in this build was the AC Infinity CLOUDPLATE T1-N. Ignore the bad product description floating around for this listing; this is a rack fan panel, not headphones. What mattered to me was getting controlled airflow without turning the closet into a little wind tunnel. I used it to help pull cooler air where I needed it and keep heat from building up around the rack gear. The thermostat control is the part I actually value most. I don’t want fans screaming at full speed all day just because the closet exists. I want them to ramp when the rack needs help.
What I Appreciate
- ✅ Noticeably improves rack ventilation without adding much noise
- ✅ Thermostat control lets it behave like a tool instead of a nuisance
- ✅ Build quality feels solid, not flimsy
What Frustrates Me
- ❌ You still need to think about whole-closet airflow, not just rack airflow
- ❌ It is one more powered device to plan around in the rack
1U Brush Panel 2 Pack by Tupavco

I added the Tupavco 1U brush panel for two reasons: airflow control and cable sanity. In a small rack, open gaps can work for passive cooling, but they can also make cable routing sloppy fast. The brush panel gave me a clean path for patch cables while helping separate spaces a bit better so hot air wasn’t just wandering wherever it felt like. It’s one of those boring rack accessories that doesn’t seem exciting until you live with it for a few months and realize it quietly solved three small annoyances at once.
What I Appreciate
- ✅ Helps the rack look cleaner without making cable changes harder
- ✅ Nice way to route patch cables while keeping openings controlled
- ✅ Steel construction feels more durable than the cheap filler panels I’ve handled
What Frustrates Me
- ❌ Brush density adds a little resistance when you’re feeding multiple cables through
- ❌ Not magic; it improves organization, but you still need good cable planning
Self-Adhesive Hook and Loop Cable Ties
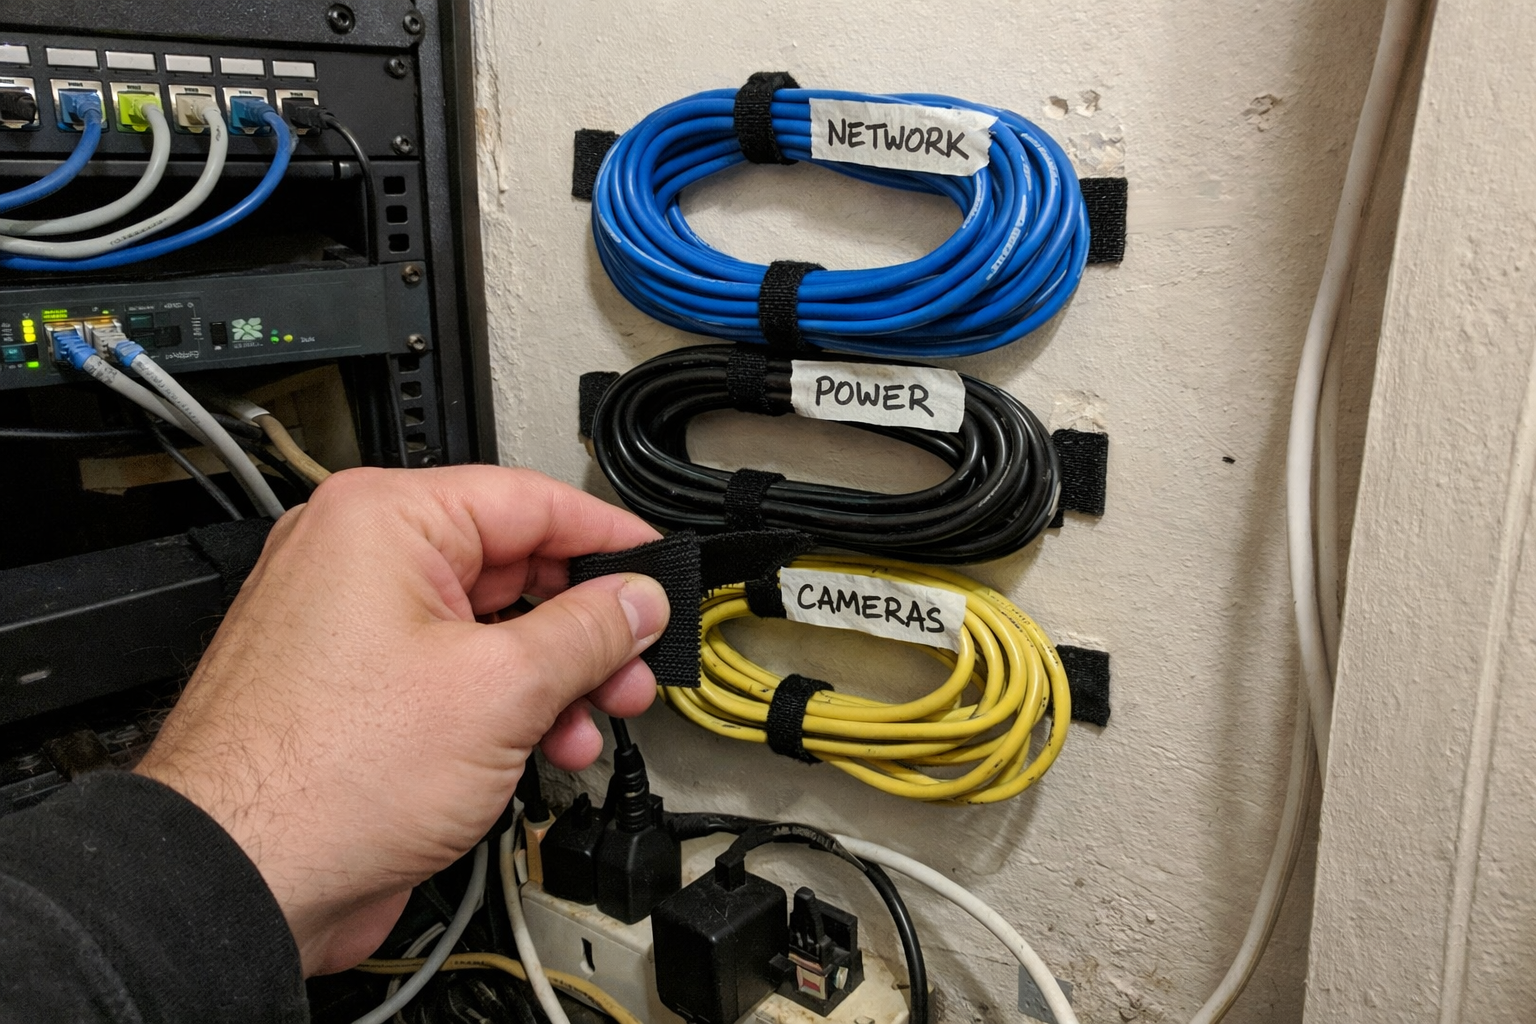
I used these self-adhesive hook and loop cable ties in spots where I wanted to guide bundles along the wall or keep low-voltage runs from drifting into the power side of the closet. Are they glamorous? Not even a little. But this is the kind of stuff that turns a rat’s nest into a serviceable install. I will say this honestly: adhesive-backed cable organizers are only as good as the surface prep and the surface itself. On clean, flat surfaces they’re handy. On dusty or textured areas, I trust them less and usually reinforce or rethink the placement.
What I Appreciate
- ✅ Great for guiding cable runs without cinching them too tightly
- ✅ Easy to reopen when you add or remove cables later
- ✅ Useful for keeping service loops tidy instead of tangled
What Frustrates Me
- ❌ Adhesive reliability depends heavily on the wall or surface prep
- ❌ Short length means larger bundles may need multiple ties
APC Back-UPS Pro 1500VA Sinewave UPS
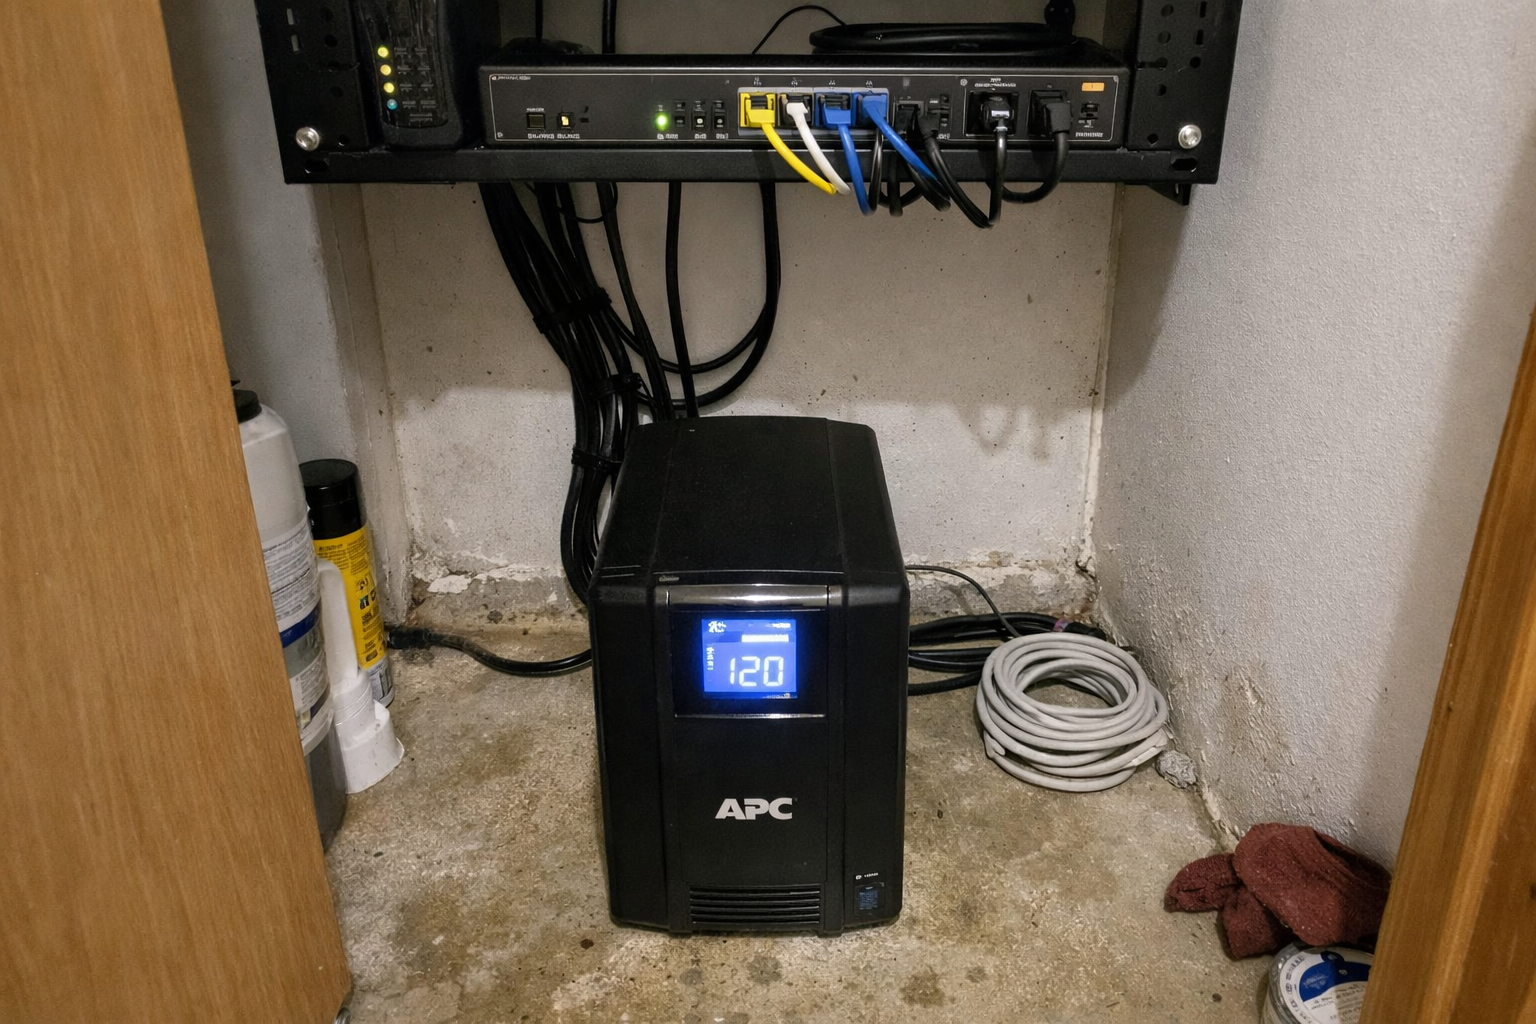
For power backup, I went with the APC Back-UPS Pro 1500VA sinewave model. This was not about keeping my whole house online through a long outage. It was about giving the modem, router, switch, and a few critical devices enough runtime to survive short interruptions and avoid ugly shutdowns. In a utility-closet network rack build, the UPS is usually the heaviest and least convenient piece, but it is also the one that saves you the most annoyance when the power flickers. I kept mine positioned for easy screen access and battery replacement later, because someday future me will have to deal with that, and I’m trying not to hate that guy.
What I Appreciate
- ✅ Sinewave output is reassuring for sensitive network and server gear
- ✅ LCD makes it easy to verify load and runtime without guessing
- ✅ User-replaceable battery is a big long-term plus
What Frustrates Me
- ❌ It is bulky and heavy, so placement matters a lot
- ❌ Fan and alarm behavior may be more noticeable in a small closet than you expect
| Part of the Build | What It Solved for Me | What I Had to Watch Out For |
|---|---|---|
| Open wall rack | Better access and passive airflow | Needs solid stud mounting and cleaner cable discipline |
| Rack fan panel | Reduced heat buildup and more controlled ventilation | Does not replace whole-closet airflow planning |
| Brush panel | Cleaner cable pass-through and better airflow separation | Can get crowded if you overstuff it |
| Hook and loop ties | Serviceable cable routing with easy changes later | Adhesive surfaces need prep and realism |
| UPS | Short-outage protection and cleaner shutdown behavior | Takes up space, adds weight, and needs battery planning |
A Few Things I’d Do Again Without Hesitation
The best decision was leaving more slack and access than I thought I needed. Not sloppy slack. Serviceable slack. Enough to pull a switch forward, reroute a patch cable, or replace a device without instantly redoing the whole closet.
The second best decision was treating airflow like a system problem instead of a fan problem. The rack fan helps, the brush panel helps, the open rack helps, but the closet itself still needs a path for air to move. If your utility closet is sealed up tight, you are just rearranging warm air unless you address that bigger picture.
And finally, I’m glad I didn’t overbuild it into some mini data center. Home network rack ideas can get out of hand fast. I wanted a rack I could maintain on a Tuesday night in normal clothes, not a monument to complexity.
What I’m Still Tweaking
I’m still refining closet-wide ventilation and noise control. The rack itself is in good shape now, but utility closets have a way of collecting extra stuff over time, and every random shelf item affects airflow more than people think. I’m also continuing to label and document cable paths better so future upgrades go faster. That sounds boring because it is boring, but boring is exactly what you want when your internet goes down and you need to troubleshoot quickly.
💡 The Final Verdict: Worth It If You’re Tired of Fighting Your Closet
Building a quiet utility-closet network rack was absolutely worth the time and money for me, but only because I focused on the right problems first. If your current setup runs hot, drops out during power blips, or turns every maintenance task into cable archaeology, this kind of upgrade makes daily life a lot easier. I think it’s most worth doing for homeowners, home lab folks, and remote workers who rely on stable networking and want a setup they can actually service without drama.
Disclaimer: As an Amazon Associate, I earn from qualifying purchases.
Author
-

Hi, I’m Andrew — an IT support specialist, smart home consultant, and someone who has spent more time than I’d probably admit fixing, upgrading, and reorganizing tech around the house.
I’m based in Seattle, and this blog grew out of years of hands-on trial and error with smart home gear, home lab setups, repair tools, and all the little accessories that make a system easier to live with. I’ve always liked understanding how things work, taking them apart when necessary, and finding better ways to set them up the second time around.
Here, I write about smart home products, DIY tech tools, server rack accessories, cable management solutions, and display gear for collectibles. Most of what I cover is practical, everyday equipment — the kind of stuff that sounds simple until you actually have to install it, troubleshoot it, or live with it for a few months.
My approach is straightforward and honest. I like step-by-step setup, real-world testing, and explaining what a product is actually like to use, not just what the box promises. That includes calling out flimsy materials, bad instructions, confusing installation, or design choices that make no sense once you start working with the product. If something is well made and easy to use, I’ll say that too.
A lot of my reviews come from real projects at home — building out servers, improving smart home automation, cleaning up cable messes, repairing devices, and figuring out better ways to store and display the things I care about.
If you like practical gear, clear explanations, and honest feedback from someone who actually installs the stuff himself, you’ll probably feel at home here.


Leave a Reply