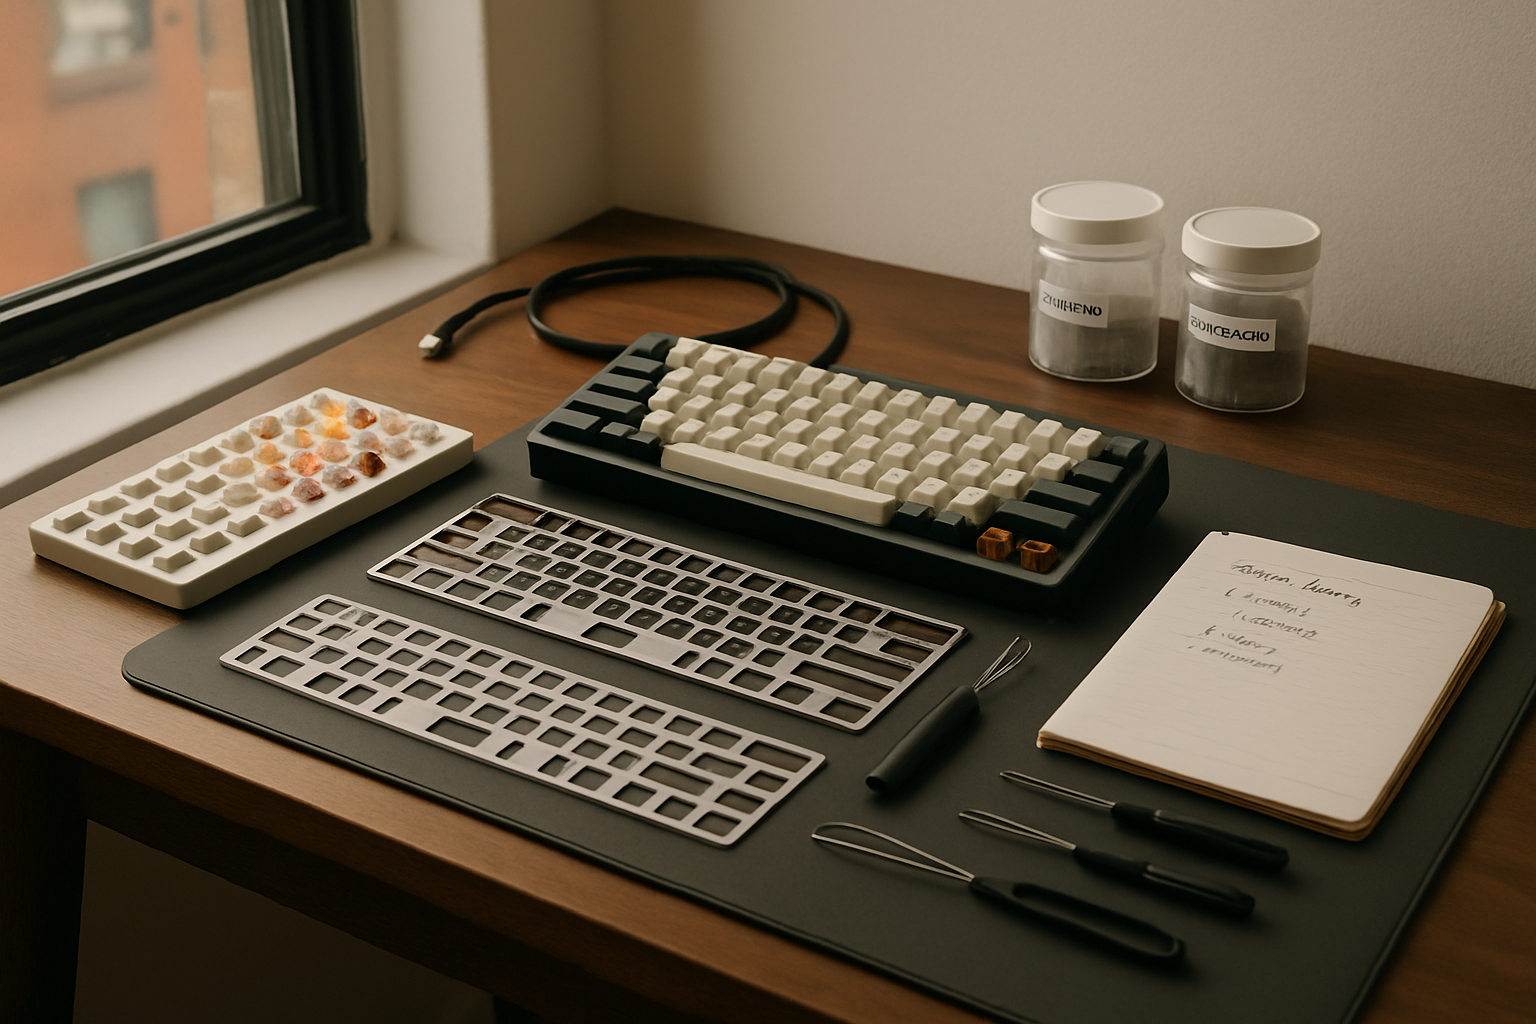
For a while, I was treating keyboard testing like a hobby that somehow deserved permanent sprawl. Switch jars, loose springs, half-used lube, wrist rests, spare keycaps, and one too many “temporary” boards were slowly taking over my small NYC workspace. The problem wasn’t just clutter. It was that I couldn’t actually compare switches, plates, and ergonomics in a consistent way, which meant I was spending premium money and still learning the wrong lessons.
If you’re trying to build a premium mechanical keyboard test bench in a small apartment, the real challenge is not finding gear. It’s creating a repeatable setup that lets you evaluate typing feel, sound, fatigue, and desk comfort without turning your office into a parts graveyard.
What I Had to Fix Before Buying More Keyboard Stuff
Before pulling out my credit card again, I had to figure out what was actually broken about my process. I realized I had three separate problems.
First, I was testing too many variables at once. I’d swap switches, move to a different board, change desk posture, and then convince myself a plate material was the reason something felt better. That’s terrible data. If the typing angle changed, or my wrists were floating for two hours, my judgment was already compromised.
Second, my “organization system” was basically small piles. In a larger room, maybe that’s survivable. In a New York apartment office, it’s how one tray of parts becomes the entire desk. I needed every testing tool to earn its footprint.
Third, I had underestimated ergonomics during keyboard testing. This sounds obvious now, but when you’re obsessing over gasket flex, carbon fiber plates, and switch travel, it’s easy to ignore the fact that wrist angle and desk height can completely distort your impression of a board. I learned that the hard way after a week of long typing sessions left my forearms feeling cooked. It pushed me back toward the same ergonomics mindset I wrote about in my recovery-focused home office setup.
So my rule became simple: if a product didn’t help me compare switches more consistently, reduce physical strain, or keep the workspace contained, it didn’t belong on the bench.
The Small-Footprint Keyboard Test Bench I Actually Use
TECKNET Wrist Rest for Computer Keyboard
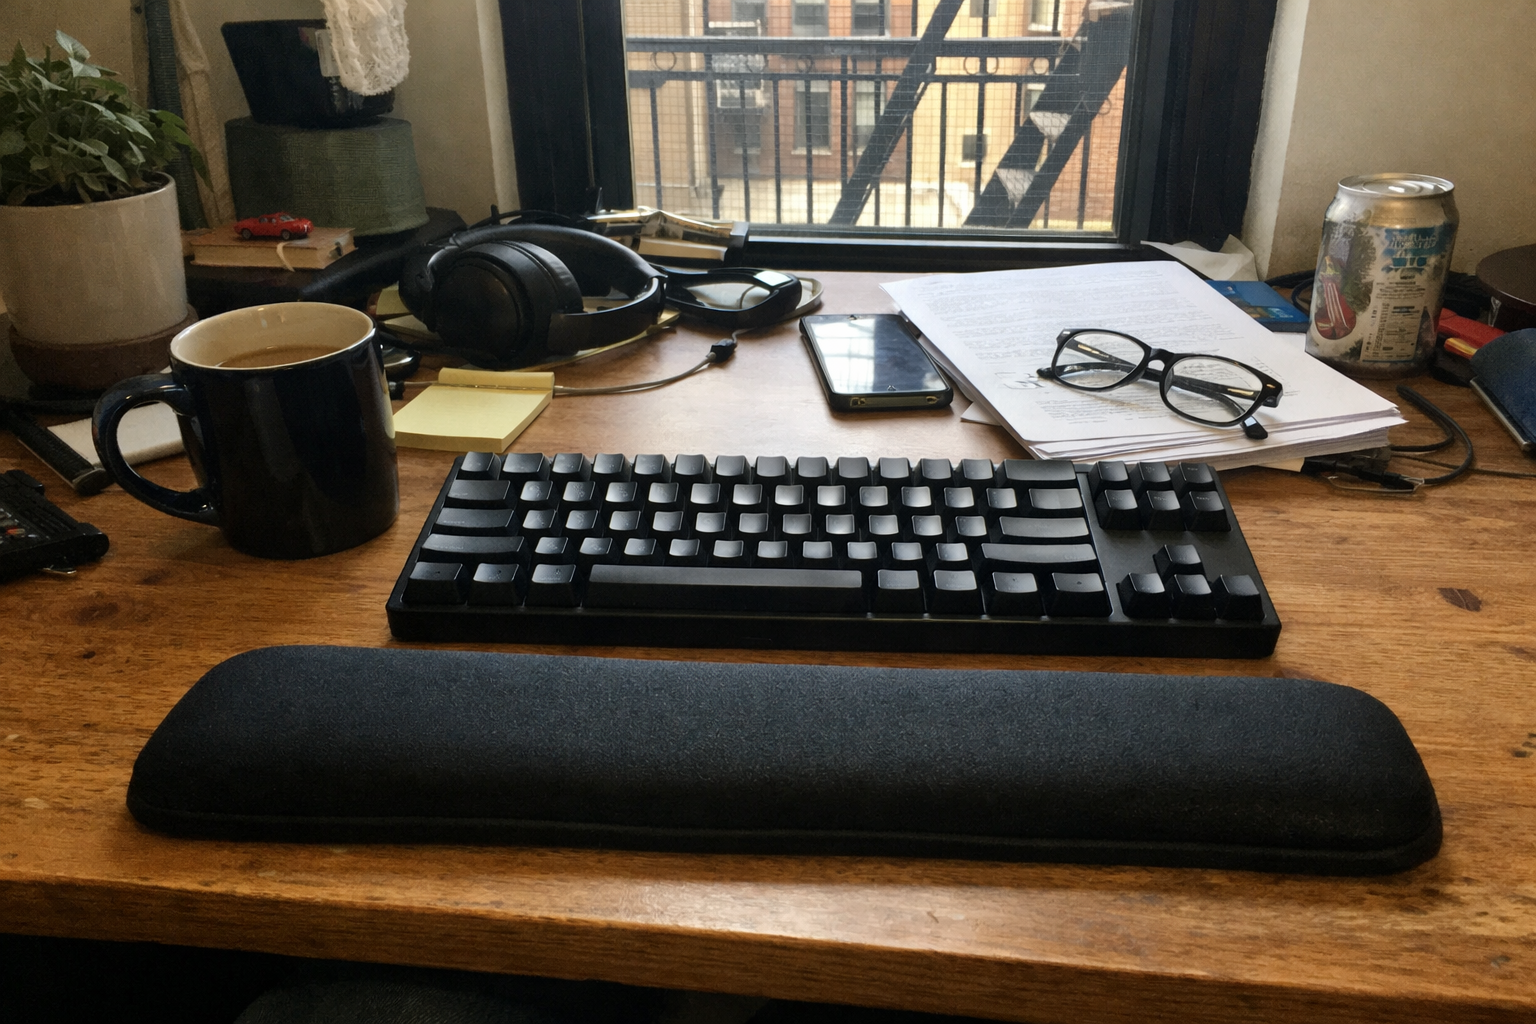
I didn’t expect a basic wrist rest to become one of the most important controls in my keyboard testing, but it genuinely did. I picked up the TECKNET wrist rest because I needed a consistent hand position across different boards, especially when comparing a taller aluminum case against lower-profile options. It’s not glamorous, but it gives me a stable baseline. If I’m trying to judge switch weight, plate stiffness, or front height comfort, I need to know my posture isn’t the variable ruining the test.
What I Appreciate
- ✅ Thick enough to reduce wrist extension on taller keyboards
- ✅ Rubber base stays planted on wood and laminate desks
- ✅ Useful as a “control” when comparing multiple boards over long sessions
- ✅ Easy to wipe down after the very predictable espresso spill
What Frustrates Me
- ❌ It’s more about comfort and consistency than premium feel
- ❌ Memory foam wrist rests can run warm during long summer sessions
- ❌ Not the prettiest match if your setup leans high-end aluminum everything
ATK x QK Hex80 HE Magnetic Gaming Keyboard

The ATK x QK Hex80 HE became my anchor board for testing because it gives me a very solid reference point: rigid CNC aluminum construction, a compact TKL footprint that still feels work-friendly, and a switch implementation that’s dramatically different from traditional MX mechanical builds. I would not tell everyone this should be their only keyboard. But as a benchmark, it’s useful because it makes actuation behavior, acoustic dampening, and case quality impossible to ignore.
Where this helped me most was separating “fast” from “comfortable.” Hall-effect boards can feel impressive immediately, but not every switch technology translates into a better typing experience for spreadsheet-heavy work, long writing blocks, or analytical tasks. Using this as a reference board forced me to compare objective differences: response, key travel feel, mounting character, and whether I actually liked using it for real work instead of just five minutes of desk flexing.
What I Appreciate
- ✅ Extremely solid chassis with a premium, dense desk presence
- ✅ TKL layout is practical for work without dominating a small desk
- ✅ Useful benchmark for comparing modern magnetic switches against standard MX options
- ✅ Dampening and plate setup make it easier to study sound and feel in a controlled way
What Frustrates Me
- ❌ Hall-effect behavior is not a direct substitute for every traditional typing preference
- ❌ Heavier aluminum boards are less convenient if you reconfigure your desk often
- ❌ Advanced features can be overkill if your use case is mostly office typing
iFixit Anti-Static Project Tray
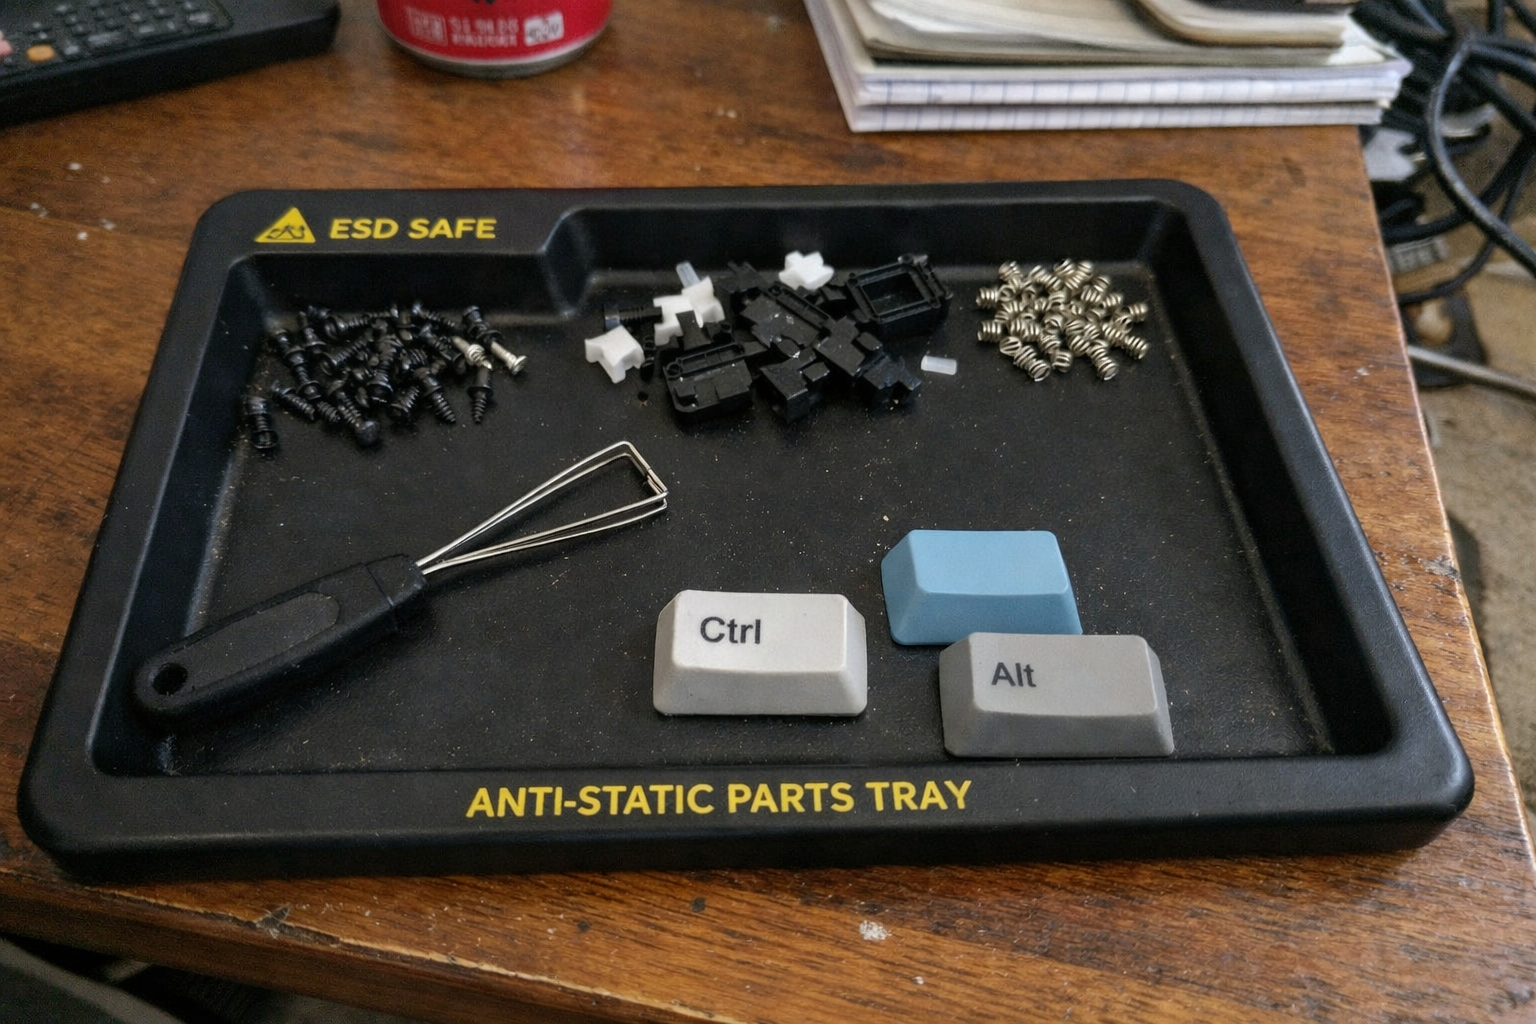
This is the product that saved me from the “parts graveyard” part of the equation. I added the iFixit anti-static project tray after losing track of screws and switch parts one too many times. It sounds minor until you’ve spent 20 minutes looking for a stabilizer wire that rolled under a monitor arm base. In a tiny workspace, containment matters as much as the keyboard itself.
I like this tray because it helps me stage a test in batches. If I’m comparing springs, stems, or plate-mounted changes, each compartment gets one category. It keeps me from mixing “active test parts” with “random leftover parts,” which was honestly one of my biggest bad habits.
What I Appreciate
- ✅ Small enough to justify permanent desk space
- ✅ Compartments make A/B testing much less chaotic
- ✅ Anti-static material is reassuring around delicate components
- ✅ Great for keeping screws and stabilizer parts from wandering
What Frustrates Me
- ❌ It won’t replace a bigger storage system if you own too many keyboard parts
- ❌ Best for active projects, not long-term collection management
- ❌ Once the tray is full, you find out quickly whether you’re overcomplicating a build
Akko 16-Key Switch Tester
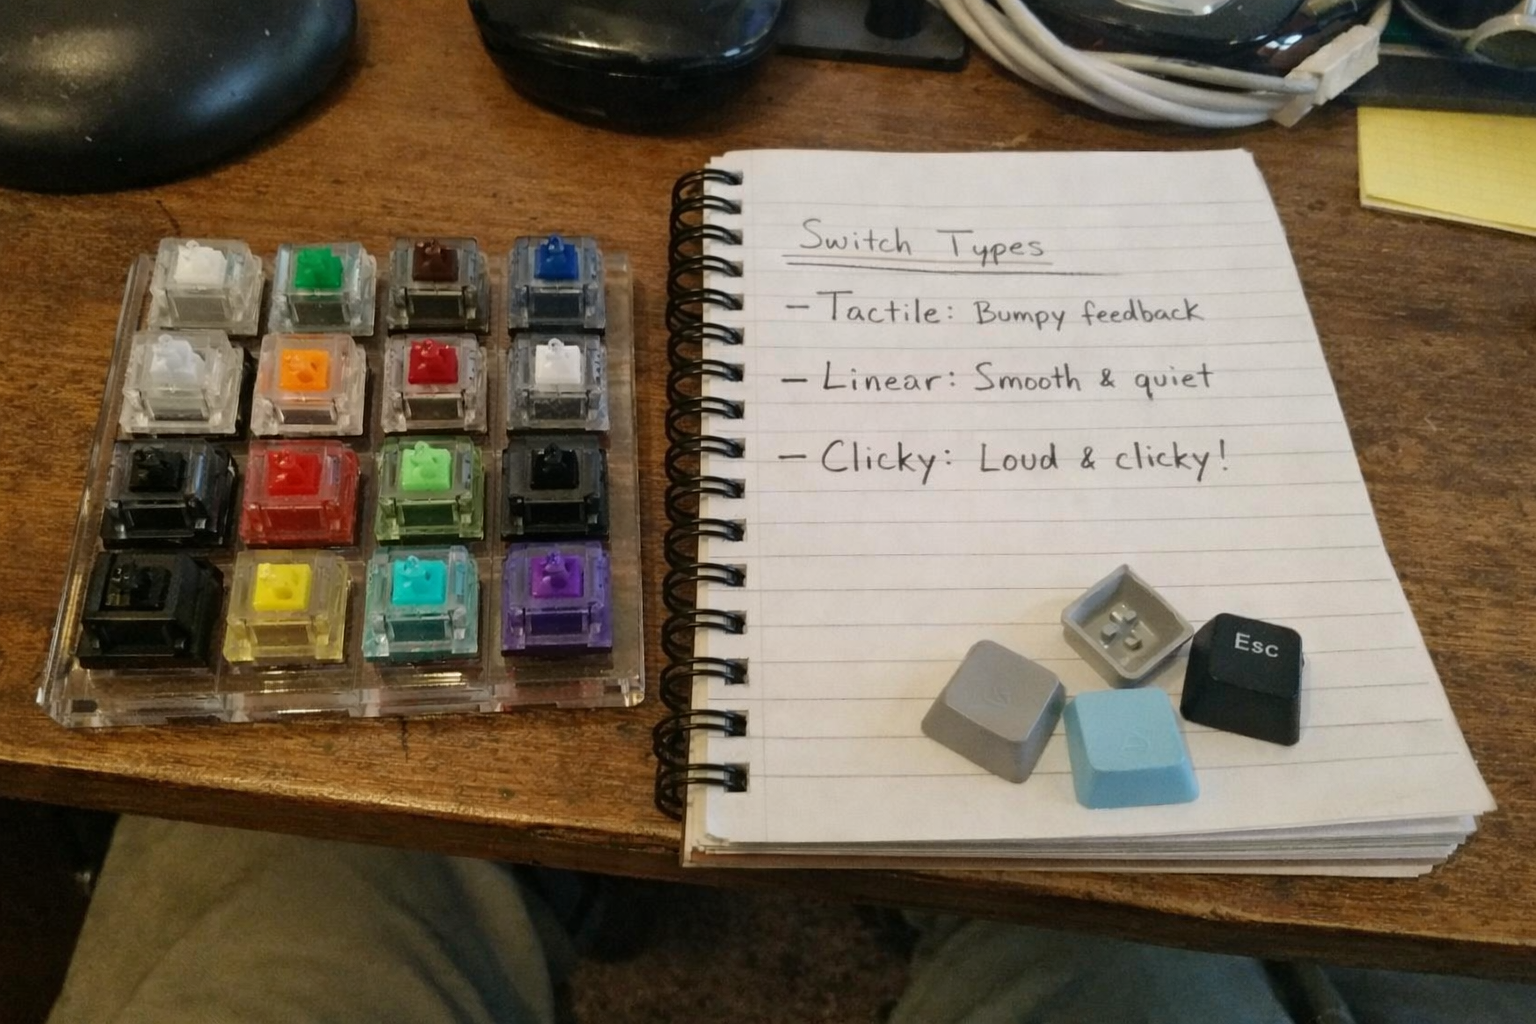
I think a lot of people jump straight into full switch packs when a tester would have saved them money. I started using the Akko 16-key switch tester as a first-pass filter before committing to larger purchases. Is it perfect? No. Pressing switches in a small acrylic tester doesn’t fully replicate how they feel in a complete board with your preferred plate, caps, and stabilizers. But it’s still extremely useful for eliminating obvious mismatches.
For me, the real value is narrowing the field. If I already know I dislike the top-out sound, bump shape, or spring weight in a tester, I don’t need to build an entire project around it. In a small workspace, avoiding unnecessary inventory is a win by itself.
What I Appreciate
- ✅ Cheap way to compare broad switch categories before buying packs
- ✅ Compact enough to store in a drawer instead of on display
- ✅ Helpful for identifying immediate dislikes in sound and feel
- ✅ Good reminder that not every popular switch is worth your time
What Frustrates Me
- ❌ Tester feel is not the same as a full keyboard experience
- ❌ Acrylic base can exaggerate or distort acoustic impressions
- ❌ Limited selection means you may still need deeper testing later
Glorious Lube Station
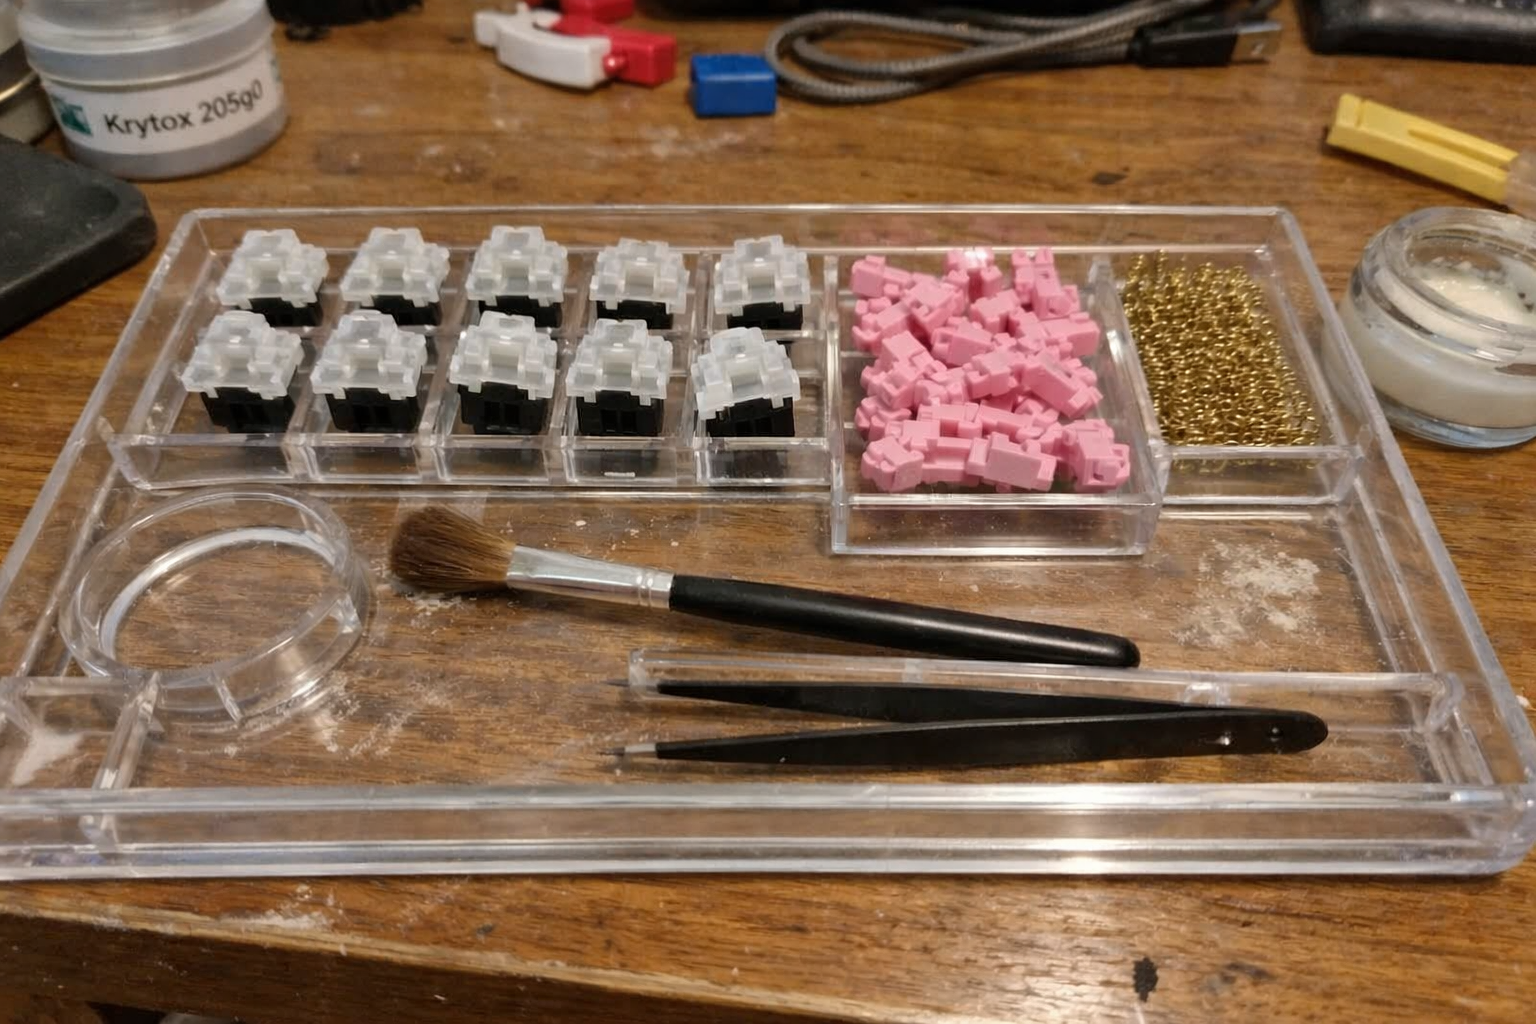
I resisted buying a dedicated lubing organizer for longer than I should have because it felt like peak keyboard-nerd excess. Then I borrowed a friend’s setup and immediately understood the point. The Glorious Lube Station doesn’t make switches magically better, but it makes the process controlled enough that your results are more consistent. And consistency is the whole game if you’re trying to compare changes instead of just doing crafts at your desk.
On a small bench, this matters because it keeps a lubing session contained. I can prep a batch, work through it methodically, and clear the station when I’m done instead of leaving half-disassembled switches in random containers for three days.
What I Appreciate
- ✅ Makes switch prep noticeably more orderly and repeatable
- ✅ Holds enough components for batch work without eating the whole desk
- ✅ Acrylic body feels durable enough for regular use
- ✅ Reduces the odds of mixing finished and unfinished switches
What Frustrates Me
- ❌ Very niche if you rarely lube switches
- ❌ Still one more object competing for storage in a small apartment
- ❌ Doesn’t solve the deeper issue of owning too many switch parts
What I Compare First Before I Blame the Switch
Once I had the bench under control, my testing process got much better. I stopped asking “Which switch is best?” and started asking better questions in a fixed order.
| Test Variable | What I Pay Attention To | Why It Matters in a Small Workspace |
|---|---|---|
| Desk ergonomics | Wrist angle, forearm support, keyboard height | If posture is off, every keyboard feels worse than it should |
| Plate material | Stiffness, rebound, bottom-out character, sound profile | Changes in plate feel are easier to hear and feel when the desk setup is consistent |
| Switch type | Initial force, bump shape, travel smoothness, top-out and bottom-out sound | This is where most people focus first, but it’s not the only factor |
| Mounting and case | Flex, resonance, overall density of the typing feel | Premium cases can justify themselves here, especially in daily use |
| Workflow footprint | How many tools and parts the experiment requires | If testing creates permanent clutter, I’m less likely to keep refining the setup |
That last row matters more than keyboard people like to admit. A test bench that’s technically excellent but impossible to reset is not a good home setup. It’s a hobby spill.
What I’m Still Refining
My next step is building a cleaner vertical storage layer so the test bench disappears when I’m done working. That probably matters even more than the next switch pack or plate experiment. I also want to get more disciplined about logging impressions immediately after each session instead of trusting memory, because subtle differences between plates and springs blur together fast after a full workday.
I’m also still trying to strike the right balance between “enthusiast-grade” and “actually productive.” That’s the trap with premium mechanical keyboard gear: the deeper you go, the easier it becomes to optimize the hobby instead of the desk. My goal now is a bench that helps me type better, work longer without fatigue, and pack away cleanly at the end of the day.
💡 The Final Verdict: A Test Bench Is Worth It If It Reduces Guesswork, Not Just Adds Gear
If you’re serious about mechanical keyboards and you work from a small apartment, a compact test bench is absolutely worth the time and money when it helps you compare variables more honestly and keeps your desk functional. I’d recommend this approach to enthusiasts who want better long-term buying decisions, not to people chasing endless tinkering for its own sake. The smartest version of a premium keyboard setup is the one you can actually reset, repeat, and live with every day.
Disclaimer: As an Amazon Associate, I earn from qualifying purchases.
Author
-

Hi, I’m Mateo — a remote business analyst and workspace consultant based in New York City.
I started this blog out of a long-term interest in productivity, ergonomics, and the tools that make daily work more efficient. Over the years, I’ve spent a lot of time refining my own setup and comparing different products, from premium office furniture to mechanical keyboards and coffee equipment for the home office. What began as a personal habit turned into a more structured way of reviewing and analyzing workspace gear.
This blog focuses on premium productivity tools and ergonomic equipment, with an emphasis on performance, build quality, durability, and long-term value. I cover products like standing desks, ergonomic chairs, multi-monitor setups, keyboard components, and high-end coffee machines, always with attention to how they hold up in real working conditions.
My approach is straightforward and detail-oriented. I look at products the same way I look at systems: by evaluating trade-offs, comparing alternatives, and asking whether the higher price is actually justified. That means I often compare premium products against strong mid-range options, break down the pros and cons clearly, and focus on return on investment rather than hype.
Outside of work, I’m interested in custom mechanical keyboards, espresso, and indoor cycling — all things that, in different ways, involve precision, consistency, and incremental improvement.
If you’re building a workspace that is comfortable, functional, and designed to last, this blog is for you.

Leave a Reply