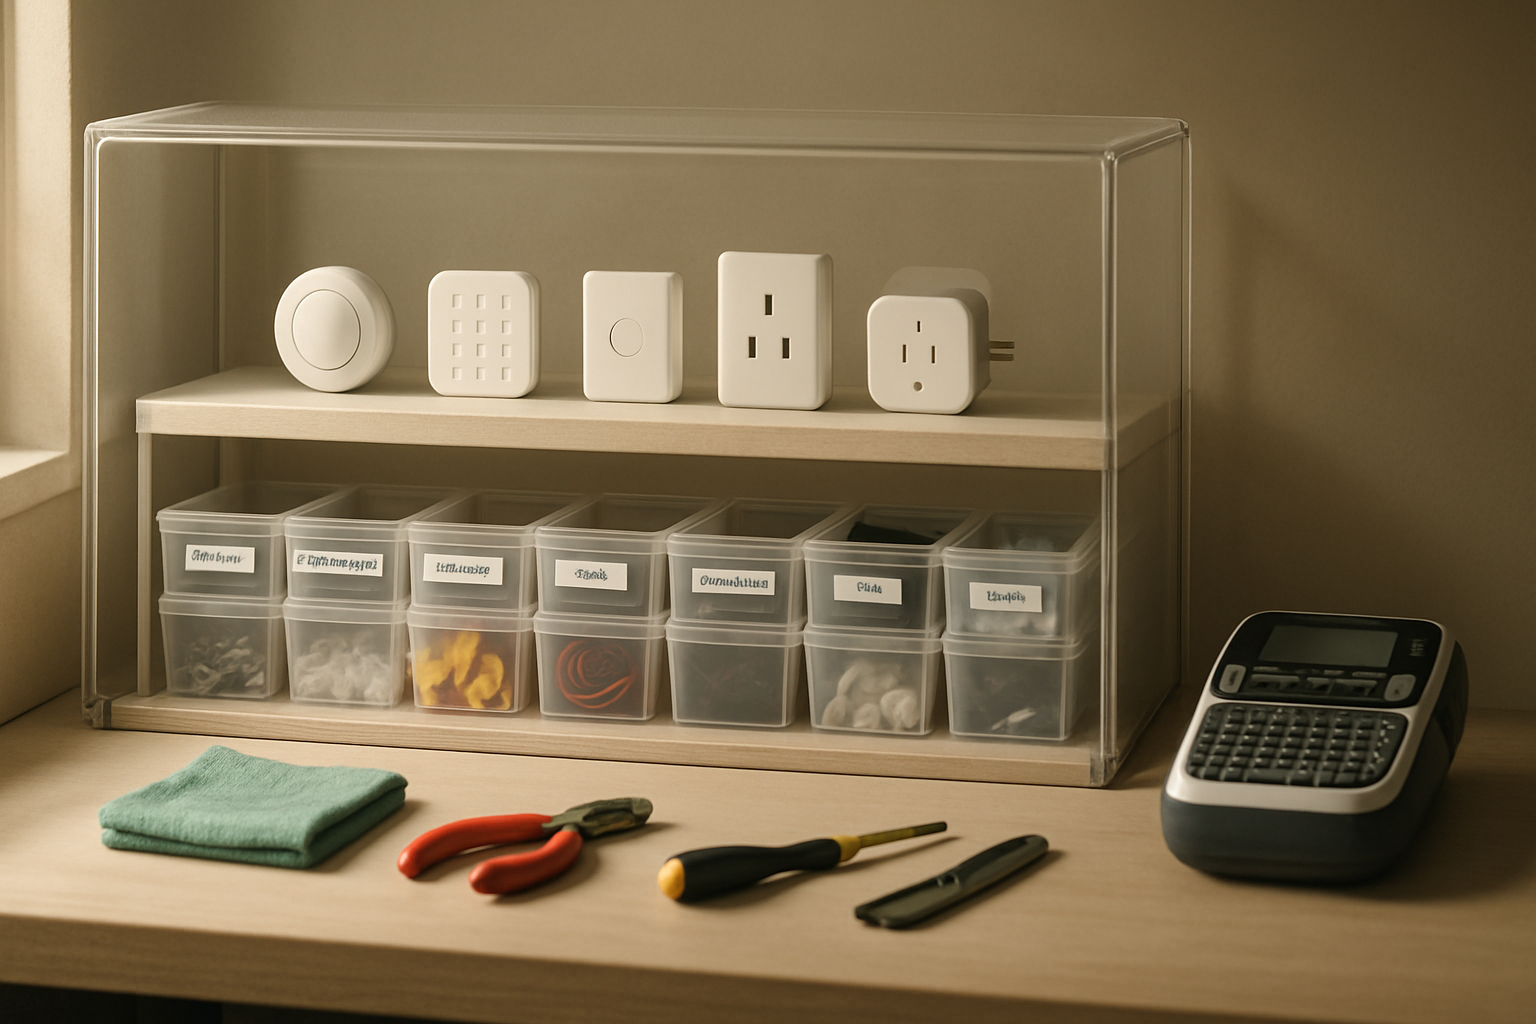
For a long time, my smart home testing shelf was basically a slow-motion mess. Sensors, extra screws, adhesive pads, Zigbee buttons, wire labels, and half-finished install parts kept piling up in one spot, and every time I needed to test a device or prep for a small install job, I’d spend ten minutes just clearing dust and hunting for the right little piece. That got old fast. I wanted one shelf station where I could test devices, label parts, and stage small jobs without turning my office into a junk drawer.
This setup isn’t fancy, and that’s kind of the point. It’s practical. I built it around easy cleanup, visible storage, and surfaces that don’t punish me every time I set down a hot tool, sticky adhesive backing, or a dusty smart plug fresh out of a box.
What Was Actually Broken About My Old Setup
Before I added anything, I had to be honest about the real problem. It wasn’t that I needed some dream workshop. I needed a shelf station that supported the kind of work I actually do: quick smart home device testing, labeling bins and parts, staging outlet covers and brackets for a one-room install, and doing minor repair work without coating everything in dust.
The big issues were pretty simple:
- Dust settled on everything because I kept too many open trays
- Small parts wandered off because I had nowhere dedicated to drop them
- I was labeling things inconsistently, which sounds minor until you’ve got three nearly identical contact sensors on a shelf
- My work surface kept changing depending on the task, so I was always moving stuff around
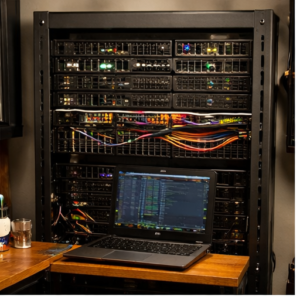
I’ve already written about keeping infrastructure neat in my under-desk home lab setup, but this shelf station solved a different problem. This one needed to stay ready for hands-on work, not just look clean from across the room.
My rule was simple: if something touched the shelf station, it needed to either reduce dust, create a repeatable workflow, or make cleanup faster. If it couldn’t do one of those three things, it didn’t belong there.
The Gear That Made the Shelf Station Work
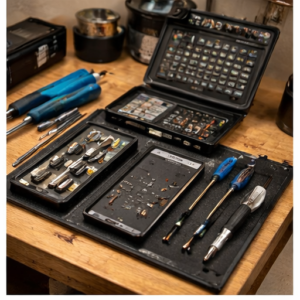
Premium Heat Resistant Magnetic Silicone Soldering Mat
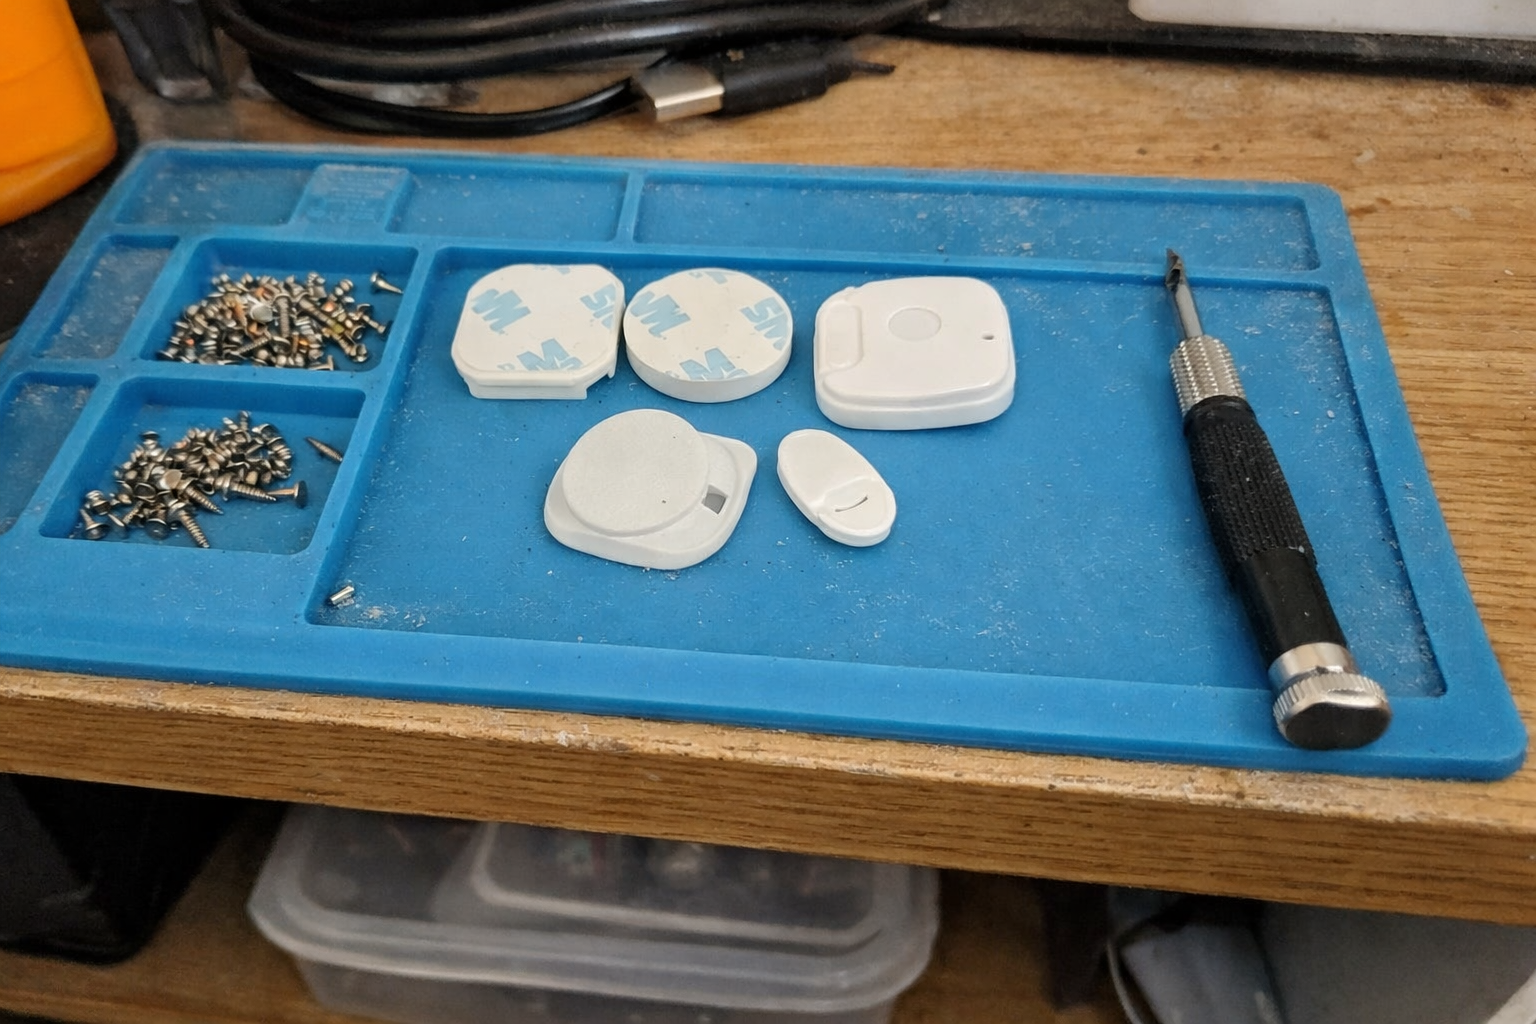
This was the first thing that made the station feel intentional. I started using the magnetic silicone soldering mat because I got tired of setting tiny screws and battery covers directly on the shelf. Even when I’m not soldering, the segmented trays and magnetic spots help a lot during smart switch setup, contact sensor pairing, and little teardown jobs. It also gives me one consistent “active work zone” so I’m not spreading parts across the whole shelf.
What I Appreciate
- ✅ Built-in compartments actually keep tiny parts from disappearing
- ✅ Gives me a dedicated repair and testing surface
- ✅ Handles heat better than a basic desk pad
- ✅ Doesn’t slide around much when I’m working fast
What Frustrates Me
- ❌ The molded compartments are great for small parts, but awkward for larger smart home hubs or wall plates
- ❌ It looks a little “bench tech” if you want a cleaner decorative office vibe
6-Piece Clear Plastic Storage Boxes with Snap-Tight Latch
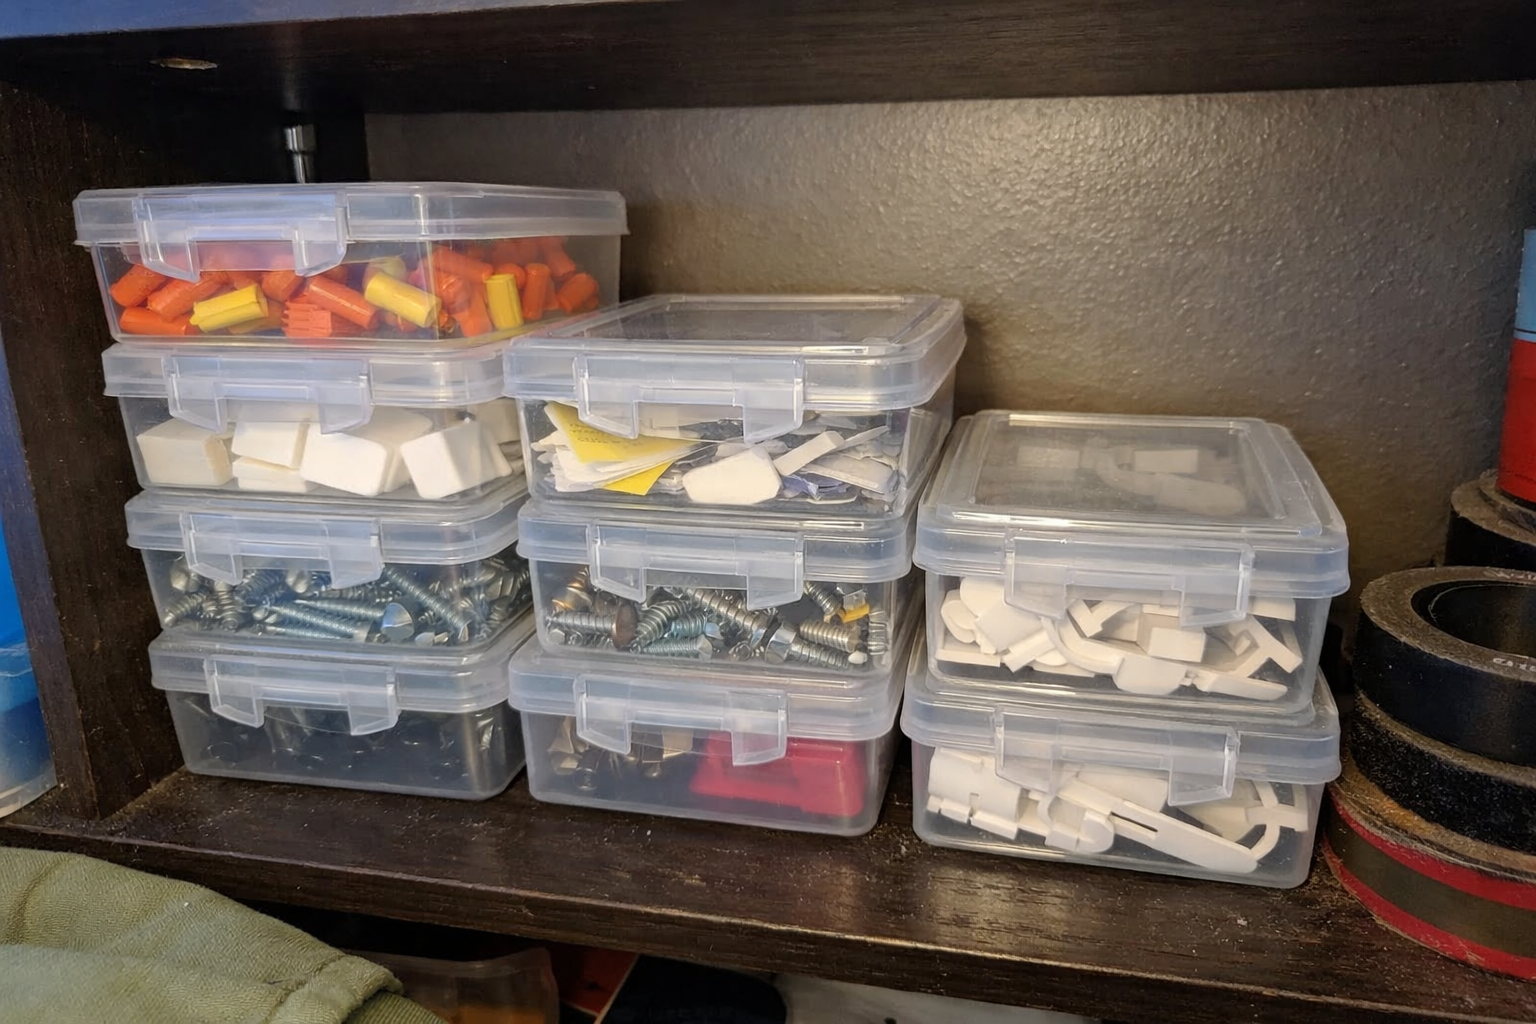
The biggest dust-control improvement was honestly just getting more stuff into sealed containers. I picked up these clear plastic storage boxes for the little parts that always seem to multiply: mounting screws, extra anchors, CR2032 batteries, adhesive strips, spare USB dongles, and those random brackets manufacturers include with smart sensors. Because they’re clear, I don’t have to open all six boxes to find one thing, and the latches keep the contents from collecting that annoying fine dust that settles on open trays.
What I Appreciate
- ✅ Clear plastic makes it easy to scan what’s inside
- ✅ Lids help keep dust off install parts
- ✅ Easy to stack on a shelf without tipping over
- ✅ Good size for small job staging without wasting space
What Frustrates Me
- ❌ Too small for bulkier devices like smart plugs or wall dimmers
- ❌ You still need a labeling system or they all start to look the same after a week
IT Dusters AirTec Ultra Electric Air Duster
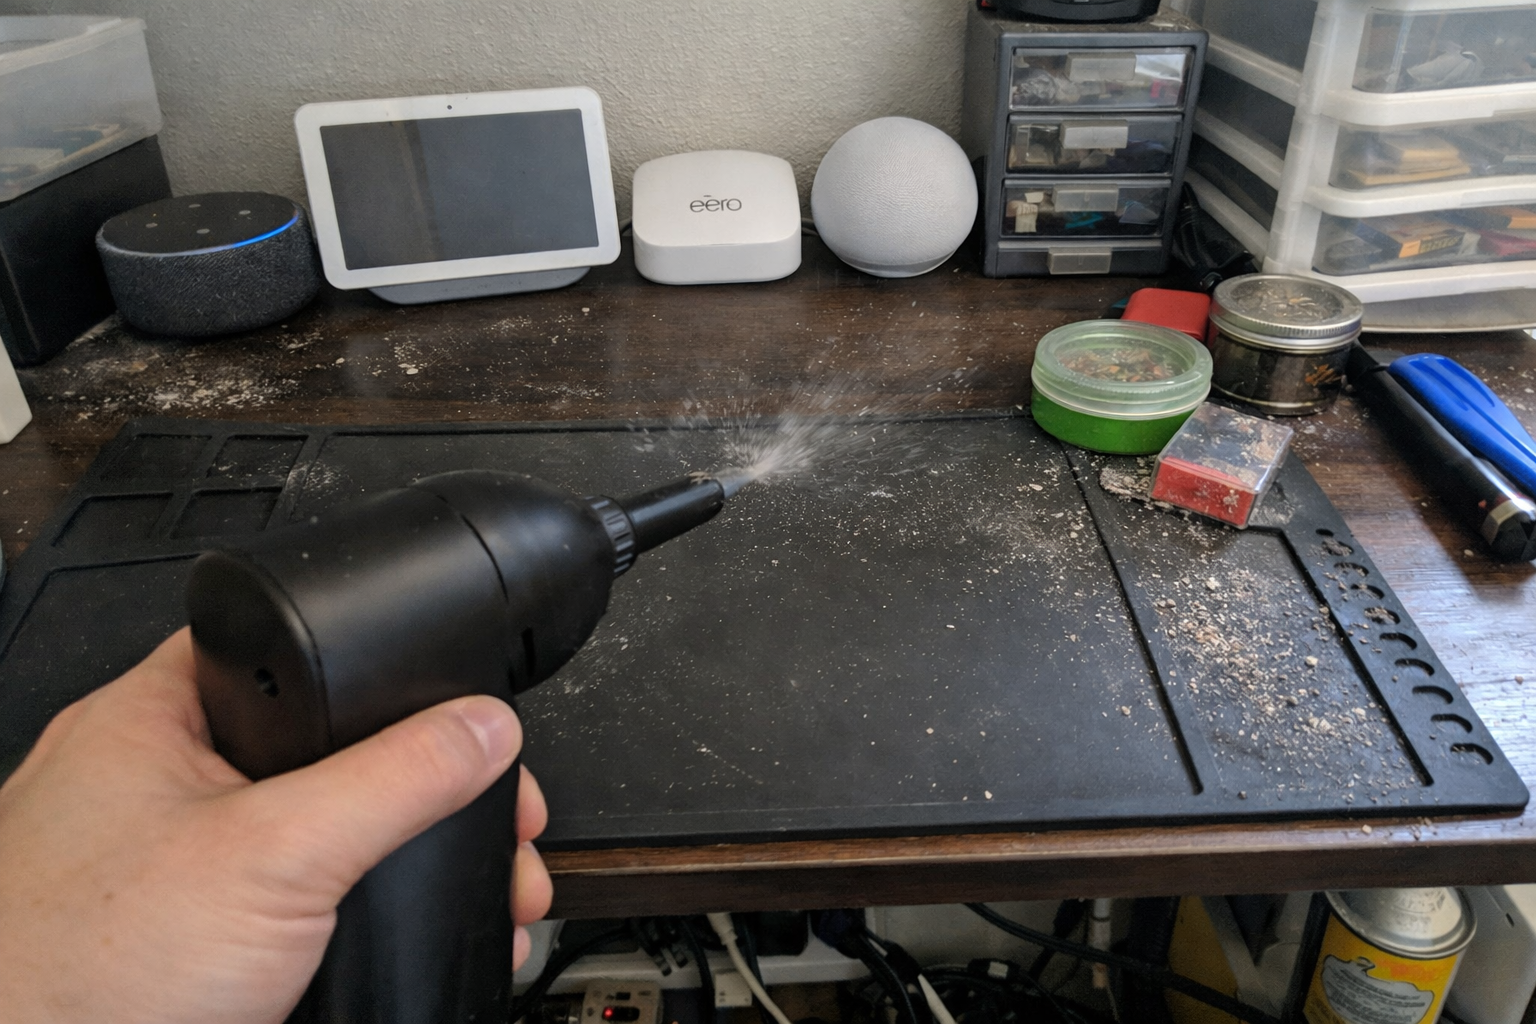
Dust control falls apart if cleanup is annoying, so I added the IT Dusters AirTec Ultra electric air duster. This is one of those tools I reach for more than I expected. I use it to clear dust from the shelf surface, the backs of hubs, vented power supplies, and those little corners where debris builds up around bins and labels. I like that it’s plug-in powered, because I’m not waiting on a battery or burning through canned air every other week.
What I Appreciate
- ✅ Fast cleanup makes it easier to actually maintain the station
- ✅ Better long-term option than disposable canned air for my use
- ✅ Multiple nozzles help with shelf corners and electronics vents
- ✅ Strong enough for routine dust without being complicated
What Frustrates Me
- ❌ It’s louder than canned air, so I don’t love using it late at night
- ❌ Blowing dust around only works well if you also have a wipe-down routine
Extra Large Silicone Mat
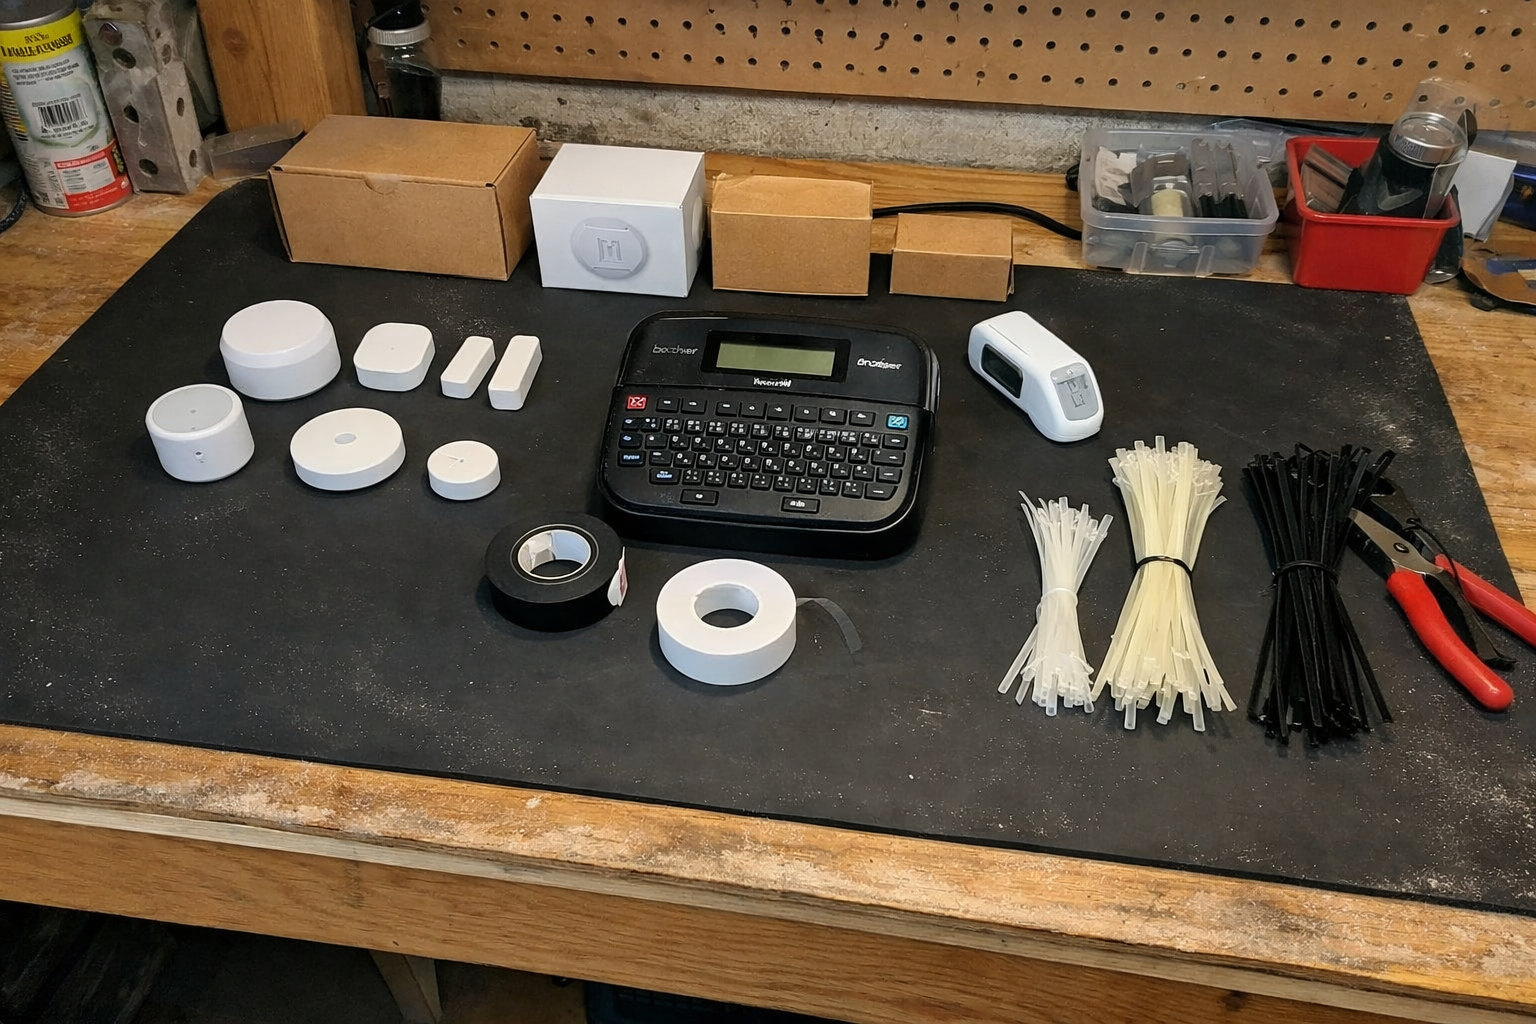
I use the extra large silicone mat underneath the whole shelf work area. This might be the least exciting item here, but it does a lot of invisible work. It protects the shelf, catches little bits of adhesive backing and trimmed labels, and makes cleanup easier because I can lift or wipe one surface instead of fussing with the shelf finish itself. I put the soldering mat on top of this, which gives me a larger clean zone with a more specialized repair area in the middle.
What I Appreciate
- ✅ Covers a big area so the whole station feels contained
- ✅ Makes dust and scraps easier to wipe up
- ✅ Helps protect the shelf from tool marks and sticky residue
- ✅ Useful under boxes, hubs, and labeling tools
What Frustrates Me
- ❌ No built-in compartments, so it’s just a surface protector
- ❌ Large size is great once placed, but a little awkward to position at first
NIIMBOT B1 Label Maker Machine
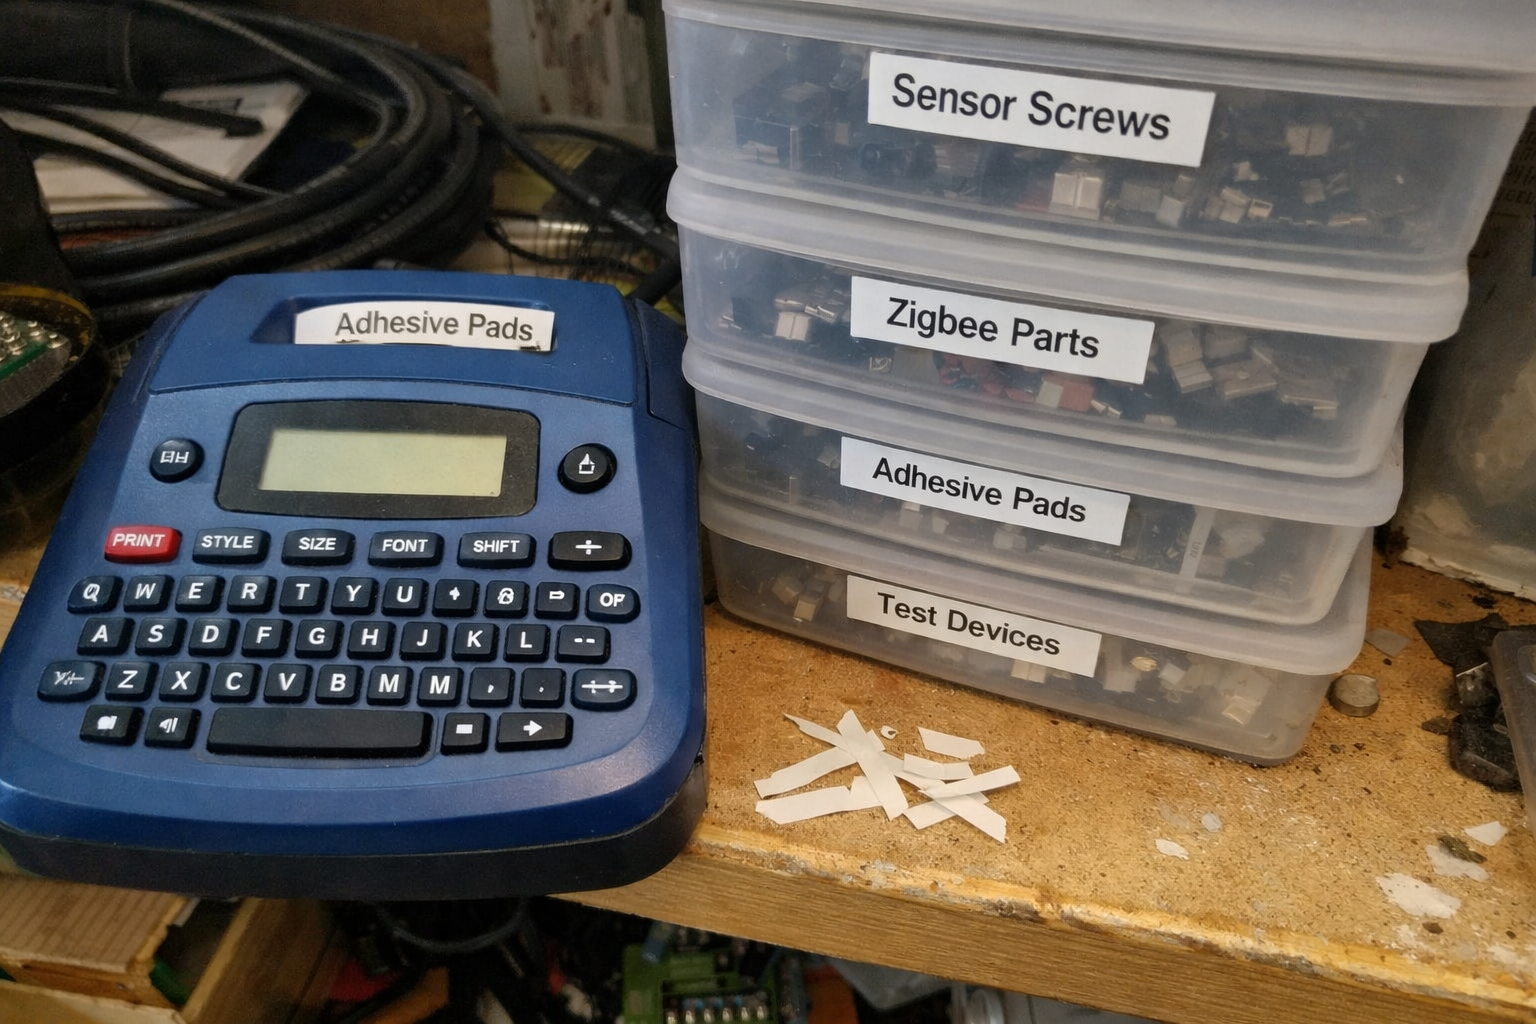
The thing that finally made the shelf station stay organized was the NIIMBOT B1 label maker. I resisted using a dedicated label maker for too long and kept doing the usual bad habit: “I’ll remember what’s in this box.” I never do. Now every box gets a label, and so do test devices, temporary staging bins, and sometimes even charger leads if I’m prepping for a multi-room install. The Bluetooth app is straightforward enough that I’ll actually use it instead of putting labeling off until later.
What I Appreciate
- ✅ Fast labeling keeps boxes and test parts from turning anonymous
- ✅ Thermal printing means no ink mess
- ✅ Easy to create repeat labels for recurring categories
- ✅ Compact enough to keep right on the shelf station
What Frustrates Me
- ❌ App-based setup is convenient, but still another thing to connect
- ❌ It can tempt you into over-labeling everything if you’re not careful
How the Station Works Day to Day
In practice, the workflow is pretty simple. The large silicone mat defines the whole station. The soldering mat sits in the center as the “active bench” area. Clear boxes live toward the back or one side of the shelf so they stay sealed until I need them. The label maker stays charged and nearby, because if I have to go dig for it, I won’t label anything. The air duster handles fast cleanup at the end of a session.
That means when I’m prepping a small install job, I can do this in one place:
- Test the smart device and confirm pairing
- Drop screws, anchors, and brackets into one small box
- Print a label for the parts box or device
- Blow dust off the shelf and hardware before packing it up
- Leave unfinished work on the mat without contaminating the whole shelf
| Need | What I Use | Why It Helps |
|---|---|---|
| Dust control | Clear latch boxes + electric air duster | Keeps loose parts covered and makes cleanup easy enough to do regularly |
| Repair and testing zone | Magnetic silicone soldering mat | Stops tiny screws and parts from wandering across the shelf |
| Surface protection | Extra large silicone mat | Contains mess, protects the shelf, and speeds up wipe-downs |
| Consistent organization | Label maker | Removes guesswork when boxes and parts start to pile up |
What I Still Want to Improve
The station works well now, but it’s still evolving. I’d like to add a better vertical spot for staging instruction sheets, device manuals, and cut templates so they’re not laying flat on the shelf. I’m also thinking about adding one shallow drawer or enclosed upper bin just for batteries, adhesive consumables, and backup mounting hardware. Dust control gets a lot easier when fewer things are left out in the open.
Longer term, I want this shelf station to support faster in-and-out install prep. If I can test a device, label the parts, and pack a small room job in fifteen minutes without searching for anything, then the system is doing its job.
💡 The Final Verdict: This Is One of Those Small Setups That Saves You Time Every Week
If you regularly test smart home devices, sort tiny install parts, or do small repair jobs at home, building a dust-controlled shelf station is absolutely worth it. Not because it looks impressive, but because it cuts down on wasted motion, lost parts, and that low-grade frustration that comes from always working in clutter. You do not need a full workshop. You just need a protected surface, sealed storage, reliable labels, and a cleanup routine you’ll actually keep up with.
Disclaimer: As an Amazon Associate, I earn from qualifying purchases.
Author
-

Hi, I’m Andrew — an IT support specialist, smart home consultant, and someone who has spent more time than I’d probably admit fixing, upgrading, and reorganizing tech around the house.
I’m based in Seattle, and this blog grew out of years of hands-on trial and error with smart home gear, home lab setups, repair tools, and all the little accessories that make a system easier to live with. I’ve always liked understanding how things work, taking them apart when necessary, and finding better ways to set them up the second time around.
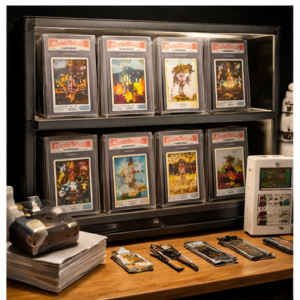
Here, I write about smart home products, DIY tech tools, server rack accessories, cable management solutions, and display gear for collectibles. Most of what I cover is practical, everyday equipment — the kind of stuff that sounds simple until you actually have to install it, troubleshoot it, or live with it for a few months.
My approach is straightforward and honest. I like step-by-step setup, real-world testing, and explaining what a product is actually like to use, not just what the box promises. That includes calling out flimsy materials, bad instructions, confusing installation, or design choices that make no sense once you start working with the product. If something is well made and easy to use, I’ll say that too.
A lot of my reviews come from real projects at home — building out servers, improving smart home automation, cleaning up cable messes, repairing devices, and figuring out better ways to store and display the things I care about.
If you like practical gear, clear explanations, and honest feedback from someone who actually installs the stuff himself, you’ll probably feel at home here.
Leave a Reply