For a long time, my home lab looked a lot more “temporary” than I wanted to admit. I had a mini PC, a small NAS, a tangle of Ethernet and power cables, and one of those setups where you swear you know what every cable does until something needs a reboot. Then suddenly you’re under the desk with a flashlight in your mouth, unplugging the wrong thing. I wanted an under-desk home lab that was cleaner, easier to service, and a whole lot more secure from accidental kicks, dust, and cable snags.
After rebuilding this setup more than once, I finally landed on a layout that keeps the desktop clear, keeps the floor clear, and makes maintenance a lot less annoying. This is the combination I’d use again if I were setting up a mounted mini PC, a Synology NAS, and proper cable routing under a desk from scratch.
What was actually broken in my old setup
Before pulling out my card and ordering parts, I had to be honest about what was wrong. It wasn’t just “too many cables.” It was three separate problems.
First, I had too much gear sitting on the desk surface. A mini PC doesn’t take up much room by itself, but once you add power bricks, display cables, USB accessories, and a NAS nearby, the whole area starts looking like a bench test instead of a finished workstation.
Second, I didn’t trust the physical setup. My office is also a real room in a real house, not a sealed server closet. Chairs roll around. Feet bump things. Vacuuming happens. A clean home lab setup under a desk needs to be protected from normal life, not just look good in a photo.
Third, I needed the setup to stay serviceable. This is where a lot of cable management setups go wrong. People zip-tie everything into one beautiful bundle, and six weeks later they need to swap a drive, move a power supply, or trace a bad USB cable. Then the whole thing turns into surgery. For me, a secure under-desk home lab had to be neat without becoming permanent.
So my criteria became pretty simple: mount what can be mounted, keep ventilation in mind, get the power strip off the floor, route cables in a way that makes sense, and use reusable cable ties instead of pretending I’ll never need to change anything.
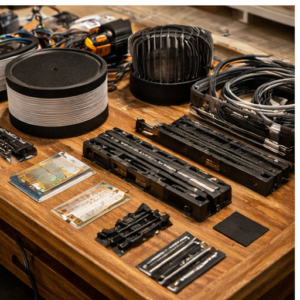
The setup I’m using now
ASUS MKT03 Mini PC Mounting Kit – VESA 100x100mm Compatible
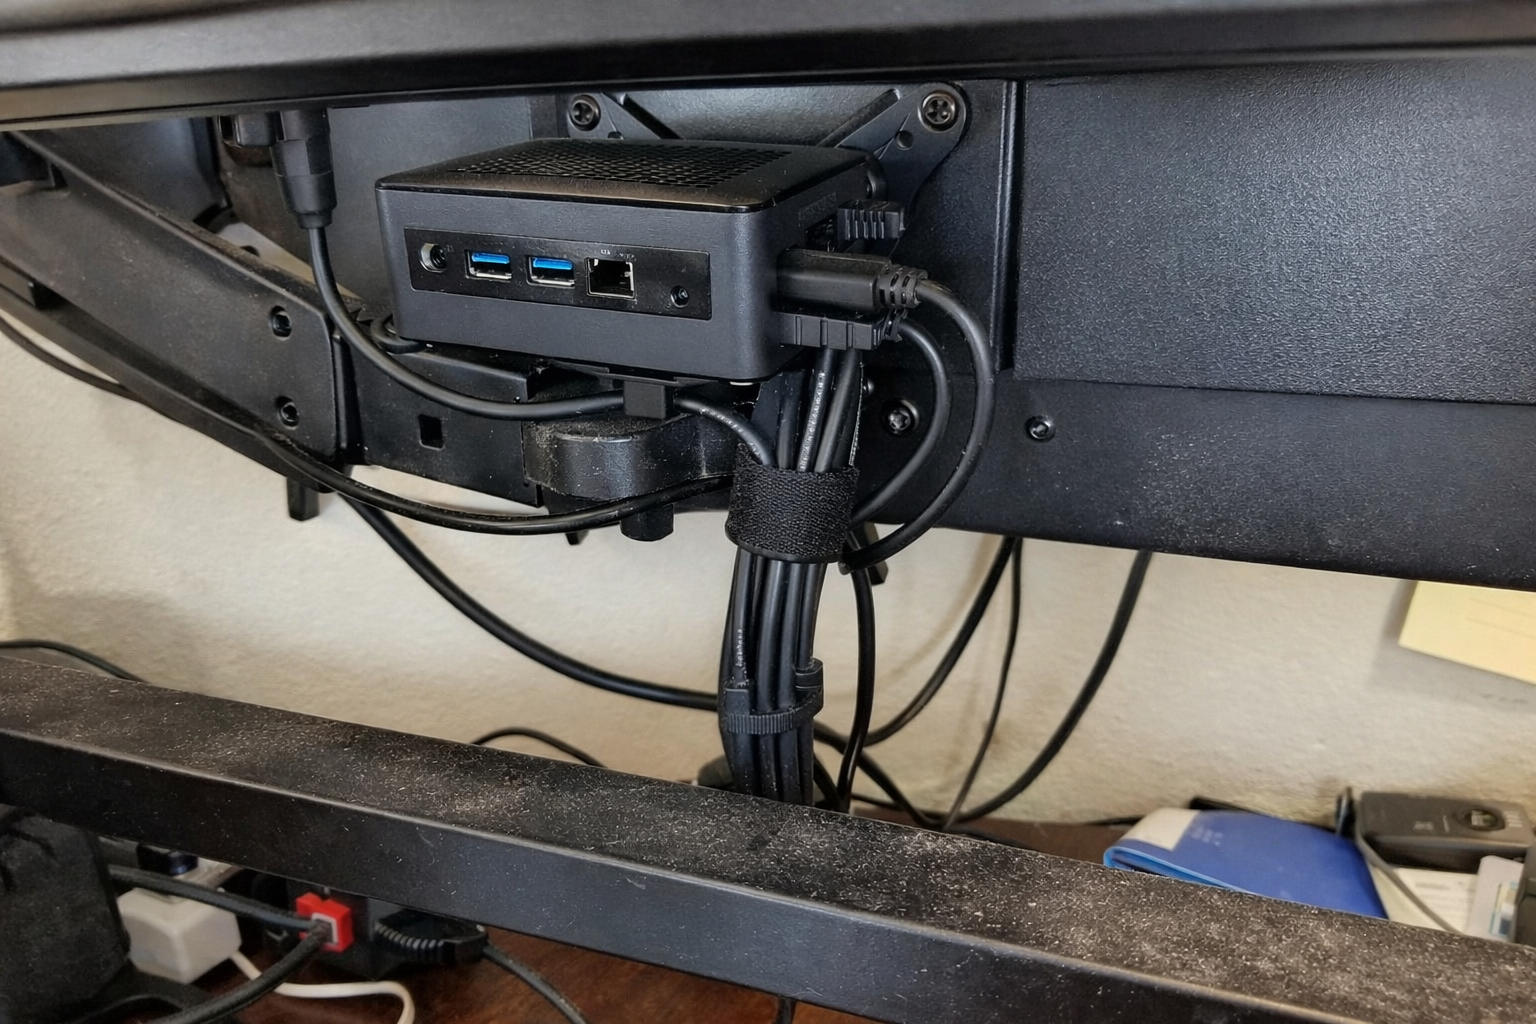
I like getting the mini PC completely out of the way whenever possible, and this ASUS MKT03 Mini PC Mounting Kit solves that nicely if your monitor and mini PC setup are compatible. In my case, the big win was reclaiming desk space and making the whole workstation look intentional instead of stacked. The thing I’d stress here is to verify compatibility before ordering, because this isn’t a universal magic bracket. But if it fits your gear, mounting the mini PC is one of the fastest ways to clean up a desk and reduce cable sprawl.
What I Appreciate
- ✅ Gets the mini PC off the desk and out of the way
- ✅ Makes cable routing more predictable because everything drops from one fixed point
- ✅ Helps the setup feel cleaner without making access impossible
What Frustrates Me
- ❌ Compatibility matters a lot, so you really need to check your monitor and layout first
- ❌ Not as flexible as a truly universal mounting approach
Synology 2-Bay DiskStation DS223j
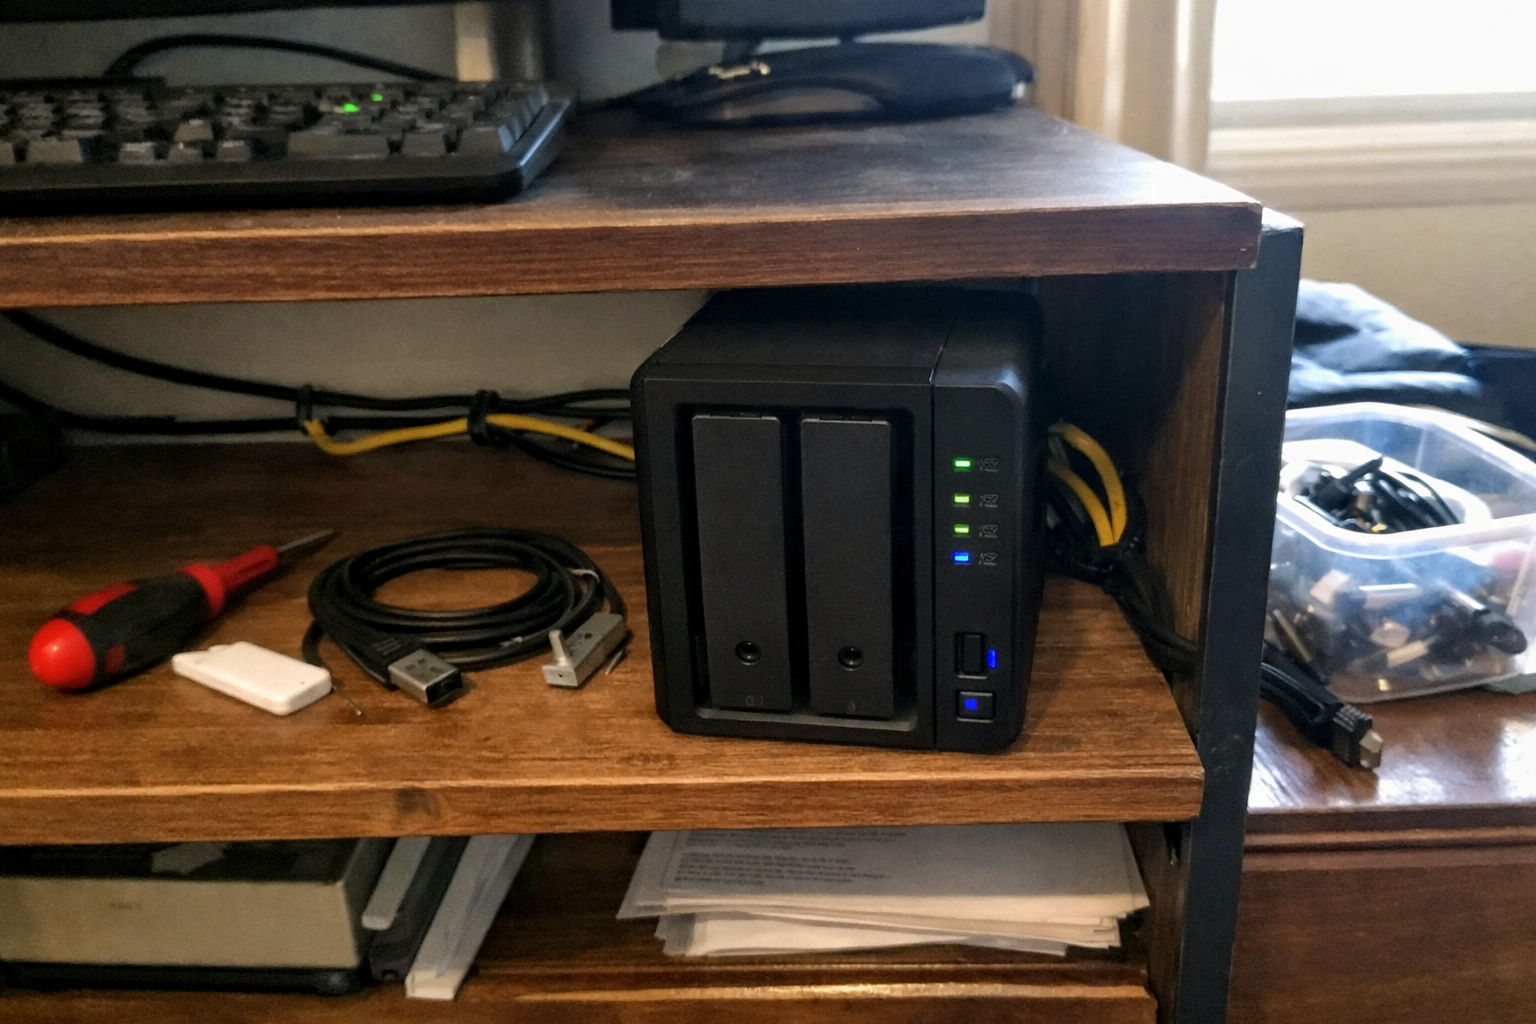
For storage, backups, and general home lab sanity, I’d rather have a dedicated box than pretend an external USB drive is the same thing. I ended up using the Synology DS223j because it gives me a simple, compact NAS for file storage, device backups, and basic network services without turning my office into a noisy rack experiment. I do want to be clear about placement, though: I wouldn’t cram a NAS into a sealed cable basket under a desk. Mine works best with breathing room nearby, not buried. Quiet, compact, and easy to live with matters a lot more in a home office than spec-sheet bragging rights.
What I Appreciate
- ✅ Compact enough for a small home lab
- ✅ Good fit for backups and private storage without a lot of fuss
- ✅ Much easier to manage than piecing together random storage solutions
What Frustrates Me
- ❌ Diskless means you still need to budget for drives separately
- ❌ I wouldn’t hide it in a spot with poor airflow just for the sake of aesthetics
Yintar 6Ft Power Strip Surge Protector
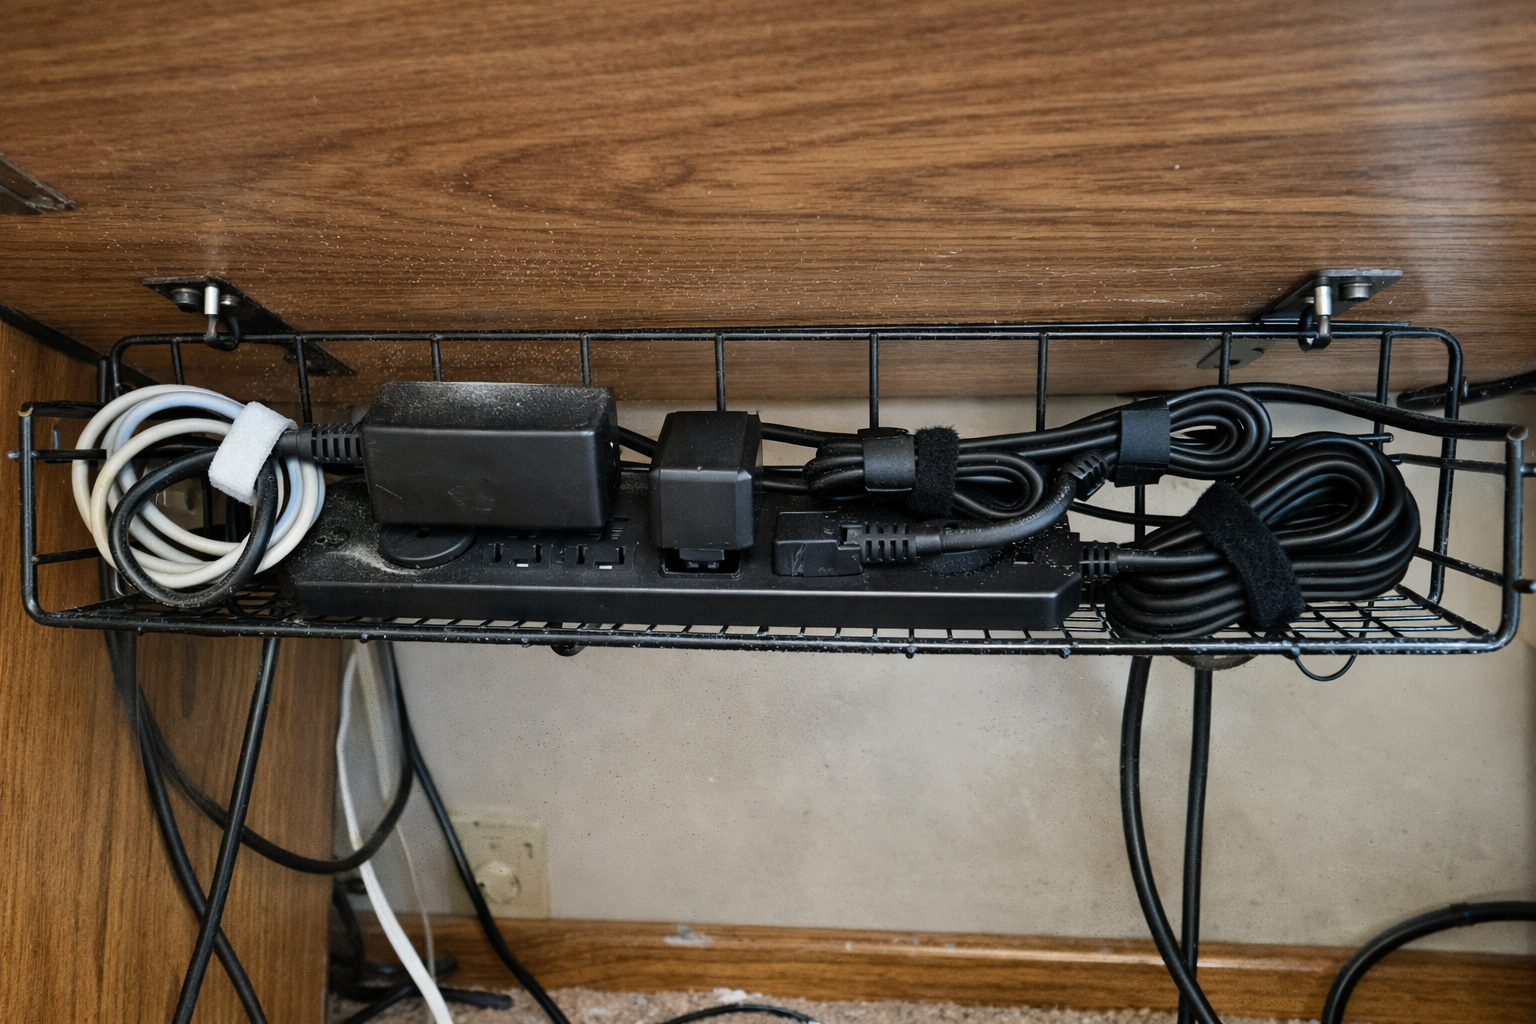
The power strip is one of those parts people cheap out on and then wonder why the whole setup still feels sloppy. I moved to this Yintar 6-foot surge protector because I wanted something simple with enough outlets for the mini PC, NAS, monitor gear, and a couple of chargers without creating a second layer of adapters. The real improvement came from mounting the strip up under the desk instead of leaving it on the floor. That one change alone made the setup feel safer and easier to clean around.
What I Appreciate
- ✅ Enough outlets for a small under-desk lab without getting ridiculous
- ✅ USB ports are handy for low-power accessories and quick charging
- ✅ Works well when mounted off the floor inside a cable tray
What Frustrates Me
- ❌ USB charging is convenient, but I still prefer dedicated chargers for some devices
- ❌ You still need to think through power brick spacing if your plugs are bulky
100 PCS 8 Inches Reusable Cable Ties
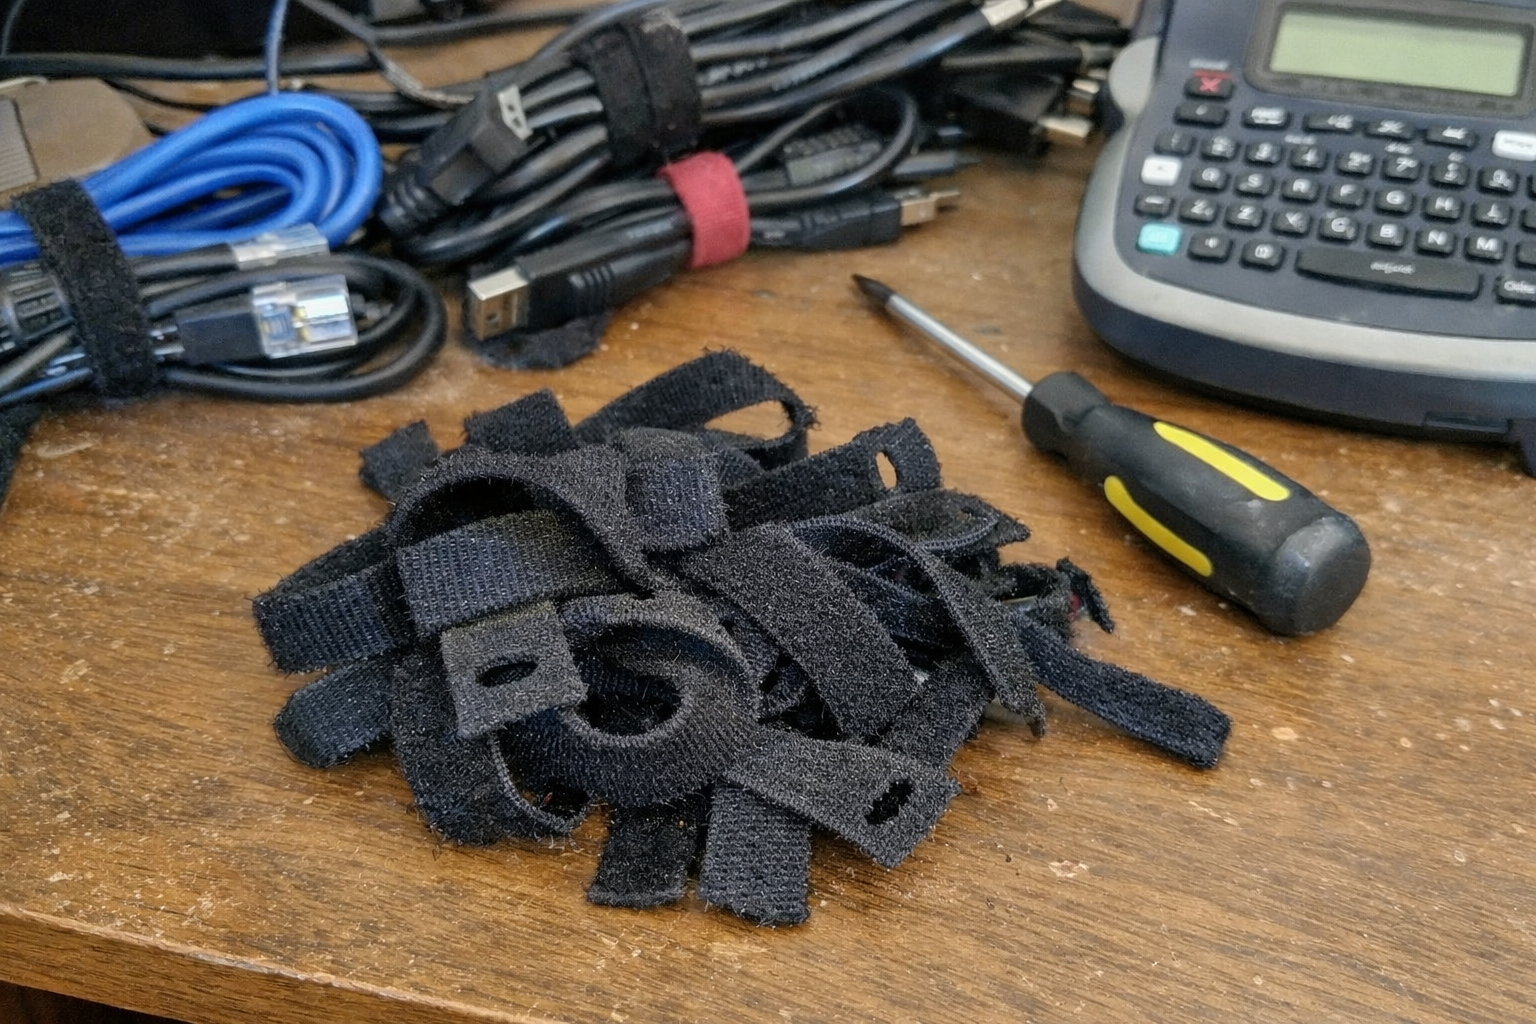
If I sound overly enthusiastic about reusable cable ties, that’s because I’ve spent too many evenings cutting zip ties just to move one cable. These reusable cable ties are the kind of boring purchase that makes the whole system better. I use them to separate power from data where I can, bundle slack without choking cables, and create service loops so I can actually move equipment for cleaning or troubleshooting. They’re not glamorous, but they’re the reason the setup stays maintainable.
What I Appreciate
- ✅ Easy to redo when the setup changes
- ✅ Better than zip ties for home labs that evolve over time
- ✅ Great for bundling slack without making everything permanent
What Frustrates Me
- ❌ They don’t magically fix bad cable planning
- ❌ You can still make an ugly bundle if you rush the job
2 Pack Cable Management Under Desk Tray
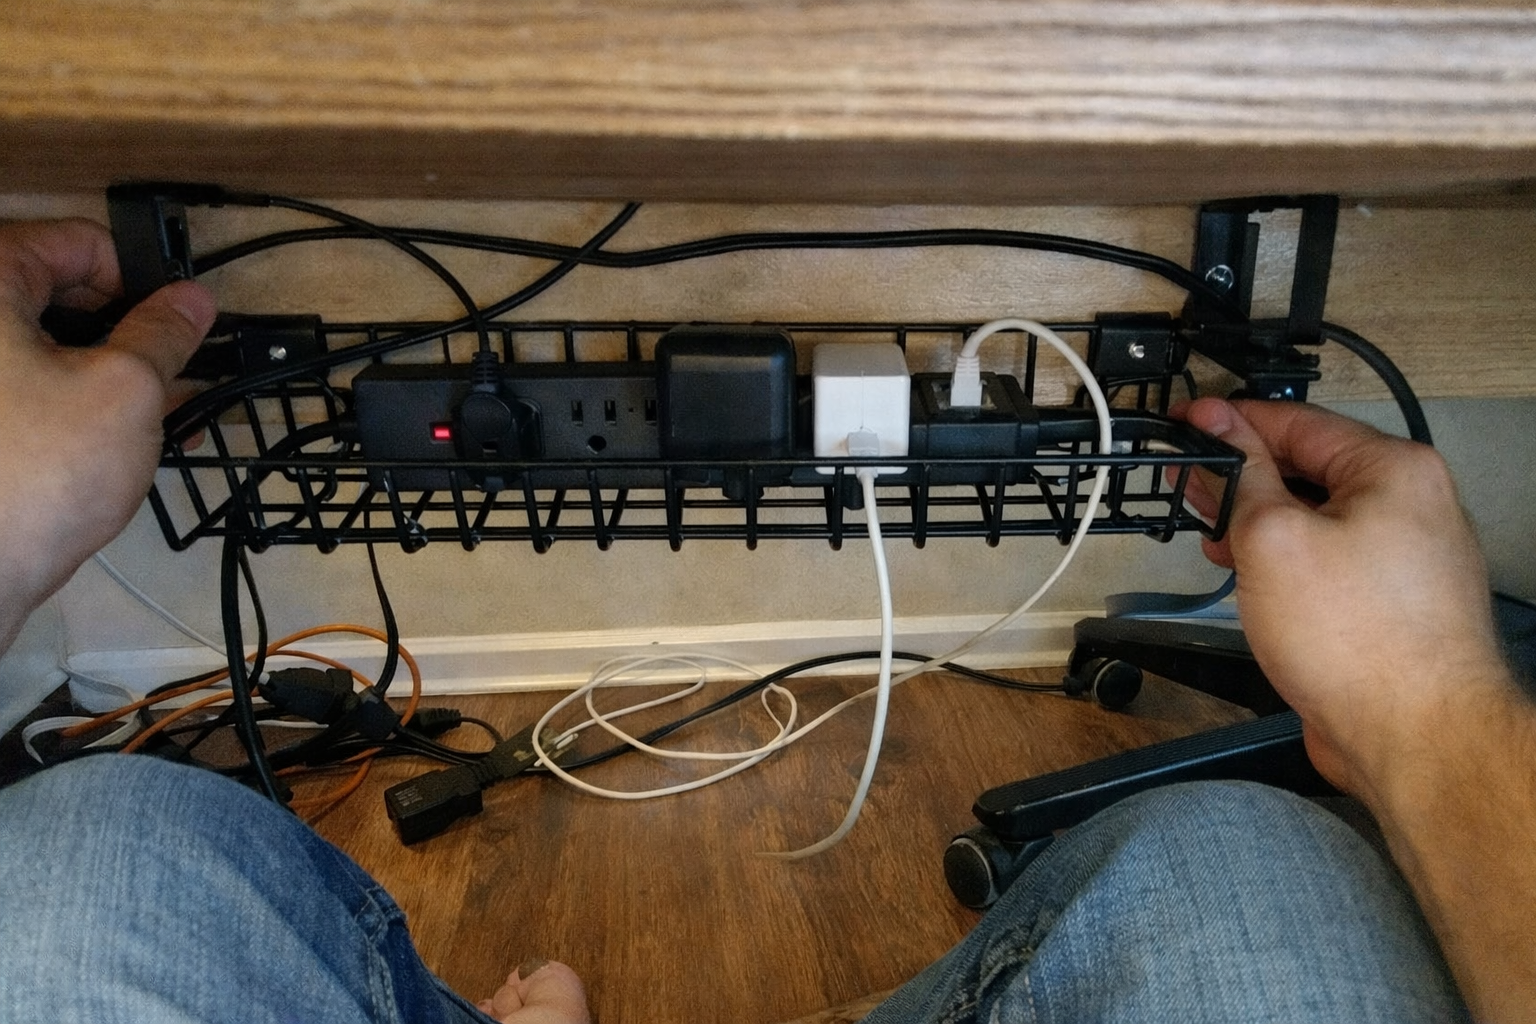
This is the piece that made everything come together. I used this under-desk cable management tray set to get the power strip, extra cord length, and ugly adapter bulk off the floor and out of sight. I’m a big fan of the no-drill clamp style for a home office because I can reposition it if I change desks or decide I hate the original placement. The trays also make it a lot easier to separate “live here permanently” cables from the ones I need to reach now and then.
What I Appreciate
- ✅ Gets cables and power gear off the floor fast
- ✅ No-drill install is easier on the desk and easier to adjust later
- ✅ The metal tray design gives better access than a fully enclosed box
What Frustrates Me
- ❌ You still need to be intentional about what goes in the tray versus what should stay ventilated
- ❌ Clamp hardware can take a bit of fiddling to position cleanly
The layout choices that made the biggest difference
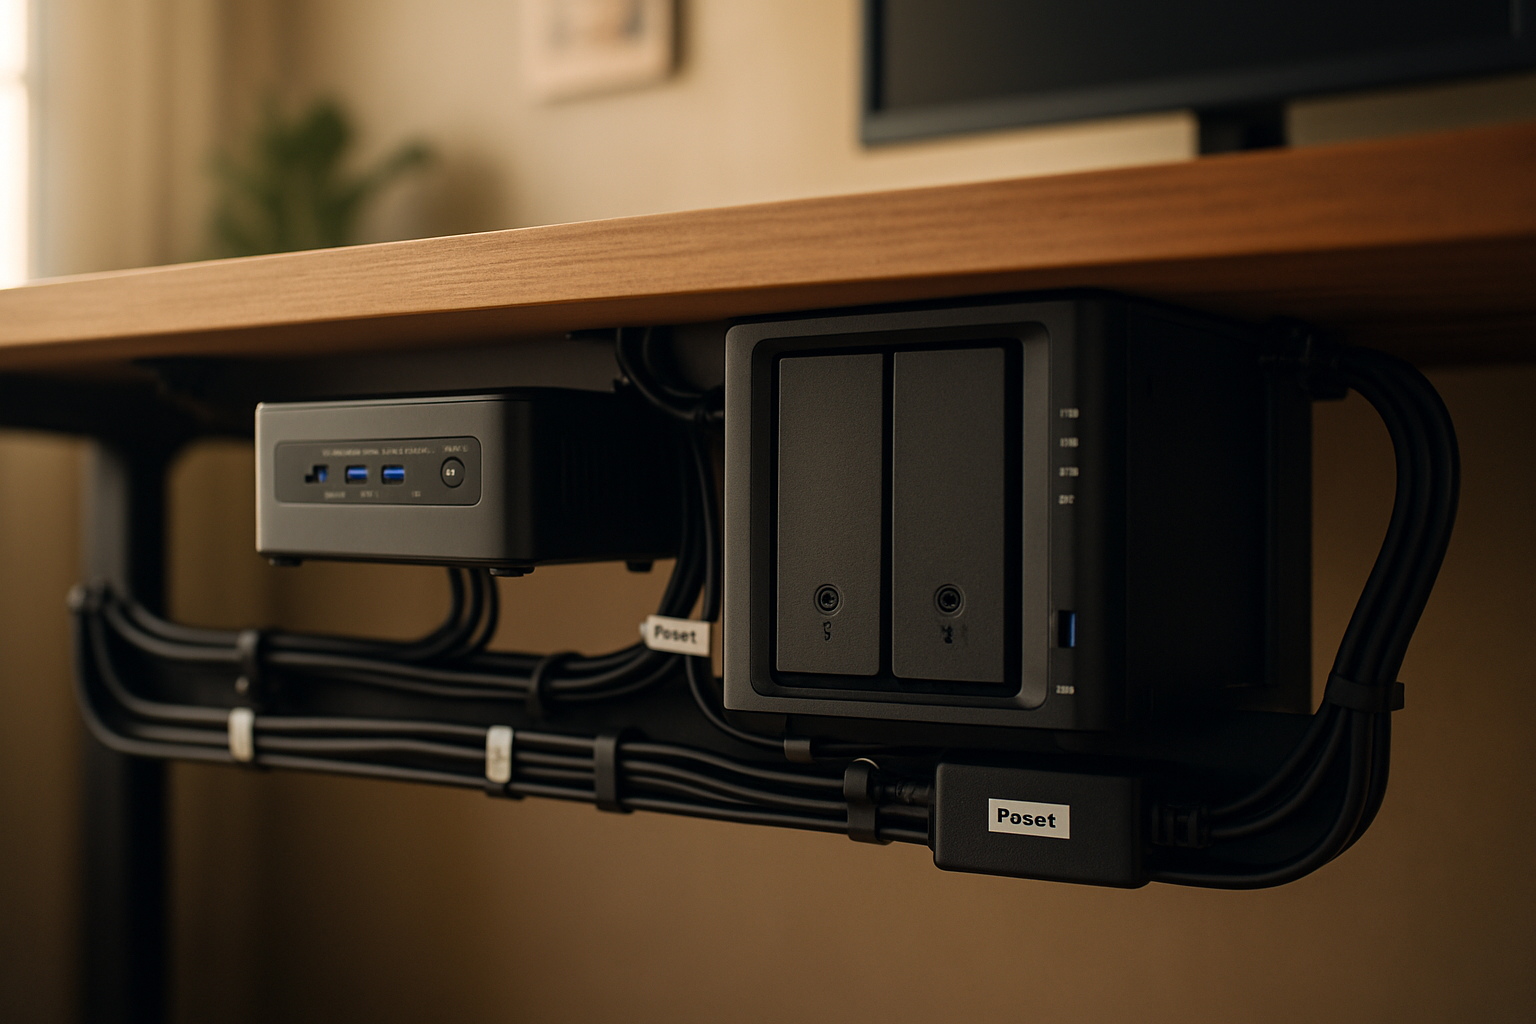
Once I had the hardware, the main thing was not throwing it all under the desk and calling it “managed.” What worked best for me was treating the under-desk area like zones.
The mounted mini PC handles compute and stays up high near the monitor path so display and USB runs stay short. The power strip lives in the tray, not on the floor. Extra cable slack also lives in the tray, but only after I separate it into sane bundles. The NAS sits nearby with airflow, rather than stuffed into a tray just because I had the room. That one decision probably saved me from creating a hotter, noisier setup than necessary.
I also learned to leave a little slack at every device. Not a giant hanging loop, just enough to slide a device forward or unplug something without tearing apart the whole route. This is the kind of detail nobody mentions until you’re trying to swap a drive or reset a box with your head against a desk leg.
| Part of the setup | Best placement | Why it worked for me |
|---|---|---|
| Mini PC | Mounted behind monitor or VESA area | Keeps the desk clear and shortens display cable runs |
| Power strip | Under-desk tray | Keeps it off the floor and away from foot traffic |
| Cable slack and adapters | Under-desk tray | Hides the mess while keeping it accessible |
| NAS | Nearby shelf or open side area | Better airflow and easier drive access |
| Ethernet and USB bundles | Loosely grouped with reusable ties | Makes future changes less painful |
What I still want to improve
This setup is a lot better than where I started, but I’m still tweaking it. The next step for me is labeling both ends of every important cable properly instead of relying on memory and good intentions. I also want to add a cleaner backup power plan for the most important gear, because a tidy home lab is great, but a tidy home lab that drops offline during every little power event is still annoying.
I’m also keeping an eye on how dust builds up over time under the desk. Clean cable routing helps, but any setup in a real house needs occasional maintenance. My goal isn’t a showroom. It’s a home lab I can actually live with, troubleshoot, and trust.
💡 The Final Verdict: Worth it if you want your lab to survive real life
If you’re building a small home office lab with a mini PC, NAS, and a handful of networked gear, putting real effort into under-desk cable management is absolutely worth it. Not because it looks fancy, but because it makes the setup safer, easier to clean, easier to troubleshoot, and less likely to get wrecked by everyday movement around your desk. I’d especially recommend this approach for anybody working in a shared office, spare bedroom, or multipurpose room where floor clutter and accidental cable pulls are a constant problem.
Disclaimer: As an Amazon Associate, I earn from qualifying purchases.
Author
-

Hi, I’m Andrew — an IT support specialist, smart home consultant, and someone who has spent more time than I’d probably admit fixing, upgrading, and reorganizing tech around the house.
I’m based in Seattle, and this blog grew out of years of hands-on trial and error with smart home gear, home lab setups, repair tools, and all the little accessories that make a system easier to live with. I’ve always liked understanding how things work, taking them apart when necessary, and finding better ways to set them up the second time around.
Here, I write about smart home products, DIY tech tools, server rack accessories, cable management solutions, and display gear for collectibles. Most of what I cover is practical, everyday equipment — the kind of stuff that sounds simple until you actually have to install it, troubleshoot it, or live with it for a few months.
My approach is straightforward and honest. I like step-by-step setup, real-world testing, and explaining what a product is actually like to use, not just what the box promises. That includes calling out flimsy materials, bad instructions, confusing installation, or design choices that make no sense once you start working with the product. If something is well made and easy to use, I’ll say that too.
A lot of my reviews come from real projects at home — building out servers, improving smart home automation, cleaning up cable messes, repairing devices, and figuring out better ways to store and display the things I care about.
If you like practical gear, clear explanations, and honest feedback from someone who actually installs the stuff himself, you’ll probably feel at home here.

Leave a Reply